Build an astronomy flashlight
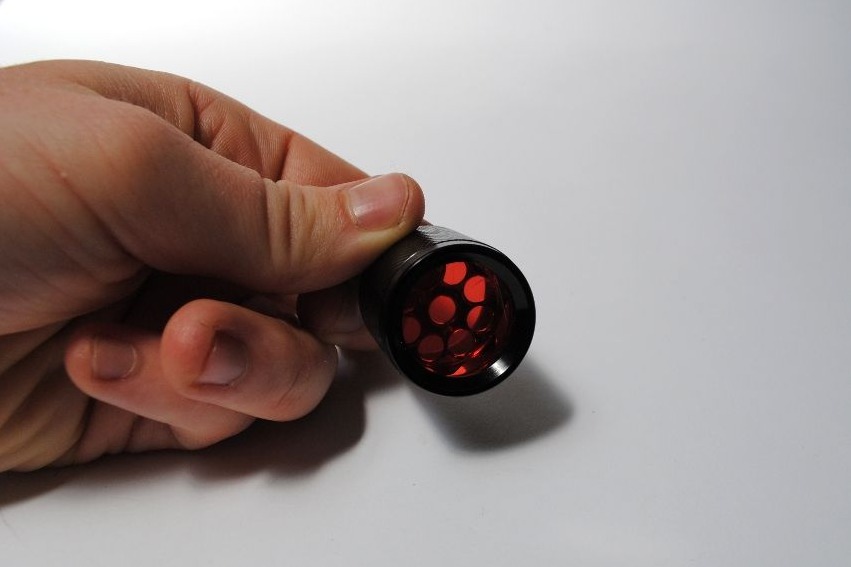
Build a small astronomy flashlight with a red LED, batteries, simple switch, and cardboard tube to explore stars while preserving night vision.


Step-by-step guide to build an astronomy flashlight
Amazing Stars and Constellations: Fun Learning for Kids! | KS2 Science | STEM and Beyond
Step 1
Ask an adult to help you before you start.
Step 2
Put the two AA batteries into the battery holder matching the + and - marks.
Step 3
Look at the LED and find the longer leg; that longer leg is the positive anode.
Step 4
Attach the 220 ohm resistor to the LED’s longer leg by twisting or taping the resistor lead to that leg.
Step 5
Tape the battery holder positive wire to one terminal of the slide switch.
Step 6
Tape the free end of the resistor to the other terminal of the slide switch.
Step 7
Tape the LED’s shorter leg to the battery holder negative wire.
Step 8
Cover all exposed metal connections with tape so they do not touch anything else.
Step 9
Use scissors to make a small hole near one end of the cardboard tube.
Step 10
Push the LED head gently through the hole so the light faces out of the tube.
Step 11
Line the inside of the tube with a strip of aluminum foil so it reflects the red light forward.
Step 12
Tape the slide switch to the outside of the tube where your thumb can reach it.
Step 13
Flip the switch to turn on the red light and check that it shines through the tube.
Step 14
Share your finished astronomy flashlight on DIY.org
Help!?
What can we use if we don't have a 220 ohm resistor, slide switch, or aluminum foil?
You can substitute a higher-value resistor such as 330Ω or 470Ω (it will make the LED dimmer), replace the slide switch with a small switch salvaged from an old toy or make a simple touch switch by separating and touching the taped wires, and line the tube with white paper, shiny gift wrap, or mirror craft paper instead of aluminum foil to reflect the red light.
My LED doesn't light—what should I check first?
Check that the two AA batteries are placed matching the + and - marks in the battery holder, the LED's longer leg is the one with the resistor attached and taped to the switch terminal per Steps 2–5, the LED's shorter leg is taped to the battery negative wire, all exposed metal is covered with tape to avoid shorts, and the slide switch (Step 12) is flipped on while feeling for any loose connections.
How can I adapt this activity for younger or older kids?
For preschoolers have an adult do the twisting/taping of the resistor and LED and let the child do foil lining and decorating the cardboard tube, while older kids can solder connections, add multiple LEDs, build a star-pattern stencil to project constellations, or experiment with different resistor values to see brightness changes.
How can we extend or personalize the finished astronomy flashlight?
Personalize it by painting or covering the cardboard tube, cutting a star-shaped stencil at the tube end to project constellations, swapping the slide switch for a small potentiometer to dim the LED, or adding mirrored craft paper and extra LEDs inside the tube for a stronger, customizable beam.
Watch videos on how to build an astronomy flashlight
Light: Crash Course Astronomy #24
4 Videos
Light: Crash Course Astronomy #24

Starry Night Demonstration | Raspberry Pi Project

Everything about The SUN & The STARS *AMAZING* Science for Kids!
A Look at Stars | Nat Geo Kids Solar System Playlist
Facts about stargazing and preserving night vision
🔴 Red light helps preserve your dark adaptation because the eye's rod cells are less sensitive to long (red) wavelengths.
💡 LEDs are very energy-efficient — a tiny red LED can glow for many hours on just a couple of small batteries.
🌒 A cardboard tube makes a great light shroud, reducing stray glare and keeping the beam focused on maps or charts.
🌟 Many astronomers and stargazers use red lights to read charts without losing the ability to see faint stars.
🛠️ Building a flashlight teaches basic circuits: when the switch closes, the battery, LED, and wires complete the path for electricity.
How do I build an astronomy flashlight that preserves night vision?
What materials do I need to make a red LED astronomy flashlight?
What ages is making an astronomy flashlight suitable for?
What safety tips and benefits should I know about using a red LED astronomy flashlight?


