Build a wind turbine
Build a small model wind turbine using cardboard, a wooden dowel, and a small motor or LED to learn about renewable energy and airflow.


Step-by-step guide to build a wind turbine
How do wind turbines work? - Rebecca J. Barthelmie and Sara C. Pryor
Step 1
Gather all Materials Needed on a clear table so your workspace is ready.
Step 2
Draw a cardboard circle about the size of a cookie for the hub and draw four identical blade shapes about as long as your hand.
Step 3
Cut out the circle hub and the four blades carefully with scissors.
Step 4
Use your pencil and ruler to mark the exact center of the circle and four evenly spaced spots around the edge for the blades.
Step 5
Make a hole in the center of the circle that fits the wooden dowel snugly.
Step 6
Cut small slots at the four marked spots around the circle edge where the blade bases will go.
Step 7
Score and fold about 1 centimeter at the base of each blade so the blade tips will catch the wind.
Step 8
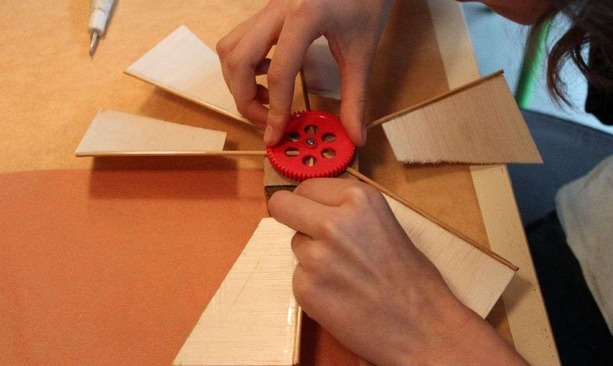
Push each folded blade base into a slot so the blades form a rotor that sticks out from the hub.
Step 9
Slide the hub onto the wooden dowel through the center hole so the blades face outward and can spin.
Step 10
Tape the drinking straw horizontally onto a sturdy cardboard base to make a bearing that will hold the dowel.
Step 11
Tape the motor to the base next to the dowel so the motor shaft is very close to the end of the dowel.
Step 12
Loop a rubber band around both the motor shaft and the dowel end so the spinning dowel will turn the motor shaft.
Step 13
Use alligator clip wires to connect the two motor terminals to the LED legs and then blow on the blades or place the turbine in front of a fan so the LED may light.
Step 14
Take a photo or short description and share your finished wind turbine project on DIY.org
Help!?
What can I use instead of a wooden dowel or small motor if I can't find them?
If you don't have a wooden dowel or small motor, use a sturdy pencil or bamboo skewer as the dowel (so it still fits the hub center hole) and salvage a small hobby motor from a toy so you can loop the rubber band around its shaft to drive the LED.
My blades spin but the LED won't light—what should I check?
If the blades spin but the LED doesn't light, make sure the hub slides snugly onto the dowel through the center hole, the motor shaft is very close to the dowel end so the rubber band transfers rotation, and the alligator clip wires are firmly attached to the motor terminals and LED legs with the correct polarity.
How can I adapt this wind turbine activity for different age groups?
For ages 4–6 have an adult pre-cut the cardboard hub and blades and insert them and tape the straw bearing, ages 7–10 can measure, draw, cut, and assemble the hub and slots with supervision, and ages 11+ can tweak the 1 cm blade fold, test different blade shapes, or add a voltmeter to the motor terminals to measure output.
How can we improve or personalize the turbine to make it more powerful or creative?
To enhance the project, decorate or color the cardboard hub and blades, experiment with longer blades or different fold angles at the blade bases to increase spin and LED brightness, add a second rubber band for more torque, or mount the straw bearing on a swivel to test different wind directions.
Watch videos on how to build a wind turbine
DIY Wind Turbine Science Project
4 Videos
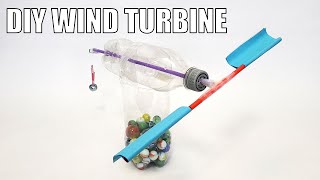
DIY Wind Turbine Science Project
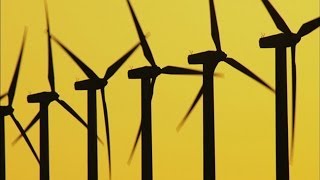
How to Build a Windfarm
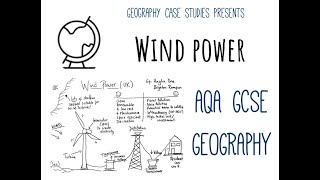
Wind Power (What it is and how it works)

Lab 5: Savonius Wind Turbine Construction and Testing
Facts about wind energy and renewable energy for kids
🌬️ The largest wind turbines can have blades over 100 meters long and produce enough electricity to power thousands of homes.
⚡ A small DC motor can act as a generator—spin its shaft and it can light an LED!
🕰️ Windmills have been used for over 1,000 years; early designs in Persia helped grind grain and pump water.
✈️ Wind turbine blades are shaped like airplane wings (airfoils) so airflow creates lift that makes them spin.
📈 Wind power grew rapidly in the 21st century and now supplies more than 6% of the world’s electricity.
How do you build a small model wind turbine?
What materials do I need to build a model wind turbine?
What ages is this wind turbine activity suitable for?
What are the benefits, safety tips, and variations for a model wind turbine?
