Build a toy vehicle
Build a simple toy vehicle using cardboard, wheels, axles, and rubber bands; test rolling performance and learn about friction, balance, and basic mechanics.


Step-by-step guide to build a toy vehicle
DIY TOY CAR! How to make Speedy CAR! SUPER EASY and FUN!
Step 1
Gather all materials and clear a flat workspace where you can build and test your vehicle.
Step 2
Use the ruler and pencil to draw a rectangle about 20 cm long and 8 cm wide on the cardboard for the chassis.
Step 3
Cut out the cardboard rectangle to make the chassis.
Step 4
Mark two axle positions across the width about 2 cm from each short edge on the chassis.
Step 5
Make small holes at each mark that are slightly larger than the skewer thickness using a pencil tip or hole punch with adult help.
Step 6
Cut the two skewers so each is about 4 cm longer than the chassis width so wheels can stick out on both sides.
Step 7
Make a small centered hole in each bottle cap using a nail or screwdriver with an adult’s help.
Step 8
Push a skewer through two bottle caps to make a wheel pair and secure each cap with a small rubber band or a tiny bit of tape so the caps stay on but can still spin.
Step 9
Insert each wheel-and-axle assembly through the chassis holes so the wheels stick out evenly on both sides.
Step 10
Tape or glue the axle ends to the underside of the chassis so the axles cannot slide left or right but can still rotate.
Step 11
Place the vehicle on a smooth floor and give it a gentle push to observe how straight and how far it rolls.
Step 12
If the vehicle veers or tilts, add a small coin or weight inside the chassis near the front or back to change the balance.
Step 13
Test the vehicle again by pushing it and notice any improvements in rolling distance or direction.
Step 14
Take a photo or write about your vehicle and share your finished creation on DIY.org
Help!?
What can I use if I can't find wooden skewers, bottle caps, or thick cardboard?
If skewers are missing, use straight pencils or thin wooden dowels cut so they're 4 cm longer than the chassis, replace bottle caps with plastic jar lids or cardboard circles with a centered hole made as in the 'Make a small centered hole' step, and use cereal-box or foam board instead of thick cardboard for the 20 cm × 8 cm chassis.
My wheels wobble, stick, or the vehicle veers—what should I check and fix?
Check the 'Make small holes...' alignment and size (holes slightly larger than the skewer) and fix wobble or sliding by adding small tape collars or washers on the skewer near each bottle cap so the caps stay centered but can still spin, and use the 'add a small coin' balancing step if it veers.
How can I change the activity for younger or older children?
For younger kids have an adult pre-cut the chassis and pre-poke the axle holes and pre-assemble the wheel-and-axle pairs so the child can decorate and test, while older kids can precisely measure axle positions, try different wheel sizes, or attach a small motor to the taped axle ends for a powered vehicle.
What are simple ways to improve or personalize the vehicle after it works?
Decorate the cardboard chassis, try different wheel types like CDs or jar lids when making the 'wheel-and-axle assembly,' add a rubber-band propulsion or a front steering hinge, then measure rolling distances as in the 'Place the vehicle on a smooth floor...' step and share a photo or write-up on DIY.org.
Watch videos on how to build a toy vehicle
How to make Toy car with cardboard at home | Remote control car |
4 Videos
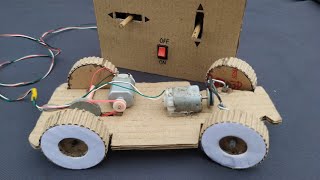
How to make Toy car with cardboard at home | Remote control car |
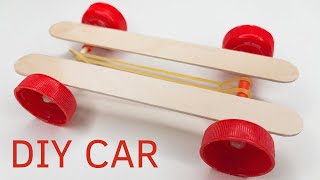
How to Make a Mini Rubber Band Car / Simple Science Project Idea / DIY Toy Car at Home

Free plans, EASY AND QUICK to make a wooden toy cars - you can do it
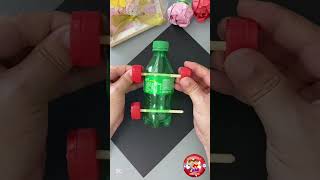
"Recycle & Create: DIY Toy Car from Plastic Bottles!" kidiesTime7 How to make Kids Car Fun & Learn
Facts about basic mechanics and friction
🛞 The wheel-and-axle is one of the six classical simple machines and has been used since about 3500 BC.
🪢 Rubber bands store elastic potential energy — stretch and release them to catapult a small cardboard car forward.
📦 Corrugated cardboard was first patented in 1856 and is lightweight yet strong, which is why builders love it for models.
⚖️ A vehicle's center of mass affects balance — lower and centered weight helps prevent tipping and makes it roll straighter.
🔥 Friction converts motion into heat: rough surfaces slow toys down, while smooth wheels and axles help them roll farther.
How do I build a simple toy vehicle with cardboard, wheels, axles, and rubber bands?
What materials do I need to build a cardboard toy vehicle?
What ages is this cardboard vehicle activity suitable for?
What are the benefits of building and testing a toy vehicle with kids?
