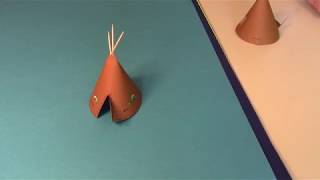
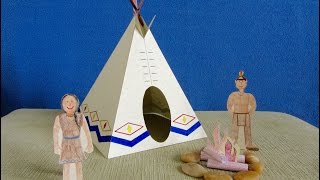
Build a tipi
Build a small tipi using wooden poles, a sheet or fabric, and rope; measure, tie, and arrange poles to create a stable, decorated shelter.


Step-by-step guide to build a tipi
Native American Crafts For Kids - Tipi
Step 1
Find a flat safe spot outside or in a large room and clear away rocks sticks and sharp things.
Step 2
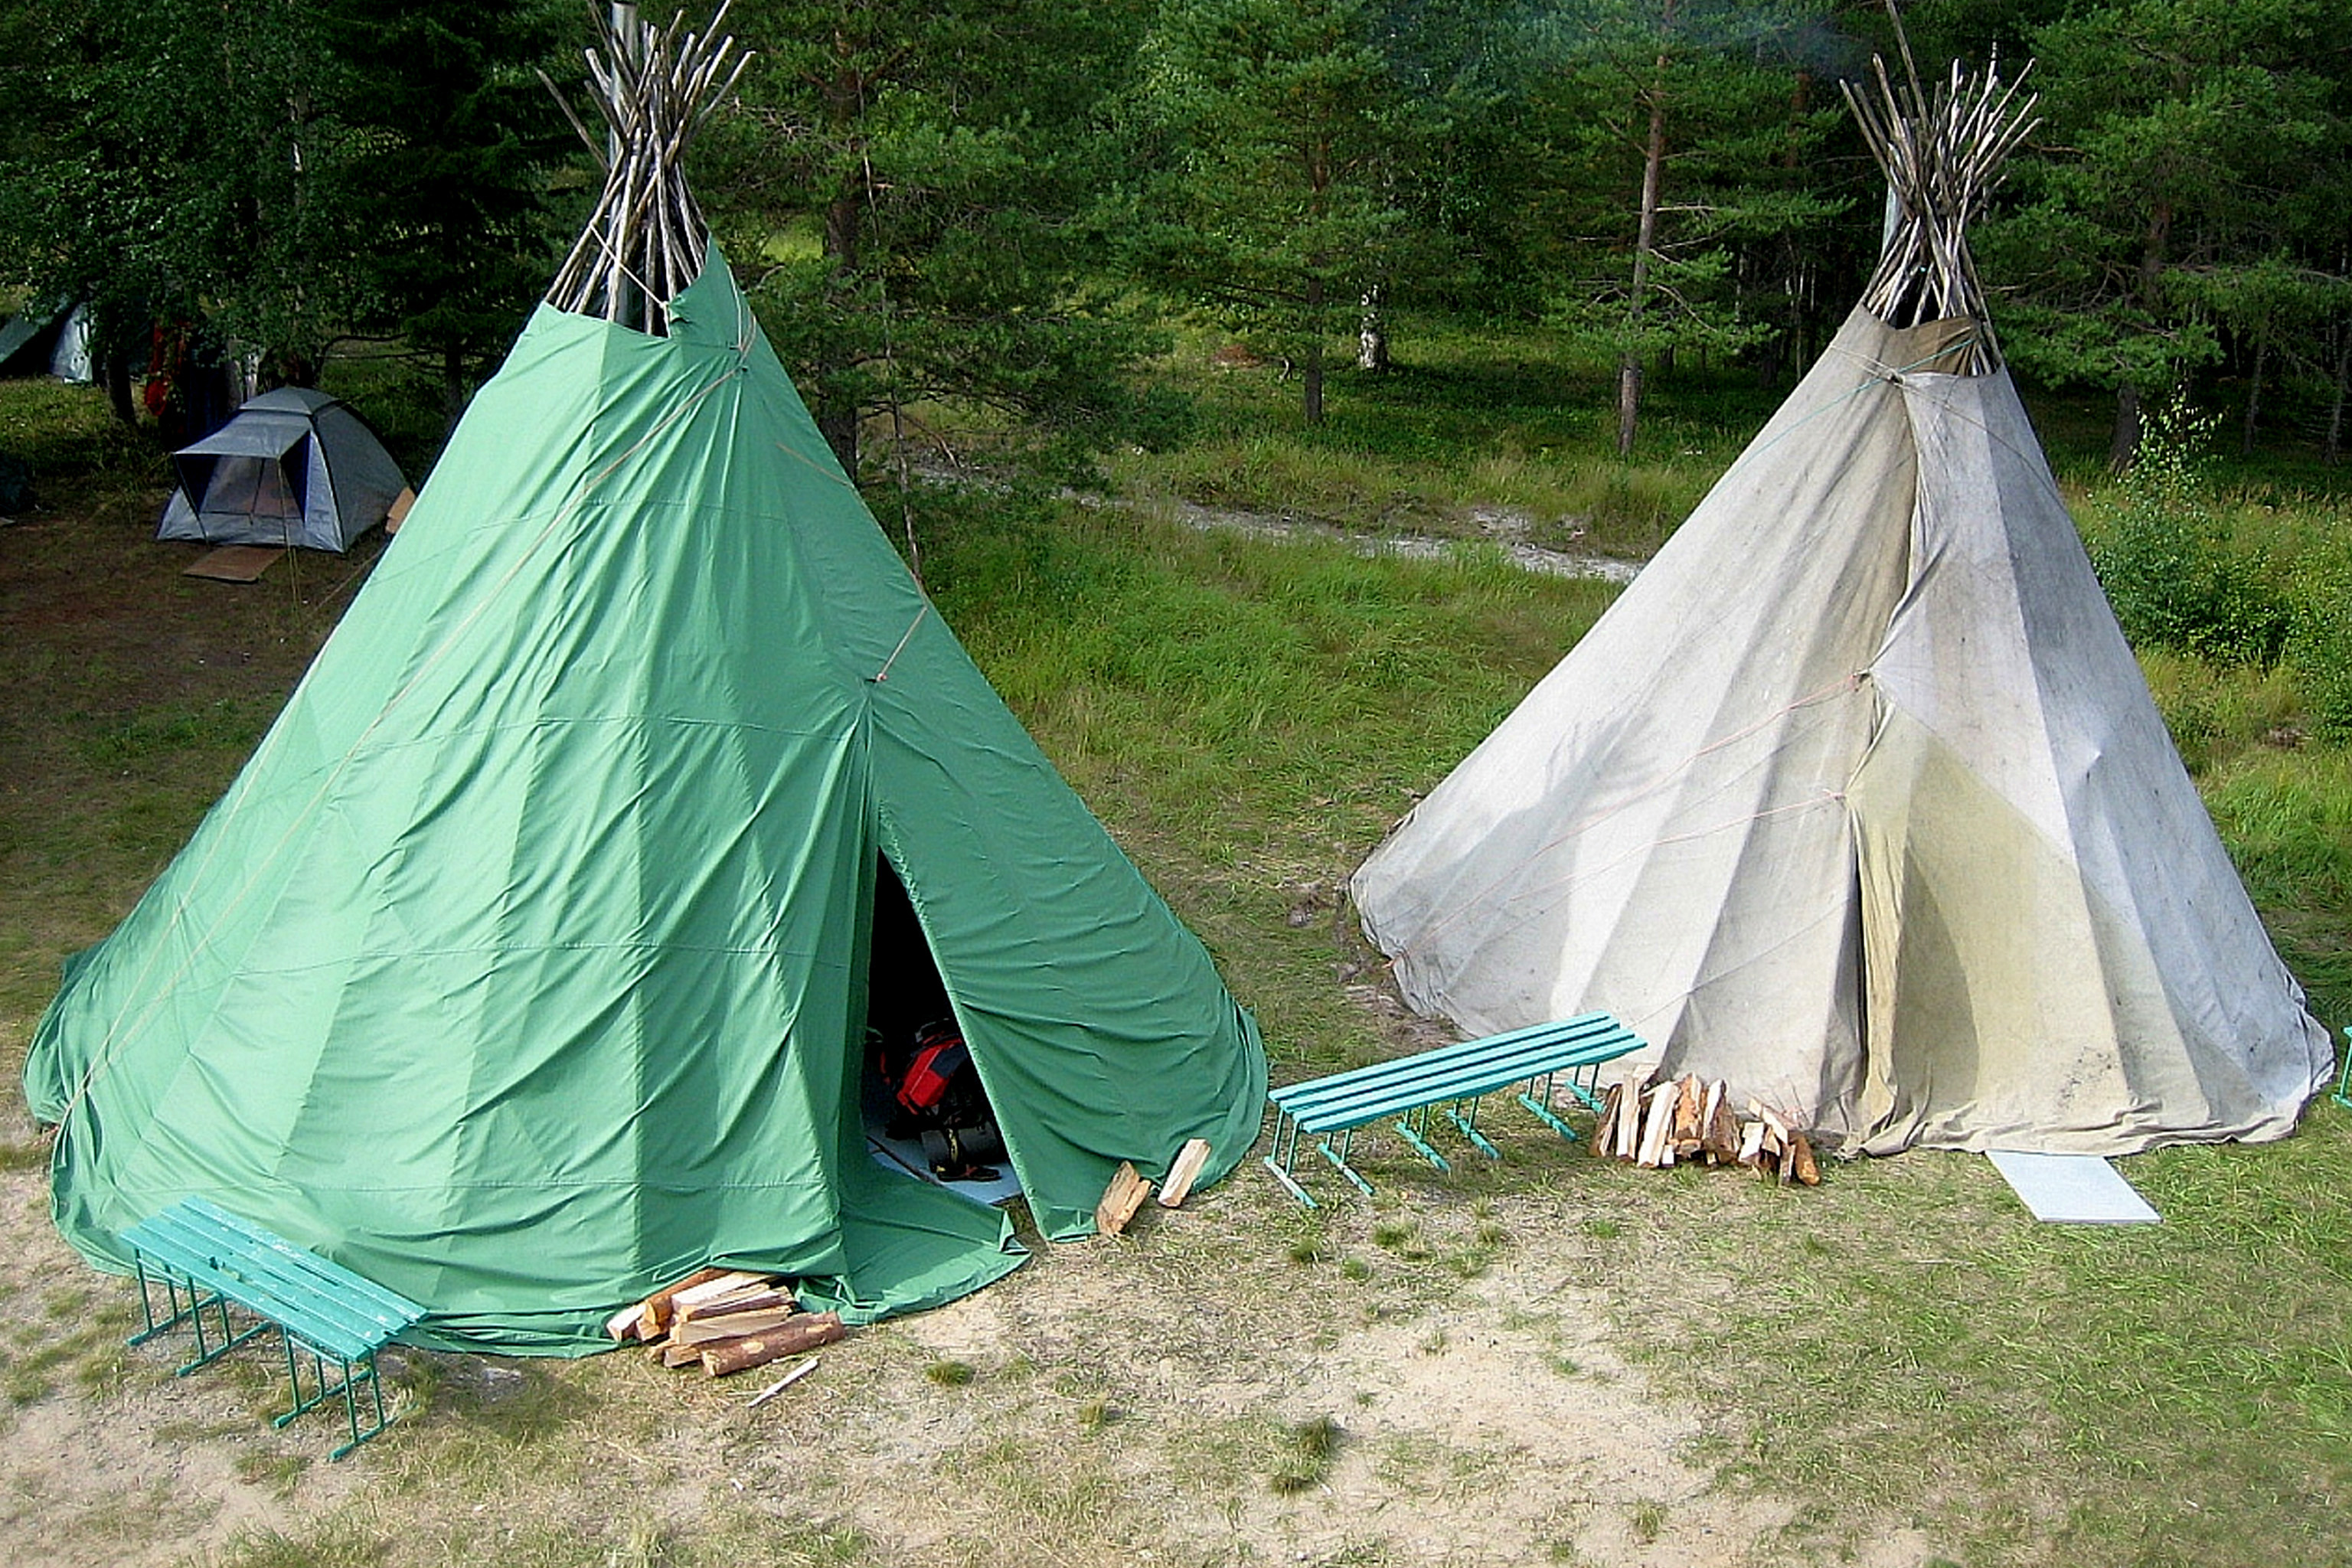
Lay three wooden poles on the ground with their top ends touching to form a tripod tip.
Step 3
Measure about 10–15 cm down from the top of the three touching poles and mark that spot with your finger or a small pencil.
Step 4
Tie the poles together at the mark by wrapping the rope around them several times and finishing with a tight knot so the tips stay bundled.
Step 5
Stand the bundled poles upright and gently spread the bottom ends to make a wide stable tripod base.
Step 6
Lean extra poles against the tripod evenly around the back and sides to make a stronger frame.
Step 7
Measure the height and front-to-back width of the pole frame to check the sheet will cover it fully.
Step 8
Cut the sheet if needed to make a doorway flap using scissors with an adult’s help.
Step 9
Drape the sheet over the frame so it covers the sides and leaves a front flap for a door.
Step 10
Clip the sheet to the poles with clothespins along the back and sides to hold it in place.
Step 11
Secure the bottom edges by tucking them under pole feet or weighing them down with small rocks so the fabric won’t blow away.
Step 12
Add decorations like ribbons markers or stickers to make your tipi special.
Step 13
Ask an adult to check all knots and the structure for safety and tighten anything loose.
Step 14
Share a photo or description of your finished tipi on DIY.org
Help!?
What can we use instead of wooden poles, rope, or clothespins if they're hard to find?
Use long broom or mop handles or straight tree branches instead of wooden poles, garden twine or a strong shoelace in place of rope to tie at the 10–15 cm mark, and binder clips or heavy paperclips instead of clothespins to clip the sheet.
If the tripod keeps slipping or the tipi falls over, what should we try?
Check that the three poles' top ends touch and are tied tightly at the 10–15 cm mark, spread the bottom ends wider for a more stable tripod base, lean extra poles around the back for support, and weigh or tuck the sheet edges under pole feet with small rocks so the fabric doesn't pull the frame down.
How can we adapt this tipi activity for different age groups?
For toddlers, have an adult clear the spot and set up and tie the tripod while the child decorates the draped sheet; for school-age kids, let them measure the 10–15 cm mark, help tie knots, and tuck edges; and for older kids, supervise them cutting the doorway flap with scissors and planning measurements for the sheet.
How can we personalize or improve the tipi once it's standing?
Add a ground tarp or blanket as a floor, clip on battery-powered fairy lights or hang ribbons and stickers from the poles, cut a window or awning in the sheet with adult help, and then share a photo of your finished tipi on DIY.org.
Watch videos on how to build a tipi
How To Make a Model Tipi
4 Videos
How To Make a Model Tipi
How to Make a Native American Paper Teepee
3D Paper Tipi/Teepee Craft Project

How to Create a Miniature Teepee
Facts about shelter-building for kids
🛖 Tipis (also spelled teepees) are conical shelters traditionally used by many Indigenous peoples of the North American Plains.
🌬️ The cone shape and angled poles help tipis shed strong winds and stay stable on open prairie.
🪵 Builders often used straight lodgepole pine or similar poles; a small tipi typically needs about 10–20 poles.
🎨 Tipis were often painted with family stories, symbols, or scenes—each design could tell a personal history.
⏱️ With practice, a small tipi can be measured, tied, and set up in roughly 15–30 minutes.
How do I build a small tipi at home?
What materials do I need to build a small tipi?
What ages is building a small tipi suitable for?
What safety tips should I know when making a tipi with my child?
