Build a swinging hammer
Build a small swinging hammer toy using a lightweight head, dowel handle, string, and tape, then test its motion safely with adult supervision.


Step-by-step guide to build a swinging hammer
Step 1
Ask an adult to help you.
Step 2
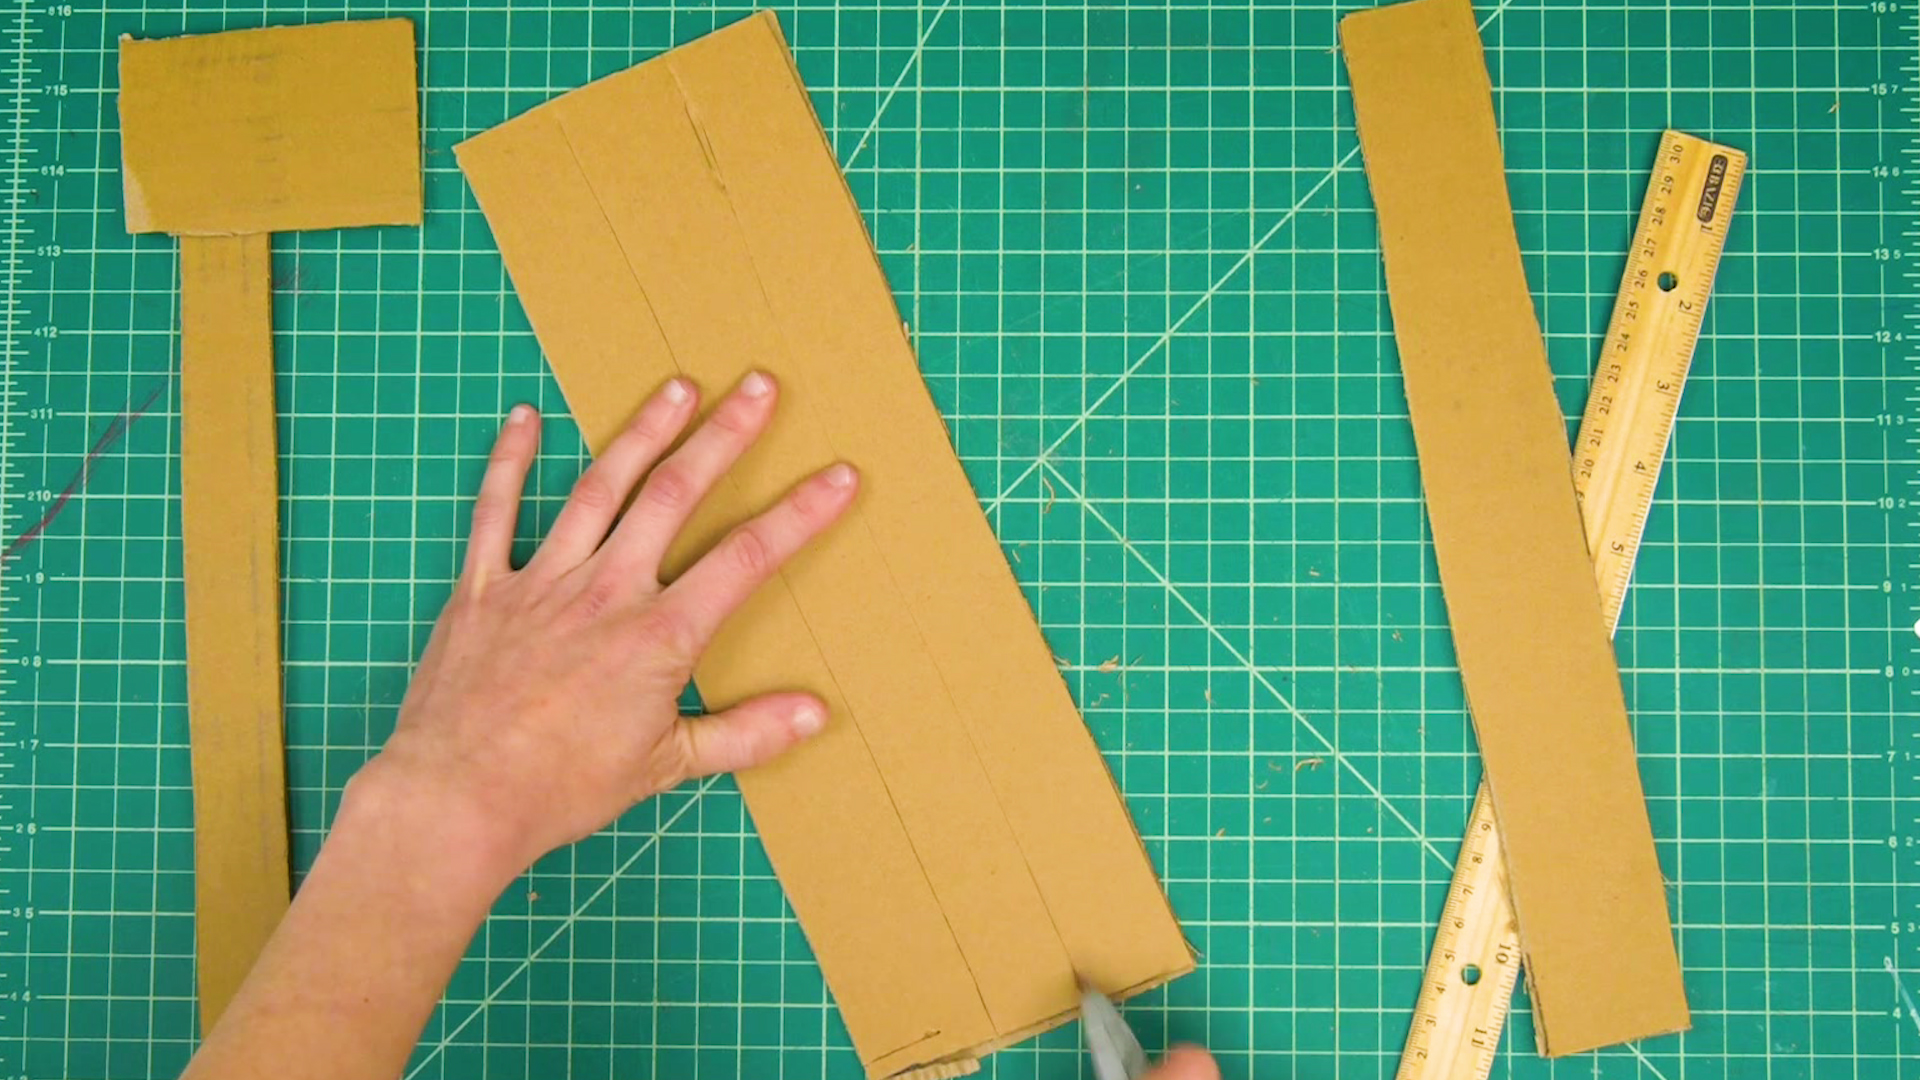
Clear a flat workspace and lay out all your materials.
Step 3
Measure and cut a 25 cm piece of string using the ruler and scissors.
Step 4
Place the middle of the string under the hammer head so equal lengths stick out each side.
Step 5
Tie a tight double knot on top of the hammer head to secure the string.
Step 6
Wrap tape around the knot and the head to hold the knot firmly in place.
Step 7
Mark a spot 2 cm from the top end of the dowel with the ruler.
Step 8
Make a small notch at the mark using scissors or a safe tool while your adult holds the dowel steady.
Step 9
Tie the free end of the string to the dowel at the notch with a secure knot.
Step 10
Wrap tape over the knot and around the top of the dowel to stop slipping and to make a comfy handle.
Step 11
Move to a clear open area with your adult and gently swing the hammer once to test its motion while your adult watches.
Step 12
Share your finished creation on DIY.org
Help!?
What can we use if we don't have the wooden dowel, hammer head, or tape from the instructions?
Use a sturdy wooden spoon or broomstick instead of the dowel, a wrapped foam block or heavy toy as the hammer head, and strong duct tape or cloth tape instead of the tape while still measuring and cutting a 25 cm piece of string as the instructions require.
My string knot keeps slipping or the hammer won't stay attached—what should I try?
Retie the string with a tight double knot on top of the hammer head, wrap more tape around the knot and head per the instructions, make the notch at the 2 cm mark shallower, and have an adult hold the dowel steady while you secure the free end and wrap tape over that knot.
How can I adapt the steps for younger or older kids?
For younger children, have an adult do the measuring, cutting, and notching and only let them gently swing the finished hammer in a clear area, while older kids can measure the 25 cm string, make the notch themselves, experiment with different string lengths, and test swings under supervision.
What are easy ways to personalize or improve the swinging hammer after making it?
Decorate the dowel with markers or paint, pad the hammer head with foam before wrapping tape for extra safety, try changing the 25 cm string length to alter the swing, and then move to a clear open area to test and share your finished creation on DIY.org.
Watch videos on how to build a swinging hammer
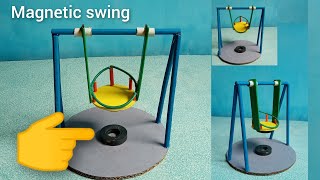
magnetic swing working model for school science project in easy steps - diy pandit
4 Videos

magnetic swing working model for school science project in easy steps - diy pandit

How To Swing A Hammer Without Breaking Your Body

Electromagnetic Swing Science Experiment | Easy & Fun Physics Project for Students!
How to make a Magnetic Swing || homemade magnetic automatic swing || science project for students
Facts about pendulum motion and toy-making for kids
⏱️ A 1-meter pendulum takes about 2 seconds to complete one full back-and-forth swing — great for a quick timer!
🪨 Hammers are ancient: early hammer-like stone tools were used by humans over 2 million years ago.
⚖️ For a simple pendulum, the swing time doesn't depend on the mass of the bob — heavy or light, same length swings together!
📏 The swing period grows with the square root of string length — double the length and the period increases by about √2 (~1.4×).
🔄 A swinging hammer swaps energy: highest point = lots of potential energy, lowest point = lots of speed (kinetic energy).
How do I build a small swinging hammer toy?
What materials do I need to make a swinging hammer?
What ages is a swinging hammer activity suitable for?
What safety tips and benefits does the swinging hammer activity offer?
