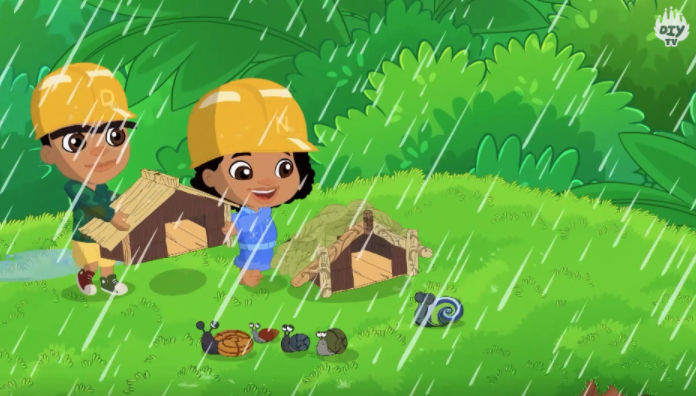
Build a shelter for your pets!
Design and build a cozy shelter for your pet using cardboard, blankets, and tape, learning measuring, cutting, and creating comfortable protection.


Step-by-step guide to build a shelter for your pets
Step 1
Find a cardboard box that is big enough for your pet to stand and turn around in.
Step 2
Choose a quiet spot your pet likes and move the box there.
Step 3
Measure your pet’s length and height with the ruler or measuring tape.
Step 4
Use the marker to draw a doorway and mark the height on the box using your measurements.
Step 5
Ask an adult to carefully cut out the doorway along the lines you drew.
Step 6
Tape the box seams and corners on the outside to make the shelter sturdy.
Step 7
Fold the top flaps into a roof shape to cover the shelter.
Step 8
Tape the roof flaps in place so the roof stays secure.
Step 9
Line the inside floor with the blanket and add the cushion or scrap fabric for softness.
Step 10
Look carefully for any sharp edges loose pieces or gaps inside and outside the shelter.
Step 11
Ask an adult to help fix any sharp edges or loose pieces by taping or padding them.
Step 12
Put a treat or favourite toy inside to invite your pet and watch how they use the shelter.
Step 13
Share your finished creation on DIY.org
Help!?
What can I use if I don't have a single large cardboard box?
If you can't find a single large cardboard box for step 1, tape two or three smaller boxes together along their seams and corners (step 6) and reinforce the joins with extra tape so the shelter is one roomy, sturdy space.
What should I do if the doorway is uneven or has sharp edges after cutting?
If the doorway from step 5 is uneven or has sharp edges, ask an adult to carefully trim and sand or cover the cut edges, then tape or pad them (steps 10–11) so it's smooth and safe for your pet.
How can I adapt the activity for younger or older kids?
For younger children have an adult do the cutting (step 5) while the child measures with the ruler (step 3), decorates the taped shelter (step 6), and helps line it with the blanket and cushion (step 9); older kids can take charge of accurate measuring, roof-folding (steps 3 and 6–7), and posting the finished shelter on DIY.org (step 13).
How can we enhance or personalize the finished pet shelter?
To enhance the shelter, an adult can cut small ventilation windows before you tape the roof flaps (steps 5 and 7), add Velcro or removable cushions on the blanket (step 9), attach a name tag, and place a favorite toy or treat inside (step 12) to encourage your pet to go in.
Watch videos on how to build a shelter for your pets
Build a Winter Cat Shelter: Simple 2-Foot Foam Board Cube Shelter
4 Videos
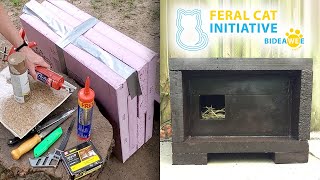
Build a Winter Cat Shelter: Simple 2-Foot Foam Board Cube Shelter
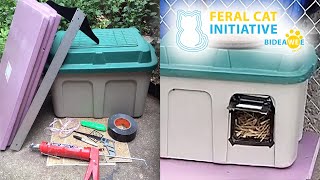
Build a Winter Cat Shelter: Easy Plastic Bin Shelter
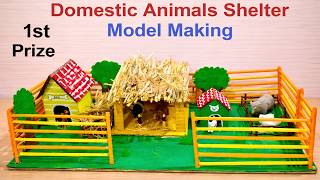
domestic animals shelter model making using cardboard and waste materials | diy | howtofunda
Bushcraft for kids: How to build a mini shelter AT HOME
Facts about DIY pet shelters
🐱 Cats love boxes — enclosed spaces help reduce stress and make them feel safe.
📦 Cardboard traps tiny air pockets that act like insulation to help keep a pet warm.
🛠️ Duct tape was popularized during WWII to seal ammunition boxes and is great for sturdy repairs.
📏 "Measure twice, cut once" is a handy carpentry proverb that helps avoid mistakes and wasted materials.
🛌 A small, cozy shelter with soft bedding and a slightly raised floor keeps pets warmer and drier than an open spot.
How do I design and build a cozy pet shelter from cardboard, blankets, and tape?
What materials and tools do I need to build a cardboard pet shelter?
What ages is this cardboard pet shelter activity suitable for?
What safety tips and benefits should I know when making a pet shelter?
