Build a pyramid ramp
Build a small model pyramid ramp from cardboard, clay, and tape; test rolling 'stones' to explore ancient engineering principles and simple machines safely.


Step-by-step guide to build a model pyramid ramp
Step 1
Gather all the materials from the list so everything is ready.
Step 2
Clear a flat workspace big enough for your pyramid and ramp.
Step 3
Use the ruler and marker to draw three squares on the cardboard about 12 cm 8 cm and 5 cm.
Step 4
Cut out the three cardboard squares carefully with scissors.
Step 5
Place the squares centered on top of each other from largest to smallest to make pyramid steps.
Step 6
Tape the stacked squares together so the stepped pyramid is sturdy.
Step 7
Draw a long triangle on another piece of cardboard about 20 cm long to make the ramp.
Step 8
Cut out the triangle ramp from the cardboard using scissors.
Step 9
Fold up the two long edges of the ramp to form low rails so stones stay on track.
Step 10
Tape the folded rails in place so they stay standing up.
Step 11
Lean the ramp against one side of the pyramid so the top of the ramp reaches a higher step.
Step 12
Roll three small balls of modeling clay about marble size to make your 'stones'.
Step 13
Put one clay stone at the very top of the ramp and hold it steady.
Step 14
Let go to release the stone and watch how it rolls down the ramp.
Step 15
Take a photo of your pyramid ramp and your test results and share your finished creation on DIY.org.
Help!?
What can I use instead of cardboard or tape if I don’t have them?
Use a flattened cereal box or a thin corrugated paperboard for the pyramid and ramp, and masking tape or clear packing tape in place of the tape called for in the instructions.
Why does the ramp collapse or the clay stones wobble and roll off, and how can I fix it?
If the folded rail edges flop or stones wobble, press the two long edges of the ramp more sharply, reinforce the folds with extra tape where the rails meet the ramp, and roll the modeling clay stones slightly flatter so they track steadily.
How can I adapt this activity for younger or older children?
For younger kids, have an adult pre-measure and cut the 12 cm, 8 cm, and 5 cm squares and use larger soft balls or pom-poms instead of marble-size clay stones, while older children can draw and cut a ramp longer than 20 cm and record times or distances for experiments.
How can we extend or personalize the pyramid ramp after the basic test?
Decorate the stacked cardboard squares with paint or stickers, mark measurement lines on the steps to record where each clay stone stops, and try changing the ramp angle or adding a second ramp to compare results before taking the photo to share on DIY.org.
Watch videos on how to build a model pyramid ramp
Young Engineers: Pyramid Catapult - Easy and Powerful DIY STEM Project for Kids
4 Videos
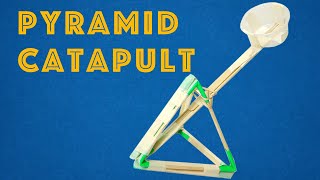
Young Engineers: Pyramid Catapult - Easy and Powerful DIY STEM Project for Kids
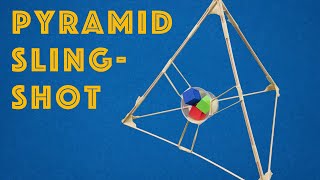
Young Engineers: Pyramid Slingshot - Easy, Cheap, and Fun DIY Engineering Project for Kids
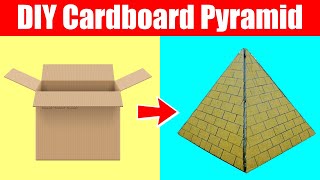
How to Make Pyramid from Cardboard | DIY Pyramid

Ramps: A Super, Simple Machine! - #sciencegoals
Facts about ancient engineering and simple machines for kids
🏗️ The Great Pyramid of Giza is estimated to contain about 2.3 million stone blocks.
🧭 French engineer Jean-Pierre Houdin proposed an internal ramp theory to explain how the Great Pyramid might have been built.
📐 An inclined plane is a simple machine that makes lifting heavy things easier by spreading the work over a longer distance.
🧱 Ancient Egyptians likely moved huge stone blocks using sledges, ropes, teams of people, and maybe wet sand to reduce friction.
🎯 In ramp experiments, steeper slopes make model 'stones' roll faster and travel farther — perfect for testing engineering ideas safely.
How do I build a pyramid ramp model to test rolling "stones"?
What materials do I need to make a cardboard and clay pyramid ramp?
What ages is this pyramid ramp activity suitable for?
What are the benefits, safety tips, and fun variations for the pyramid ramp activity?
