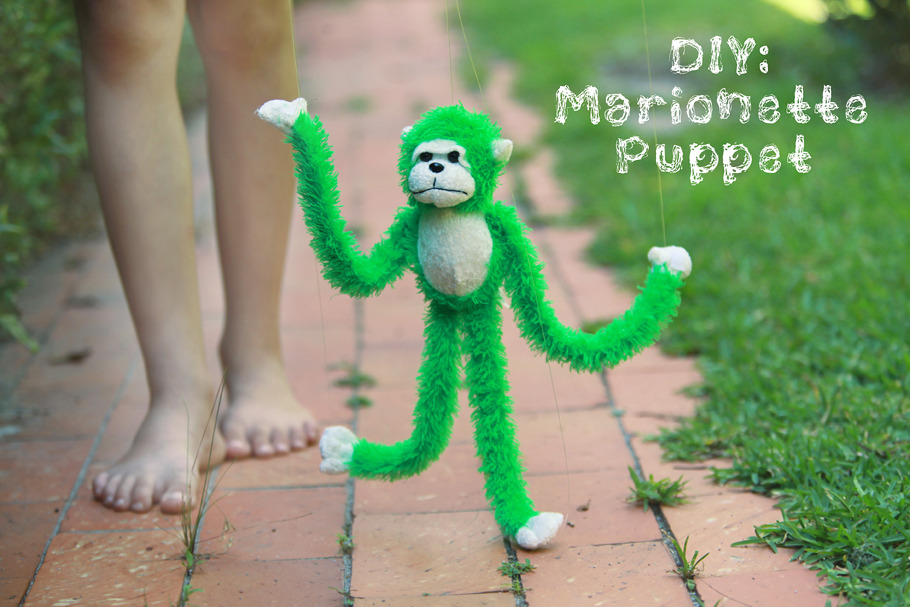
Build a puppet
Make a sock or paper bag puppet using fabric, glue, buttons, and felt. Decorate it, add movable features, and perform a short show.


Step-by-step guide to make a sock or paper bag puppet
No Sew Puppet Build - Easy to Follow - Make a Puppet Easy
Step 1
Pick a sock or a paper bag and put your hand inside to find where the puppet's mouth will be.
Step 2
Clear a workspace and lay out all your materials within reach.
Step 3
Cut a mouth shape from a felt sheet using scissors.
Step 4
Glue the felt mouth inside the sock or at the opening of the paper bag and let it set.
Step 5
Cut several fabric strips to make hair or a little outfit.
Step 6
Glue the fabric strips to the top of the puppet for hair or to the body for clothing.
Step 7
Twist two pipe cleaners into simple arm shapes.
Step 8
Tape or glue the pipe cleaner arms to the sides of the puppet so they sit securely.
Step 9
Glue two buttons or felt circles onto the face to make eyes.
Step 10
Use washable markers to draw a nose eyebrows and any extra face details you like.
Step 11
Cut a small felt tongue and glue it inside the mouth so it shows when you move the puppet.
Step 12
Perform a short puppet show for your family or stuffed animals to practice your character and voice.
Step 13
Share a photo or video of your finished puppet and your short show on DIY.org
Help!?
What can I use instead of felt, pipe cleaners, or buttons if I can't find them?
If you can't find felt, pipe cleaners, or buttons, substitute cardstock or construction paper for the felt mouth and tongue, yarn or crepe-paper strips for hair, twist ties or folded cardboard strips for arms, and draw eyes with washable markers or glue on paper circles instead of buttons.
My felt mouth or pipe cleaner arms won't stay in place—how do I fix that?
If the felt mouth or felt tongue won't stick inside the sock or to the paper bag, press it firmly and use fabric glue, double-sided tape, or have an adult add a small hot-glue spot and let it dry under a book, and secure wobbly pipe cleaner arms with tape wrapped around the attachment point or a dab of glue.
How can I adapt this puppet project for different ages?
For preschoolers, pre-cut the felt mouth, fabric strips, and felt tongue and give them a glue stick and large buttons to attach, while older kids can sew pieces, use hot glue for sturdier pipe cleaner arms, create brad-jointed limbs, and write a longer script for the short puppet show to post on DIY.org.
What are some fun ways to extend or personalize the puppet activity?
To extend and personalize the puppet, let kids draw patterns with washable markers, add removable Velcro outfits from extra fabric strips, glue on accessories like yarn scarves or paper props, build a simple cardboard stage, and record the short puppet show to share on DIY.org.
Watch videos on how to make a sock or paper bag puppet
How to Make a Paper Rabbit Puppet | Easy Bunny Craft for Kids - SnehPankh's Art Zone
4 Videos
How to Make a Paper Rabbit Puppet | Easy Bunny Craft for Kids - SnehPankh's Art Zone
Make a Sock Puppet - Easy Craft Project for Kids - Craft Time with Ashley

For Kids! Make your own Paper Tube Puppets
Simple Paper Puppet Magic for Creative Kids!
Facts about puppetry and puppet-making for kids
🧦 Sock puppets are one of the quickest puppets to make—often done with a single sock, some buttons, and a little glue!
🛍️ Paper bag puppets are a classroom favorite because the bag’s shape makes a simple movable mouth for storytelling.
✂️ Felt is a non-woven fabric made by matting fibers together, so it won’t fray—perfect for cutting out eyes, tongues, and ears.
🎭 Puppetry is one of the oldest forms of theater and has been used across cultures for storytelling and teaching for thousands of years.
🐸 Jim Henson popularized TV puppetry with the Muppets in the 1950s and showed how puppets can become iconic characters.
How do I make a sock or paper bag puppet with my child?
What materials do I need to build a sock or paper bag puppet?
What ages is puppet-making suitable for?
What are the benefits and safe variations of making puppets?
