Build a paper vehicle
Build a paper vehicle using folded paper, wheels from bottle caps or cardboard, and a straw axle to learn measurements, balance, and simple mechanics.


Step-by-step guide to build a paper vehicle
ORIGAMI CAR TUTORIAL STEP BY STEP | DIY PAPER CAR ORIGAMI WORLD FOLDING | CREATE YOUR OWN PAPER CAR
Step 1
Gather all Materials Needed on a clear table so you can reach everything easily.
Step 2
Fold the paper sheet in half lengthwise and crease it to make a strong car body.
Step 3
Fold both short ends of the folded paper up about 1 cm to make a low platform for the axles.
Step 4
Secure the folded paper body with tape or glue so the shape stays firm.
Step 5
Turn the car body over and use the ruler to mark two axle positions about 1.5 cm in from each end.
Step 6
Cut the drinking straw into two equal pieces about 6 cm long with scissors.
Step 7
Tape each straw piece underneath the car body at the marked axle positions so they act as sleeves.
Step 8
Make four wheels by cleaning four bottle caps or by cutting four cardboard circles of the same size.
Step 9
With adult help make a small hole in the center of each wheel slightly larger than the skewer or paper clip.
Step 10
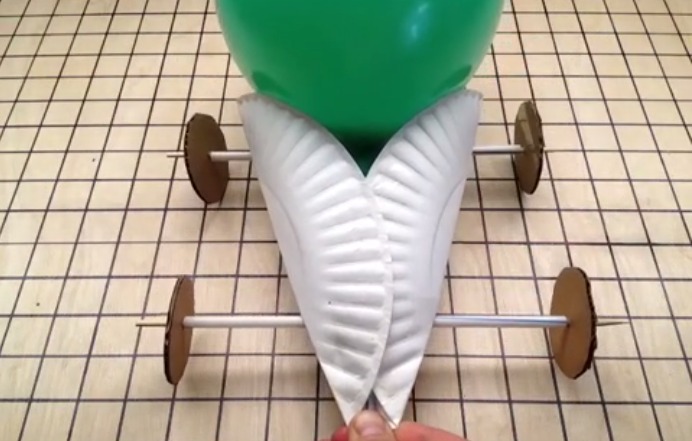
Push the wooden skewer or straightened paper clip through the straw sleeves to form the front and back axles.
Step 11
Slide one wheel onto each end of the axles so there are four wheels in total.
Step 12
Secure each wheel near the end of the axle with a small piece of tape or a dab of glue while leaving a tiny gap so the wheel can spin.
Step 13
Place the vehicle on the floor and give it a gentle push to see how it rolls.
Step 14
If the car veers or tilts adjust by sliding an axle, moving a wheel, or adding a small paperclip weight inside the body until it rolls straight.
Step 15
Take a photo or write a short note about your vehicle and share your finished creation on DIY.org
Help!?
What can I use instead of drinking straws, wooden skewers, or bottle caps if I can't find them?
Substitute the drinking straw sleeves (step 6) with tightly rolled paper tubes or short wooden coffee stirrers, use straightened paper clips or pencils in place of the wooden skewer (step 9), and replace bottle caps by cutting equal cardboard circles (step 8).
My car won't roll straight or the wheels stick—what should I check and fix?
If the car veers or wheels bind, make the wheel holes a bit larger (step 8), leave a tiny gap when taping the wheels (step 11), and ensure the straw sleeves are taped straight and centered under the marked axle positions (steps 5 and 6).
How can I adapt the project for younger kids or make it more challenging for older kids?
For younger children, have an adult pre-fold the paper body and cut straws and wheels (steps 2, 6, 8), while older kids can vary axle positions (step 5), add calibrated weights inside the body (step 12), or time runs to test performance.
What are some fun ways to improve or personalize the paper vehicle after building it?
Personalize and enhance the vehicle by decorating the paper body with paint or stickers (step 1), adding a rubber-band motor or balloon for propulsion, and experimenting with different wheel sizes or axle placements (steps 5 and 12) before sharing your photo on DIY.org.
Watch videos on how to build a paper vehicle
How to make paper car | Easy toy car making | paper toys
4 Videos

How to make paper car | Easy toy car making | paper toys
How To Make Paper Cars for kids 🤗//Origami Car Tutorial//Kids Craft//Making Easy Craft//Nursery diy
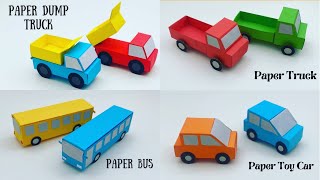
How To Make Paper Toy Vehicles ( CAR , TRUCK , BUS ) For Kids / Nursery Craft Ideas / KIDS crafts
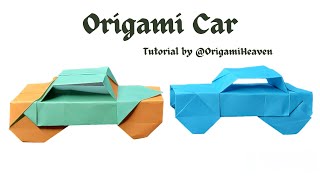
🚗 Easy Origami Car. How To Fold A Paper Car I Super Easy And Fast Origami Car Tutorial.
Facts about basic engineering for kids
🛞 The wheel and axle is one of the six classical simple machines and helps you move loads with less force.
📝 Origami and folded-paper techniques make flat sheets much stronger — perfect for building a sturdy car body from paper.
♻️ Bottle caps are popular DIY wheels because they're round, lightweight, and easy to attach to axles.
📏 Measuring the distance between axles (track width) and wheel size changes stability — a wider track usually reduces tipping.
🥤 A drinking straw can act as a low-friction axle for small paper cars, but wooden skewers or dowels work better for heavier wheels.
How do you build a paper vehicle using folded paper, bottle cap or cardboard wheels, and a straw axle?
What materials do I need to build a paper vehicle with bottle cap or cardboard wheels?
What ages is this paper vehicle activity suitable for?
What are the benefits and safety tips for making paper vehicles?
