Build A LEGO Rocket
Build a LEGO rocket model, design stabilizing fins and a removable capsule, test flight concepts, and learn about balance, symmetry, and basic aerodynamics.


Step-by-step guide to build a LEGO rocket
How to build a LEGO Rocket! EASY LEGO Academy Rocket Build | DIY Tutorial
Step 1
Gather all the materials listed and bring them to a clear tabletop or floor space.
Step 2
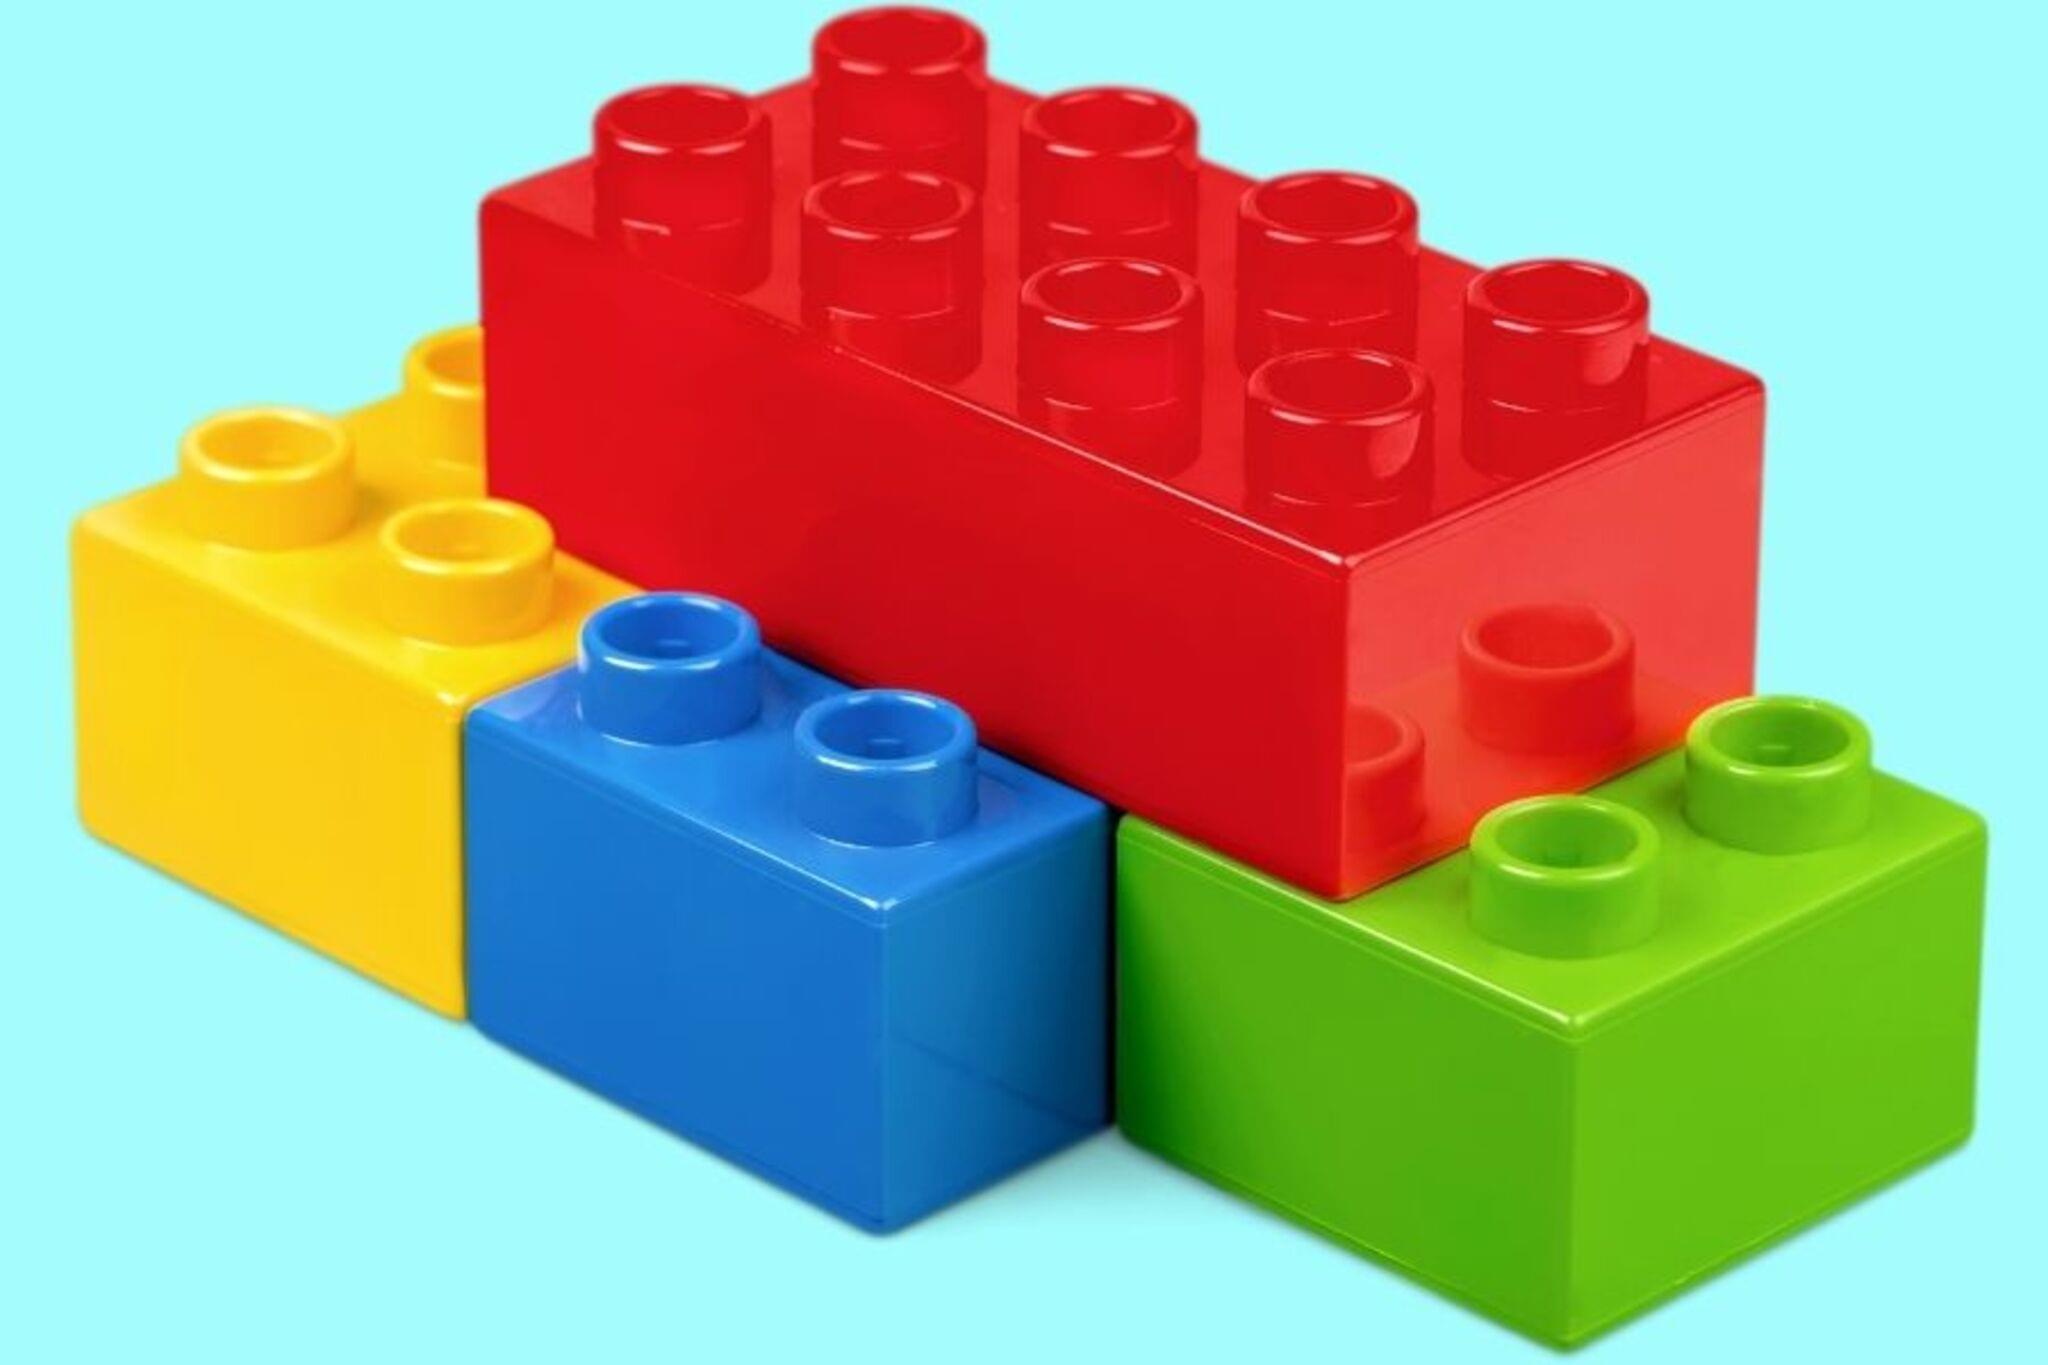
Pick LEGO pieces to build a tall rocket body and set aside small pieces to make a removable capsule.
Step 3
Build the rocket body by stacking and snapping bricks into a tall narrow shape that feels sturdy.
Step 4
Build a small removable capsule that can sit on top of the rocket and be taken off easily.
Step 5
With an adult cut out three or four fins from the cardstock into simple triangle or trapezoid shapes.
Step 6
Attach all the fins evenly around the lower rocket body using tape so the fins are spaced symmetrically.
Step 7
Balance the rocket on your fingertip to find the spot where it stays upright.
Step 8
Add or remove small LEGO pieces to the body or capsule until the rocket balances upright on your finger.
Step 9
Give the rocket a gentle push across a smooth floor and watch how it glides or tumbles.
Step 10
Change the fin shape or move a fin to a new position to try a different stabilizing design.
Step 11
Push the rocket the same way again to compare how the new fin setup changes the flight.
Step 12
Use markers to decorate your rocket so it looks awesome and easy to recognize.
Step 13
Draw or write one sentence about which design flew best and why using your ruler to make neat lines if you like.
Step 14
Share a photo or description of your finished rocket and what you learned by posting it on DIY.org
Help!?
What can we use if we don't have cardstock or enough LEGO pieces?
If you don't have cardstock, cut fins from a cereal box or thin cardboard and attach them with masking or clear tape to the lower rocket body, and if LEGO pieces are limited use larger DUPLO or stack small boxes as a tall narrow body so you can still test balance and flight.
Why won't my rocket balance on my fingertip or keeps tipping over?
If the rocket tips when balancing on your fingertip, follow the instructions to add or remove small LEGO pieces to the body or capsule and slide the removable capsule slightly up or down until the rocket stays upright.
How can I adapt this activity for younger or older kids?
For younger kids use big DUPLO bricks, pre-cut fins (have an adult cut the cardstock) and simpler stacking, while older kids can use the ruler to measure even fin spacing, test different fin shapes, and record which design flew best.
How can we make the rocket more interesting or improve flight performance?
Enhance the rocket by decorating with markers as suggested, adding small coins or modeling clay inside the removable capsule to fine-tune balance, or attaching a tissue-paper parachute to the capsule to test controlled descent before sharing a photo on DIY.org.
Watch videos on how to build a LEGO rocket
Kids' LEGO Rocket Tutorial — Fun & Easy Space Toy 🚀 #buildingblocks
4 Videos
Kids' LEGO Rocket Tutorial — Fun & Easy Space Toy 🚀 #buildingblocks
How to build and program a LEGO Rocket with SPIKE Essential
How to build a Lego satellite rocket & launch base #lego #toys #build
LEGO Tutorial mini Rockets part 2
Facts about model rocketry and aerodynamics
🚀 Real rockets use fins or control systems to stay stable in flight—fins are a simple, effective way to help a rocket go straight.
🧱 LEGO bricks have been backward-compatible since 1958, so new pieces still click together with vintage sets.
⚖️ A rocket flies best when its center of mass (weight) is ahead of its center of pressure (where air pushes on it).
✨ Symmetry (making both sides mirror each other) makes it much easier to balance a rocket and predict how it will behave.
🎯 Hobby model rockets can reach hundreds of meters high—so testing should always be done in wide, open spaces for safety.
How do you build a LEGO rocket with stabilizing fins and a removable capsule?
What materials do I need to build a LEGO rocket?
What ages is building a LEGO rocket suitable for?
What safety tips and variations can we try when testing a LEGO rocket?
