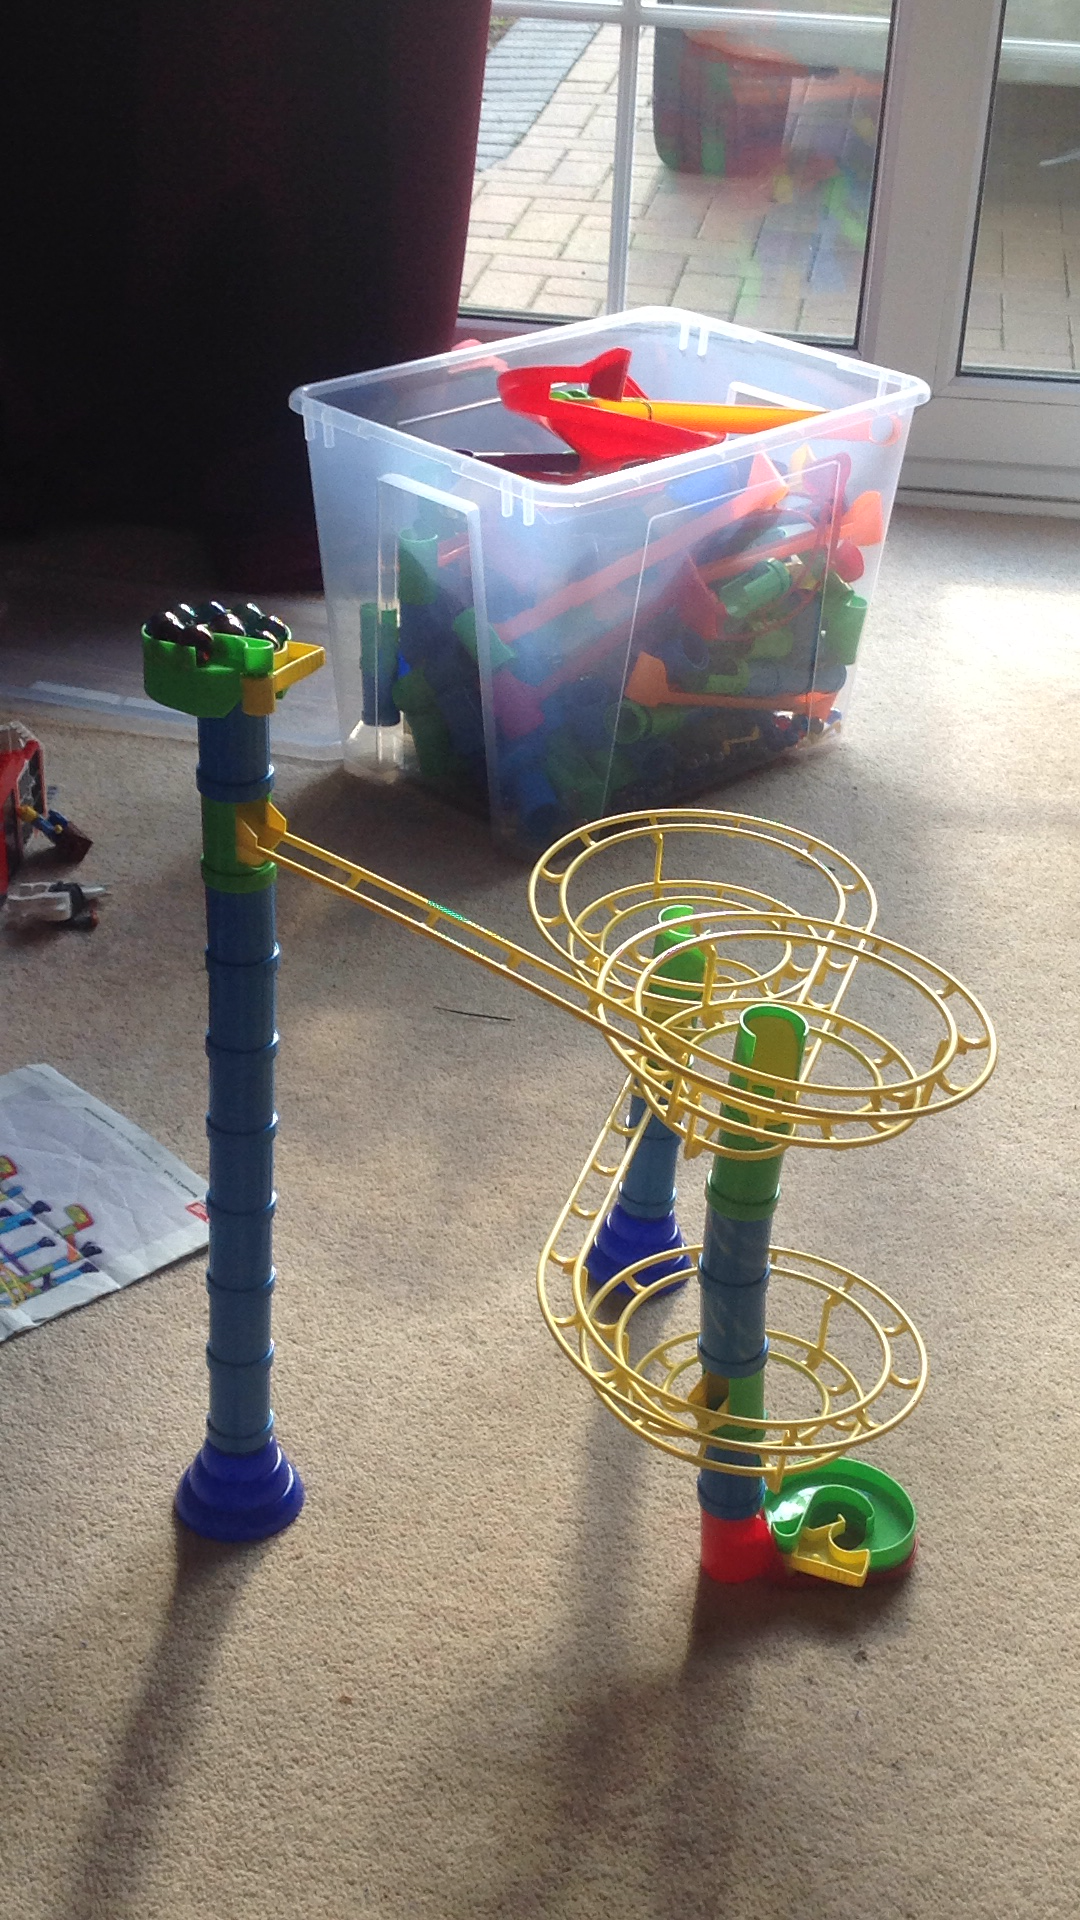
Build a circular ramp
Build a circular ramp from cardboard and tape to roll marbles or toy cars around, measure slope, test speed, and observe motion.


Step-by-step guide to build a circular ramp from cardboard and tape
Step 1
Clear a flat workspace on the floor or a table so you have room to build.
Step 2
Cut a long rectangular strip of cardboard about 8 to 12 cm wide and as long as your cardboard allows.
Step 3
Cut small slits every few centimetres along both long edges of the strip so you can fold up the sides.
Step 4
Fold the edge flaps up along each long side to form walls that will keep the marble or car on the track.
Step 5
Secure the folded walls with tape along the inside and outside edges so the channel stays open.
Step 6
Gently bend the channel into a spiral circle shape starting from the outside toward the center.
Step 7
Tape the spiral turns to each other at several places to hold the circular ramp shape steady.
Step 8
Place the spiral ramp on the floor and mark the top starting point with your marker.
Step 9
Put small boxes or books under the outer edge to lift that end and create the first slope height.
Step 10
Measure the vertical height from the floor to the top edge of the ramp with your ruler and write the number down.
Step 11
Measure the incline angle of the ramp with your protractor and write that angle down.
Step 12
Place a marble or toy car at the top starting point and release it while timing one full lap with the stopwatch.
Step 13
Change the support height to a higher or lower position and set up the ramp for a second test.
Step 14
Repeat the timed run with the new height so you have a second time to compare.
Step 15
Share your finished circular ramp and what you observed about speed and slope on DIY.org.
Help!?
What can I use if I don't have a protractor, stopwatch, or marble for this circular ramp activity?
Use a printable protractor or a smartphone angle-measure app for step 11, a phone timer or kitchen timer for step 12, and a small bouncy ball or toy LEGO car instead of a marble for step 12.
My ramp keeps collapsing or the marble gets stuck — what should I check and fix?
If the folded walls or spiral turns won't hold (steps 5–7) or the marble sticks at the slits (steps 3–4), reinforce the walls with extra tape or glue, add thin cardboard strips along the inside of the channel, and trim or smooth uneven slit edges so the channel is continuous.
How can I adapt the steps for younger or older children?
For younger kids have an adult pre-cut the cardboard and make the slits (steps 2–3) while they fold and tape (step 5), and for older kids add precise height/angle measurements and multiple timed trials (steps 10–14) with speed calculations to deepen the experiment.
How can we extend or personalize the ramp after finishing the basic build?
Decorate the ramp, add extra lanes or bumps using additional cardboard strips (steps 2–6), test different marbles or cars and support heights (steps 9–13) to compare speeds, and share your findings on DIY.org (step 15).
Watch videos on how to build a circular ramp from cardboard and tape
Science Projects | Ramp Working Model
4 Videos
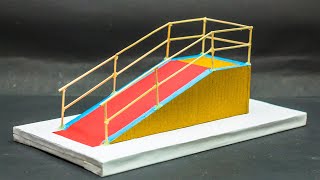
Science Projects | Ramp Working Model
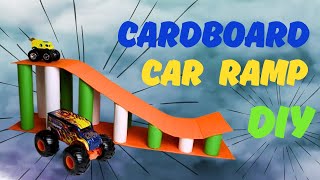
Cardboard car ramp. DIY children's toys
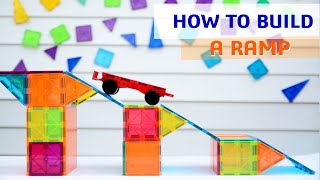
Magnetic Tiles Ideas - HOW TO BUILD A RAMP TUTORIAL
1-Click Spiral Ramp in SketchUp! 🚀 How to Make a Fast Circular Curve Ramp 🌀 in 20s!
Facts about ramps and basic physics
🛞 Steeper ramps make marbles and toy cars roll faster because more of gravity pulls them along the slope.
📏 Slope is easy to measure: rise ÷ run (height divided by length) — a fun way to turn building into math!
🌀 On a circular ramp, centripetal force helps keep the marble turning so it can loop around instead of flying off.
📦 Cardboard gets a lot stronger when rolled into tubes or stacked in layers, so simple folds or rolls make sturdy ramp pieces.
⏱️ Tiny changes in angle, surface smoothness, or marble size can change run times by fractions of a second—perfect for timing experiments.
How do I build a circular ramp from cardboard and tape to roll marbles or toy cars, and how do I measure slope and test speed?
What materials do I need to build a cardboard circular ramp for marbles or toy cars?
What ages is a cardboard circular ramp activity suitable for and when is supervision needed?
What are the benefits, safety tips, and fun variations for a cardboard circular ramp activity?
