Build a bike trailer
Build a simple, safe bike trailer using plywood, wheels, a hitch, and tools. Learn measuring, fastening, and test towing with adult supervision.


Step-by-step guide to build a bike trailer
DIY Bike Trailer
Step 1
Measure and mark a rectangle 24 inches wide by 36 inches long on the plywood using the measuring tape and pencil.
Step 2
With adult help cut the marked rectangle out of the plywood to make the trailer base using the saw or jigsaw.
Step 3
Measure and mark two side panels 24 inches long by 6 inches high on the remaining plywood.
Step 4
With adult help cut out the two side panels from the plywood following your marks.
Step 5
Sand all cut edges of the base and side panels until they are smooth and safe to touch.
Step 6
Place a side panel along one long edge of the base and attach it using wood glue and wood screws so it sits flush and straight.
Step 7
Repeat Step 6 to attach the other side panel to the opposite long edge of the base.
Step 8
Turn the base over and measure to find the centerline and positions for your axle brackets about 2 inches in from each side then mark the bracket holes.
Step 9
With adult help bolt the axle brackets to the underside of the base then slide the axle rod through the brackets and tighten the nuts and washers securely.
Step 10
Mount the two bicycle wheels onto the axle making sure each wheel is seated properly then tighten the wheel nuts and spin each wheel to check they turn freely.
Step 11
Cut and sand a 24-inch wooden hitch arm then attach the arm to the front center of the trailer with a heavy bolt and nut so the arm can pivot and add a metal loop or carabiner at the arm tip for connecting to the bike with an adult chosen bike coupler or strap.
Step 12
With adult supervision check that every bolt and nut is tight then first pull the trailer by hand and finally have an adult safely test tow the trailer behind the bike at slow speed before using it for cargo.
Step 13
Share a photo and a short story of your finished bike trailer on DIY.org
Help!?
What can we use instead of plywood, a jigsaw, or a commercial axle if those are hard to find?
If full sheets of plywood or a jigsaw are unavailable, have an adult cut two 1/2-inch plywood sheets and glue+ screw them together for the base and use a handsaw for cuts, and substitute a threaded steel rod or salvaged bike axle plus recycled bicycle wheels for the axle and wheels in step 9.
My wheels wobble or won't spin after assembly — which steps should I re-check and how can I fix it?
If wheels wobble after step 9, re-check that the axle brackets in step 8 are bolted square to the centerline, confirm wheels are seated properly with correct washers and tightened nuts, add thin shims or loosen and re-seat the wheel, and lubricate the axle so they spin freely.
How can we adapt tasks in these instructions for younger kids versus older kids or teens?
For younger children have an adult pre-cut the base and panels and let them do measuring (step 1), sanding (step 5), and decorating, while older kids can perform supervised cutting and bolting (steps 2 and 8) and teens can assemble the axle, hitch (steps 9–11), and handle final testing.
What are simple ways to extend, improve, or personalize the finished trailer from these instructions?
After sanding and assembly, personalize by painting the side panels, adding reflector tape and cargo straps to the base, installing a padded liner for cargo comfort, or swapping the step 11 bolt-on hitch for a quick-release coupler and a removable tailgate.
Watch videos on how to build a bike trailer
DIY Bike Trailer Build Video
4 Videos
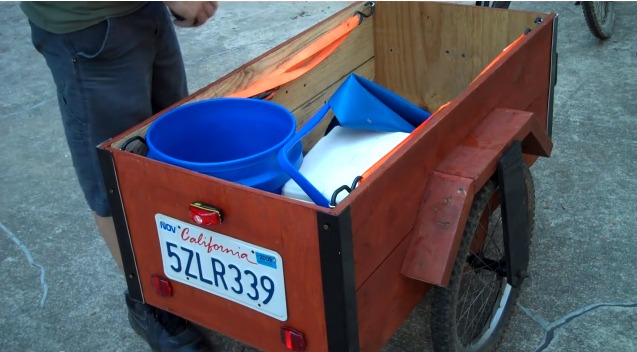
DIY Bike Trailer Build Video
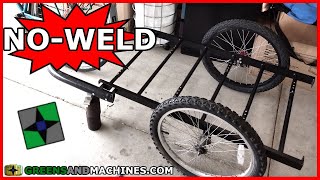
Quick & Easy No-Weld Bicycle Trailer Build
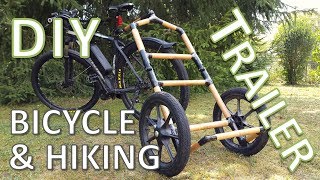
How to Build a Bicycle & Hiking Trailer with Bamboo
DIY Bike Bicycle Trailer Build - Part 1 Video Tutorial | Welding and Fabrication
Facts about woodworking for kids
🚲 Many bicycle trailers are built to haul 100+ kg (220+ lb) — perfect for groceries, gear, or pets.
🪵 Plywood is made by gluing thin wood veneers with alternating grain directions, which makes it strong and resist warping.
🛠️ Basic tools for a plywood bike trailer include a jigsaw or circular saw, drill, screws, wrenches, and clamps.
⚖️ Keeping heavy loads low and centered over the axle improves towing stability and reduces fishtailing.
🔗 Bike trailer hitches usually swivel so the trailer can turn independently without disconnecting.
How do you build a simple kid-friendly bike trailer?
What materials and tools are needed to build a bike trailer?
What ages is building a bike trailer suitable for?
What safety precautions should we follow when making and using a bike trailer?
