Build a battle fortress
Build a cardboard battle fortress using boxes, tape, pillows, and craft materials; design walls, a gate, and test defenses safely with supervision.

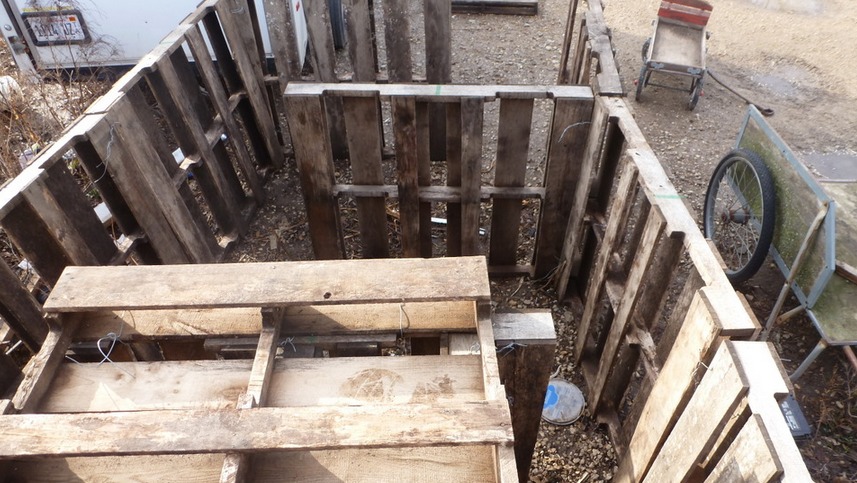

Step-by-step guide to build a cardboard battle fortress
I built an Army Men TUNDRA FORTRESS in NEW Base Building Simulator! - Attack on Toys
Step 1
Pick a flat safe spot in your home to build your fortress and clear the floor there.
Step 2
Gather all your materials and bring them to your build spot.
Step 3
Draw a simple plan on a piece of paper showing where the walls gate and tower will go.
Step 4
Place the largest boxes on the floor to form the base shape of your fortress.
Step 5
With an adult's help cut a gate flap and a few windows in one box for your entrance and peeks.
Step 6
Tape boxes together at the seams to make sturdy walls.
Step 7
Stuff pillows or blankets behind wall boxes to reinforce them and add cushion.
Step 8
Make a drawbridge or gate by taping a flat piece of cardboard at one edge to the entrance.
Step 9
Build a lookout tower by stacking a smaller box on a corner and taping it securely to the wall.
Step 10
Decorate your fortress walls and tower using colouring materials glue and decorations.
Step 11
With an adult nearby gently test your defenses by tossing a soft object at the wall from a short distance.
Step 12
Reinforce any weak spots you found during the test with extra tape or pillows.
Step 13
Tidy up leftover scraps and make sure the play area is safe and comfortable.
Step 14
Take photos of your finished battle fortress and share your creation on DIY.org
Help!?
If I can't find large boxes, tape, or cardboard, what can I use instead?
If you don't have large boxes, use couch cushions or stack smaller boxes for the base, and if you lack tape or a flat cardboard for the drawbridge, fasten seams with string and clothespins and use a stiff book or baking tray as the bridge while decorating with markers or stickers instead of colouring supplies.
What should I do if a wall or the lookout tower keeps collapsing during the test toss?
If walls or the taped lookout tower wobble during the soft-object test, have an adult add extra tape at the seams, stuff pillows or blankets behind the wall boxes for support, and retape the tower base securely to the wall.
How can I change the activity for younger or older kids?
For younger kids, skip cutting and have an adult make pre-cut windows and low pillow-and-blanket walls and use stickers for decorating, while older kids can draw a detailed plan, safely cut the gate and windows with supervision, build a taller taped tower, and test and reinforce weak spots themselves.
How can we personalize or extend the battle fortress after it's built?
Personalize and extend your fortress by adding string-lights and a paper flag to the taped lookout tower, cutting secret tunnels between boxes, making a pulley-style drawbridge from the flat cardboard and string, and then take photos of the finished battle fortress to share on DIY.org.
Watch videos on how to build a cardboard battle fortress
How To Make A BATTLEGROUNDS GAME In Roblox Studio 2024
4 Videos
How To Make A BATTLEGROUNDS GAME In Roblox Studio 2024
I built an Army Men SUPER-FORTRESS in NEW Base Building Simulator! - Attack on Toys: New Mod
![Minecraft: Build an Easy Medieval Castle Tutorial [Step by Step]](https://img.youtube.com/vi/2v-1Rp-hq10/mqdefault.jpg)
Minecraft: Build an Easy Medieval Castle Tutorial [Step by Step]
I built a WW2 SUPER FORTRESS Defense in NEW Base Building Simulator! - Gates of Hell: New Update
Facts about cardboard crafts and fort building
📦 Cardboard is made of layered paper (often corrugated) and gets much stronger when folded or stacked—perfect for fortress walls!
🏰 Fortifications like castles used gates, battlements, and drawbridges—great ideas to borrow when designing your fortress defenses.
🛋️ Pillow and blanket forts are a long-loved play tradition—kids and families have been building cozy forts for generations.
✂️ DIY building teaches real engineering skills: planning, measuring, cutting, taping, and testing to solve problems safely.
🎨 Decorating with flags, shields, and craft details turns a simple cardboard structure into a unique storytelling castle.
How do I build a cardboard battle fortress step-by-step?
What materials do I need to build a cardboard battle fortress?
What ages is a cardboard battle fortress activity suitable for?
How can I keep building and testing a cardboard fortress safe?
