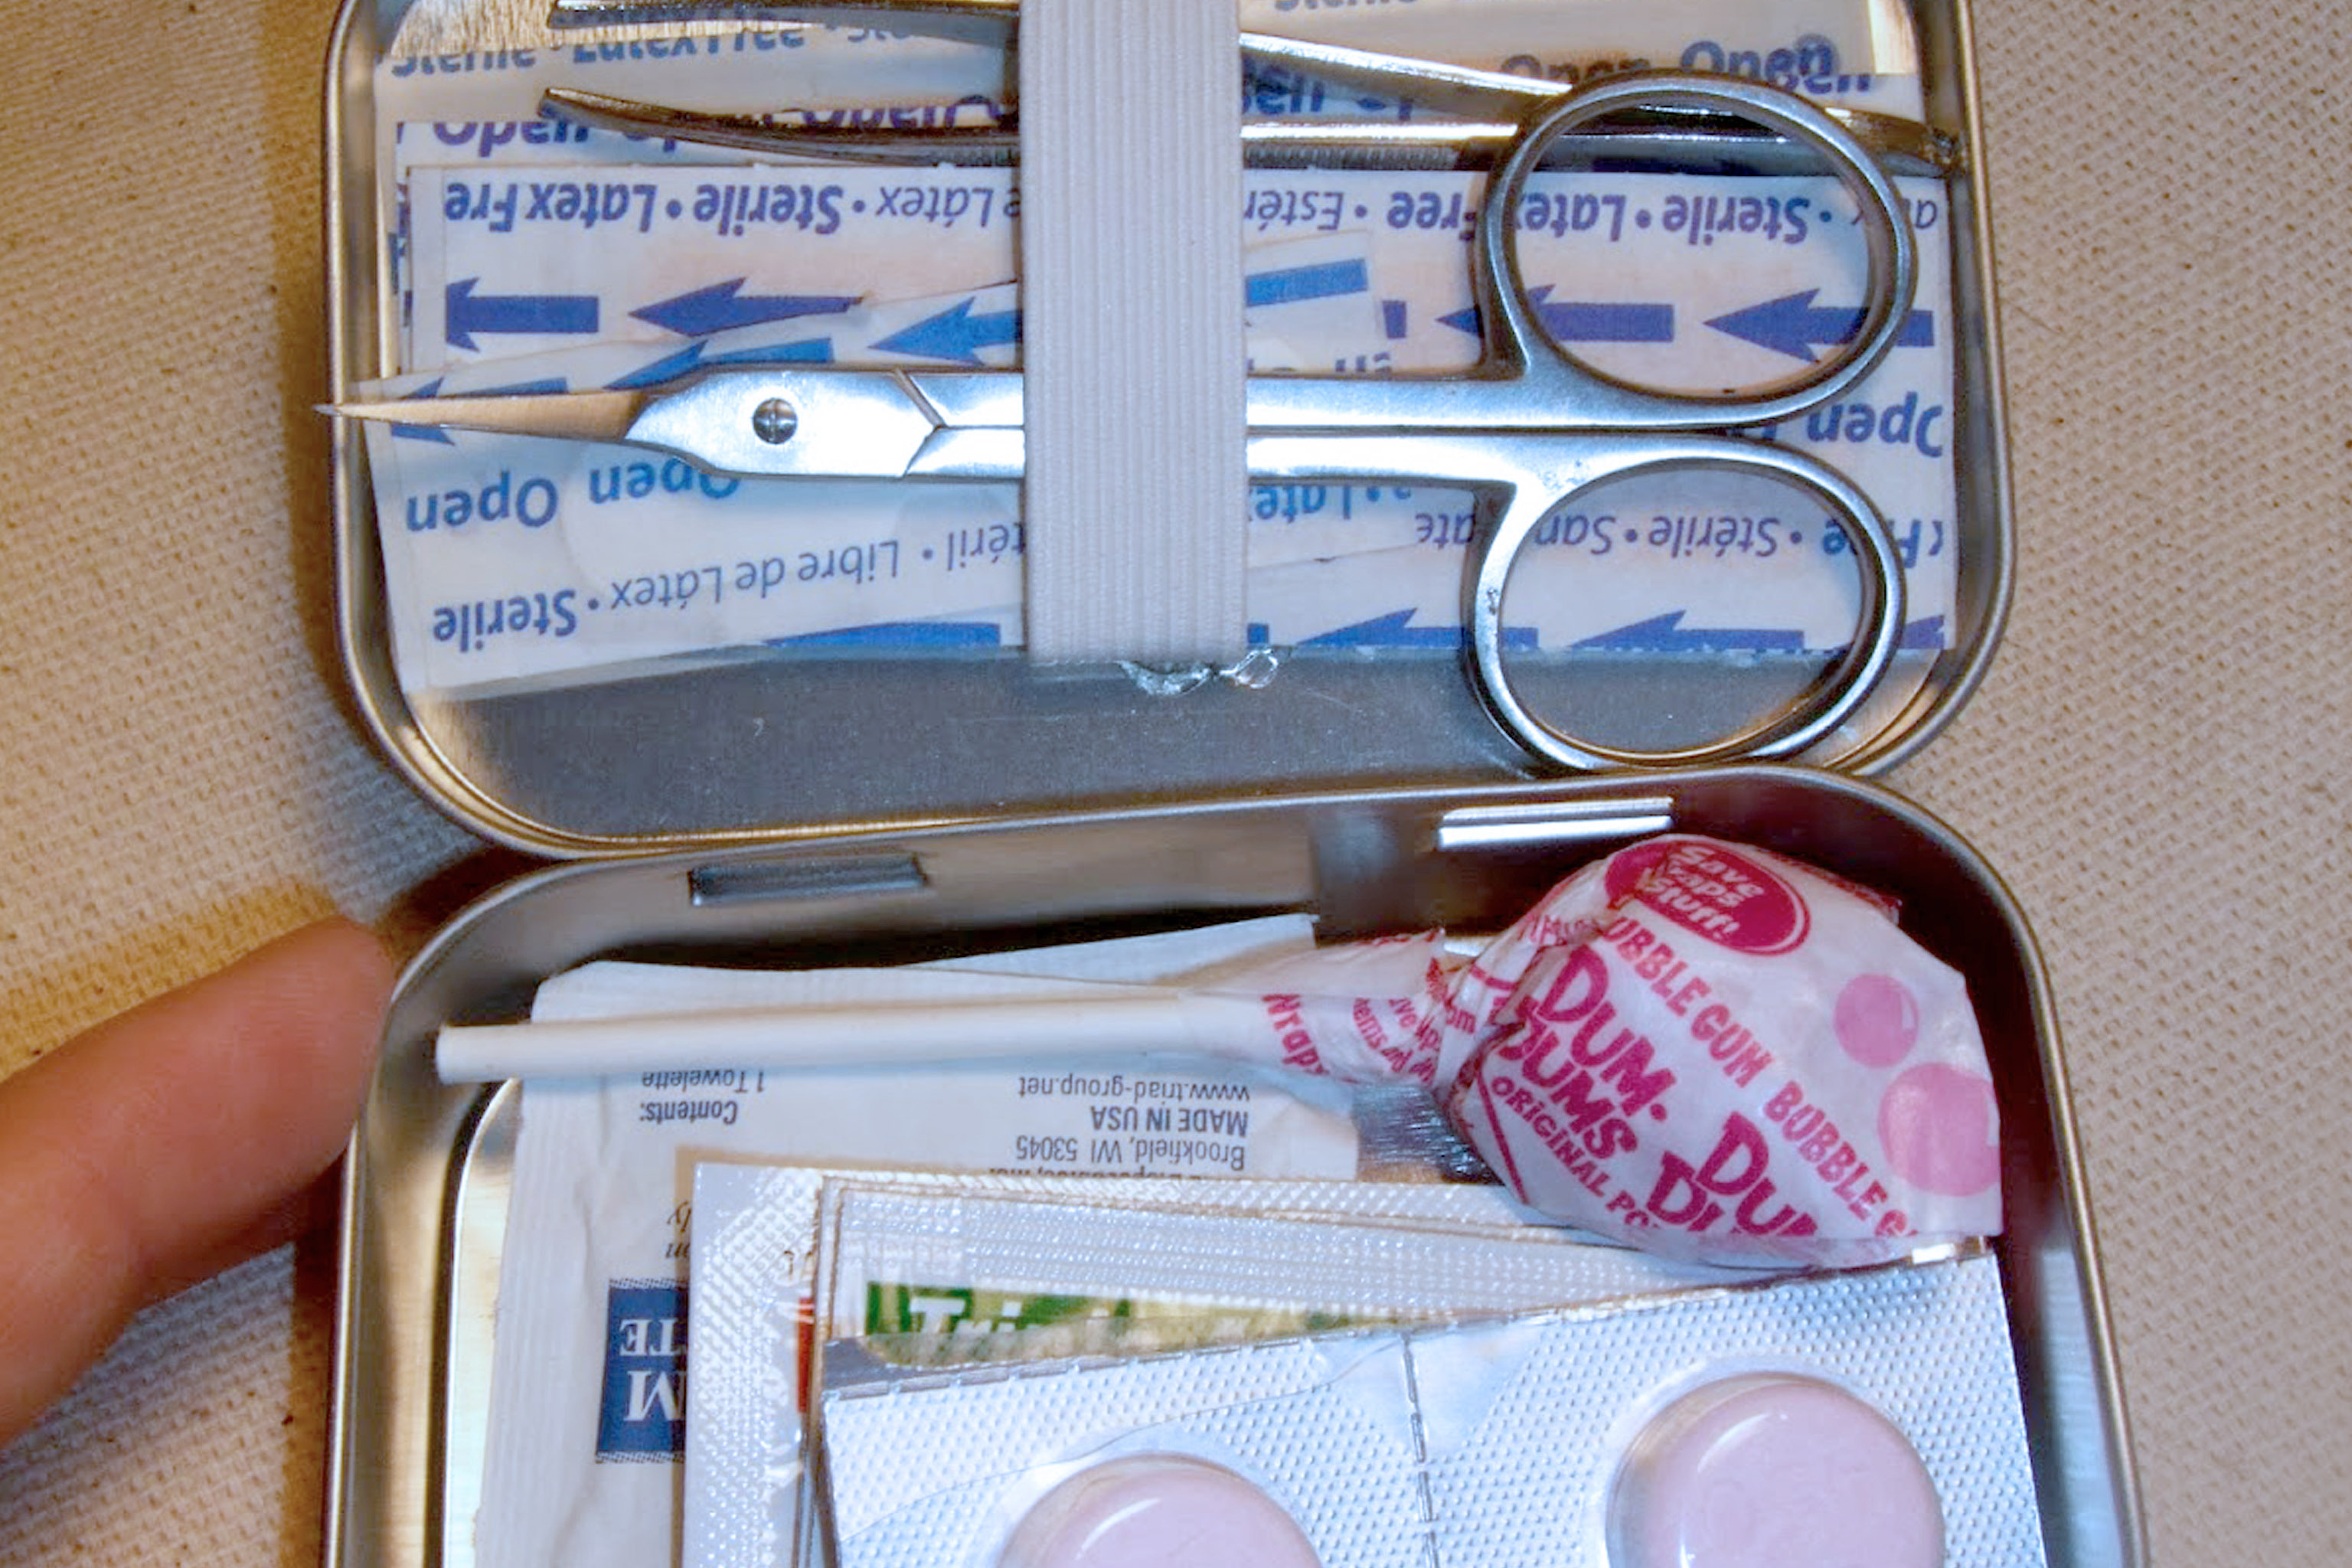
Assemble a first aid kit
Assemble a simple first aid kit with bandages, antiseptic wipes, tape, gauze, and a checklist, learning organization, safety, and basic wound care skills.


Step-by-step guide to assemble a first aid kit
Step 1
Find a clean small plastic container or box and put it on a flat table to make your workspace.
Step 2
Gather all the materials from the list and bring them to your workspace.
Step 3
With an adult, check expiration dates on antiseptic wipes and throw away any expired items.
Step 4
Open the notebook and write a checklist that lists each item with a checkbox beside it.
Step 5
Sort the supplies into piles by type: bandages; gauze; tape; wipes; tools; gloves.
Step 6
Put each pile into its own small resealable bag or into separate corners of the container.
Step 7
Use the marker to write the item name on each bag or on a label for each section.
Step 8
Place the labeled bags neatly inside the container so everything fits and is easy to see.
Step 9
Put the checklist on top of the supplies or tape it to the inside of the lid where you can read it easily.
Step 10
Close the container and ask an adult to help you store the kit in a safe easy-to-find place and tell your family where it is.
Step 11
Share your finished first aid kit and checklist on DIY.org.
Help!?
What can we use if we don't have resealable bags or a small plastic container?
Use clean sandwich bags or small zip-top produce bags to hold each pile and repurpose a cleaned shoebox or plastic food storage tub as the container before you sort the supplies into piles as the instructions say.
What should we do if the supplies won't fit or labels keep smudging?
Switch to a larger container or remove bulky items, put items into separate resealable bags, and write labels on masking tape or label stickers with a marker so they don't smudge when you place the labeled bags neatly inside the container.
How can we adapt the activity for different age groups?
For younger children, have an adult pre-check expirations and let them sort piles and stick pre-cut labels and sticker checkboxes in the notebook, while older kids can write the checklist, check antiseptic wipe dates, and organize the bags themselves.
How can we enhance or personalize our finished first aid kit?
Decorate the outside of the container, color-code the labeled bags, add a laminated quick-instructions card and family emergency contacts on the inside of the lid, and then share a photo of your personalized kit and checklist on DIY.org.
Watch videos on how to assemble a first aid kit
How To Build A Child First Aid Kit For Emergencies? - Child Illness Disease Guide
4 Videos
How To Build A Child First Aid Kit For Emergencies? - Child Illness Disease Guide
🚑 Learn About First Aid Kits! Fun & Educational Video for Kids 🩹
Build Your Own First Aid Kit step by step- Easy Guide for Home or School
How Do You Assemble A Budget-friendly Child's First Aid Kit? - Child Illness Disease Guide
Facts about first aid and safety for kids
🩹 Clean, cover, and give a little time — most small cuts heal faster when you protect them with a bandage.
🧴 Many antiseptic wipes use about 60–70% alcohol because that concentration is great at killing germs quickly.
🩺 Medical tape is made to hold dressings firmly while being gentle on the skin — perfect for active kids!
🧻 Sterile gauze pads are super absorbent and help doctors and parents see how a wound is healing.
📋 A simple checklist in your kit can save precious minutes in an emergency and helps you know when to restock.
How do I assemble a simple first aid kit with my child?
What materials do I need to assemble a basic first aid kit for kids?
What ages is assembling a first aid kit suitable for?
What are the benefits of assembling a first aid kit with my child?
