Animate a doll or figure
Create a simple puppet or stop-motion figure using clay, craft materials, and a smartphone camera to animate movements and tell a short story.


Step-by-step guide to animate a doll or stop-motion figure
DIY Paper Doll with Moving Arms and Legs | Fun Paper Craft
Step 1
Gather all the Materials Needed from the list on this page.
Step 2
Think of a very simple one-sentence story your puppet will act out.
Step 3
Roll and squash some clay to make a simple body shape for your character.
Step 4
Push pipe cleaners into the clay to create arms and legs for your puppet.
Step 5
Press small beads or buttons into the clay to make eyes and other face details.
Step 6
Push a craft stick or toothpick into the bottom of the figure to make a support peg.
Step 7
Tape the support peg firmly to the cardboard base so the puppet can stand steady.
Step 8
Decorate the cardboard or shoebox lid to make a background for your story.
Step 9
Arrange your puppet and any small props on the base in front of the background.
Step 10
Put your phone camera on a stable surface so it won’t move and frame the whole scene.
Step 11
Take the first photo of your scene to start the animation.
Step 12
Move the puppet a tiny amount to the next pose for the next photo.
Step 13
Take another photo of the new pose.
Step 14
Use a stop-motion app or your phone’s photo playback to play your photos in order as an animation.
Step 15
Share your finished animation on DIY.org.
Help!?
What can I use instead of modeling clay or pipe cleaners if those materials are hard to find?
If you don't have modeling clay, use playdough, air-dry clay, or crumpled foil wrapped in tape for the rolled body, and replace pipe cleaners with bendable straws, floral wire, or twisted aluminum foil for the arms and legs.
My puppet keeps falling over or the animation looks jumpy—what should I check or fix?
Make sure the craft stick or toothpick support peg is taped firmly to the cardboard base, widen the base or add extra clay for balance, keep the phone on a stable surface as instructed, and move the puppet only tiny amounts between photos to prevent jumpy frames.
How can I adapt this activity for younger children or for older kids who want more challenge?
For younger children, pre-roll the clay body and let them press beads and decorate while an adult inserts pipe cleaners and tapes the peg, and for older kids add jointed wire limbs, more detailed backgrounds, and use a stop-motion app to adjust frame rate and onion-skinning for smoother animation.
What are some ways to extend or personalize our puppet animation beyond the basic steps?
Extend the story by decorating the cardboard or shoebox lid with painted scenery, make additional puppets with different clay bodies and pipe-cleaner limbs, create paper or found-item props, and record voice lines or sound effects to add when you play the stop-motion before sharing on DIY.org.
Watch videos on how to animate a doll or stop-motion figure
DIY Moving Paper Doll 🪆 | Viral Hanging Puppet Tutorial (Easy & Cute Craft Idea)
4 Videos
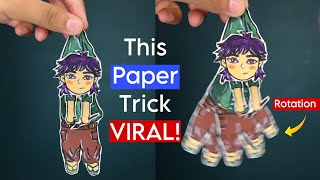
DIY Moving Paper Doll 🪆 | Viral Hanging Puppet Tutorial (Easy & Cute Craft Idea)
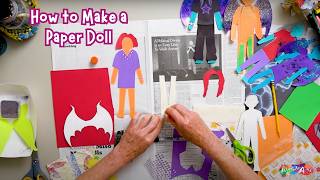
How to Make a Paper Doll - Easy Beginner Friendly Tutorial!
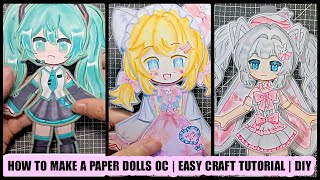
How to Make A Paper Dolls OC | Easy CRAFT Tutorial | DIY
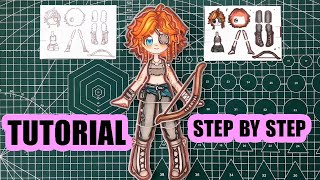
TUTORIAL MAKE PAPER DOLL STEP BY STEP | DIY
Facts about stop-motion animation and puppetry for kids
🎬 Stop-motion animation has been used in films since the early 1900s — it's how filmmakers make inanimate objects appear to move.
🟠 Claymation uses soft clay models that can be reshaped frame by frame; Aardman Animations made Wallace & Gromit famous with this technique.
🧸 Puppets have been part of storytelling for thousands of years — puppet-like figures appear in ancient Egyptian and Greek artifacts.
📱 Modern smartphones can shoot high-resolution photos and include apps that let you capture single-frame shots and onion-skin previews to build stop-motion easily.
⏱️ Aim for about 12 frames per second for smooth motion — so 12 photos make one second of video; kids often use 8–12 fps for a charming look.
How do I animate a doll or figure using stop-motion on my smartphone?
What materials and tools do I need to make a simple stop-motion puppet?
What ages is stop-motion puppet animation suitable for?
What are the benefits of making stop-motion puppets with kids?
