Animate a Cute Axolotl
Make a cute axolotl puppet from paper, markers, and brads, then animate it using flipbook or simple stop-motion to learn motion basics.


Step-by-step guide to Animate a Cute Axolotl
Step 1
Gather all your materials and bring them to a clear workspace.
Step 2
Fold one sheet of paper in half so your axolotl can be symmetrical.
Step 3
Draw a cute axolotl body along the fold with your pencil.
Step 4
Cut out the axolotl body while keeping the paper steady.
Step 5
Draw three gill fronds and two simple legs on a scrap piece of paper.
Step 6
Cut out the gills and legs carefully.
Step 7
Punch small matching holes where each leg and gill will attach on the body and on each cutout piece.
Step 8
Insert brads through the holes to attach the legs and gills and spread the prongs to secure them.
Step 9
Color and decorate your axolotl with markers to give it personality.
Step 10
Tape or glue a craft stick to the back of the axolotl to make a puppet handle.
Step 11
Decide if you will make a flipbook or create a stop-motion animation.
Step 12
If making a flipbook cut a small stack of same-size pages and draw the axolotl in slightly different poses on each page OR if doing stop-motion place your puppet on a flat background and take one photo per tiny movement until you have many frames.
Step 13
Flip your flipbook quickly with your thumb or play your photos in sequence to watch your axolotl move.
Step 14
Share your finished axolotl puppet or animation on DIY.org.
Final steps
You're almost there! Complete all the steps, bring your creation to life, post it, and conquer the challenge!

Help!?
What can we use if we don't have brads or a hole punch?
If you don't have brads or a hole punch, make tiny holes with a thumbtack or sharp pencil and attach the gills and legs using small paper fasteners, staples, or a dab of glue/tape instead of inserting brads.
My axolotl's legs won't move or the paper rips when I attach the brads—what should I do?
If the legs tear or don't swing, reinforce the punched holes with a tiny piece of clear tape on each side before inserting brads, ensure you spread the prong ends fully, and secure the craft stick handle with strong tape or glue for stability.
How can I change the activity for different ages?
For younger kids, pre-cut the folded axolotl body and gill/leg shapes and let them color with crayons and use stickers, while older kids can freehand cut, add extra jointed limbs with more brads, and make a frame-by-frame stop-motion using many photos.
What are simple ways to extend or personalize our axolotl puppet or animation?
Personalize the axolotl by adding felt gills, sequins, or patterned markers, create a painted background, make multiple puppets for a scene, and turn many photos into a longer stop-motion or flipbook to upload to DIY.org.
Watch videos on how to Animate a Cute Axolotl
How to Draw an Axolotl (Cute & Easy!)
4 Videos
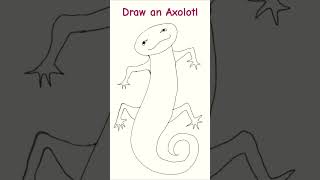
How to Draw an Axolotl (Cute & Easy!)
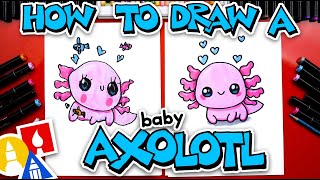
How To Draw A Baby Axolotl
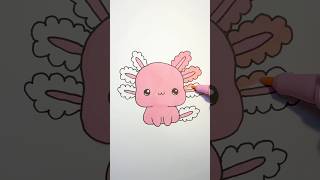
How to Draw a Cute Axolotl 🦎💖 | Step-by-Step Drawing for Kids
How To Draw A Cute Axolotl Mermaid
Facts about stop-motion animation for kids
🐾 Axolotls can regenerate whole limbs and even parts of their heart and spinal cord!
📎 Brads (paper fasteners) act like tiny pivots so your paper axolotl's legs and tail can swivel smoothly.
🎞️ Movies use about 24 frames per second, but simple flipbooks and stop-motion look great with just 8–12 frames per second.
🎬 Stop-motion animation has been used since the late 1800s to make toys and puppets move on screen.
🐟 Wild axolotl populations are native to a few lakes near Mexico City and are listed as critically endangered.
How do you make and animate a cute axolotl puppet?
What materials do I need to make and animate an axolotl puppet?
What ages is this axolotl animation activity suitable for?
What are the benefits of making and animating an axolotl puppet?


One subscription, many ways to play and learn.
Only $6.99 after trial. No credit card required