Animate 2d drawings
Create a simple 2D animation by drawing sequential frames on paper, photographing or scanning them, and combining images into a short animated flipbook or video.


Step-by-step guide to animate 2D drawings
2d Animation Tutorial - Learn how to make 2d animations!
Step 1
Gather your materials and find a well-lit table or window to work at.
Step 2
Pick one very simple action to animate like a bouncing ball a waving hand or a walking stick figure.
Step 3
Draw the first starting pose on the top sheet of paper.
Step 4
Place a new sheet over the first and draw the next frame with a small change in the pose.
Step 5
Repeat placing new sheets and making tiny changes until you have 12 to 20 frames.
Step 6
Lightly color your drawings so the look stays the same across frames.
Step 7
Number each page in the corner so you know the order to play them in.
Step 8
Photograph or scan each numbered page in order so you have a digital copy of every frame.
Step 9
Open a simple GIF maker or video editor and import your photos in the numbered order.
Step 10
Set the playback speed to about 10 to 15 frames per second and export your animation as a GIF or short video.
Step 11
To make a physical flipbook stack the pages in order and secure one edge with a binder clip or staple and flip the pages with your thumb to watch the motion.
Step 12
Share your finished creation on DIY.org so everyone can see your awesome animation.
Help!?
If I don't have a scanner or a GIF maker, what can I substitute so I can still complete steps 8–11?
Use a smartphone camera to photograph each numbered page on a well-lit table (step 8) and a free phone app like GIPHY or a simple video editor to import the photos in order and export a GIF or short video (steps 9–11).
Why does my animation look jumpy or out of order after I import the photos, and how can I fix it?
If frames are jumpy or misaligned when imported (step 9), keep every page in the same corner position while photographing by taping a corner guide to the table or clipping the stack with a binder clip, and double-check the page numbers before importing (step 6).
How can I adjust this activity for different ages so it's fun but not too hard or too easy?
For preschoolers, choose a very simple action like a big bouncing ball and make 6–8 bold, lightly colored frames with an adult helping to number pages, while older kids can create 12–20 finer frames, use light coloring for consistency (step 5), and set 10–15 fps in a video editor for smooth motion (step 10).
What are some easy ways to improve or personalize the animation once I have the basic frames?
Add a simple background that changes across frames for depth, decorate a custom flipbook cover before clipping or stapling (step 12), or import the numbered photos into a video editor to add music and titles and then share the final GIF or video on DIY.org (step 13).
Watch videos on how to animate 2D drawings
How I Start a Traditional 2D Animation | Toon Boom Harmony Tutorial (Step 1)
4 Videos
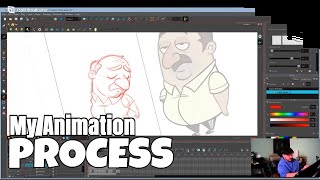
How I Start a Traditional 2D Animation | Toon Boom Harmony Tutorial (Step 1)
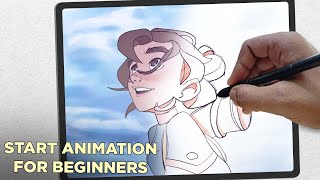
How To Start Animation For Beginners Guide

Learn the basics of 2D animation (exercises, design, walk cycle,...)
How to Animate in 2D: Beginner's Step-by-Step Guide
Facts about 2D animation and flipbook techniques
🎞️ The flip book was patented by John Barnes Linnett in 1868 — it's one of the earliest forms of animation!
✏️ Animators often draw 'on twos' (one drawing shown for two frames), so 12 drawings per second can look like smooth 24 fps motion.
👀 Our eyes and brain blend separate pictures into continuous motion — that's the idea behind persistence of vision.
📱 You can create animations using just a smartphone camera and free apps to stitch photos into GIFs or videos.
🎨 Classic cartoons were made with cel animation: characters painted on transparent sheets layered over static backgrounds.
How do you make a simple 2D animation from paper drawings?
What materials do I need to create a paper flipbook animation?
What ages is making paper flipbook animations suitable for?
What are the benefits of making 2D flipbook animations for kids?
