How to draw curly hair - a free curly hair drawing guide
Draw a portrait with curly hair using step by step spiral strokes, layering, and shading. Practice creating texture, volume, and natural curls.

Drawing Apps
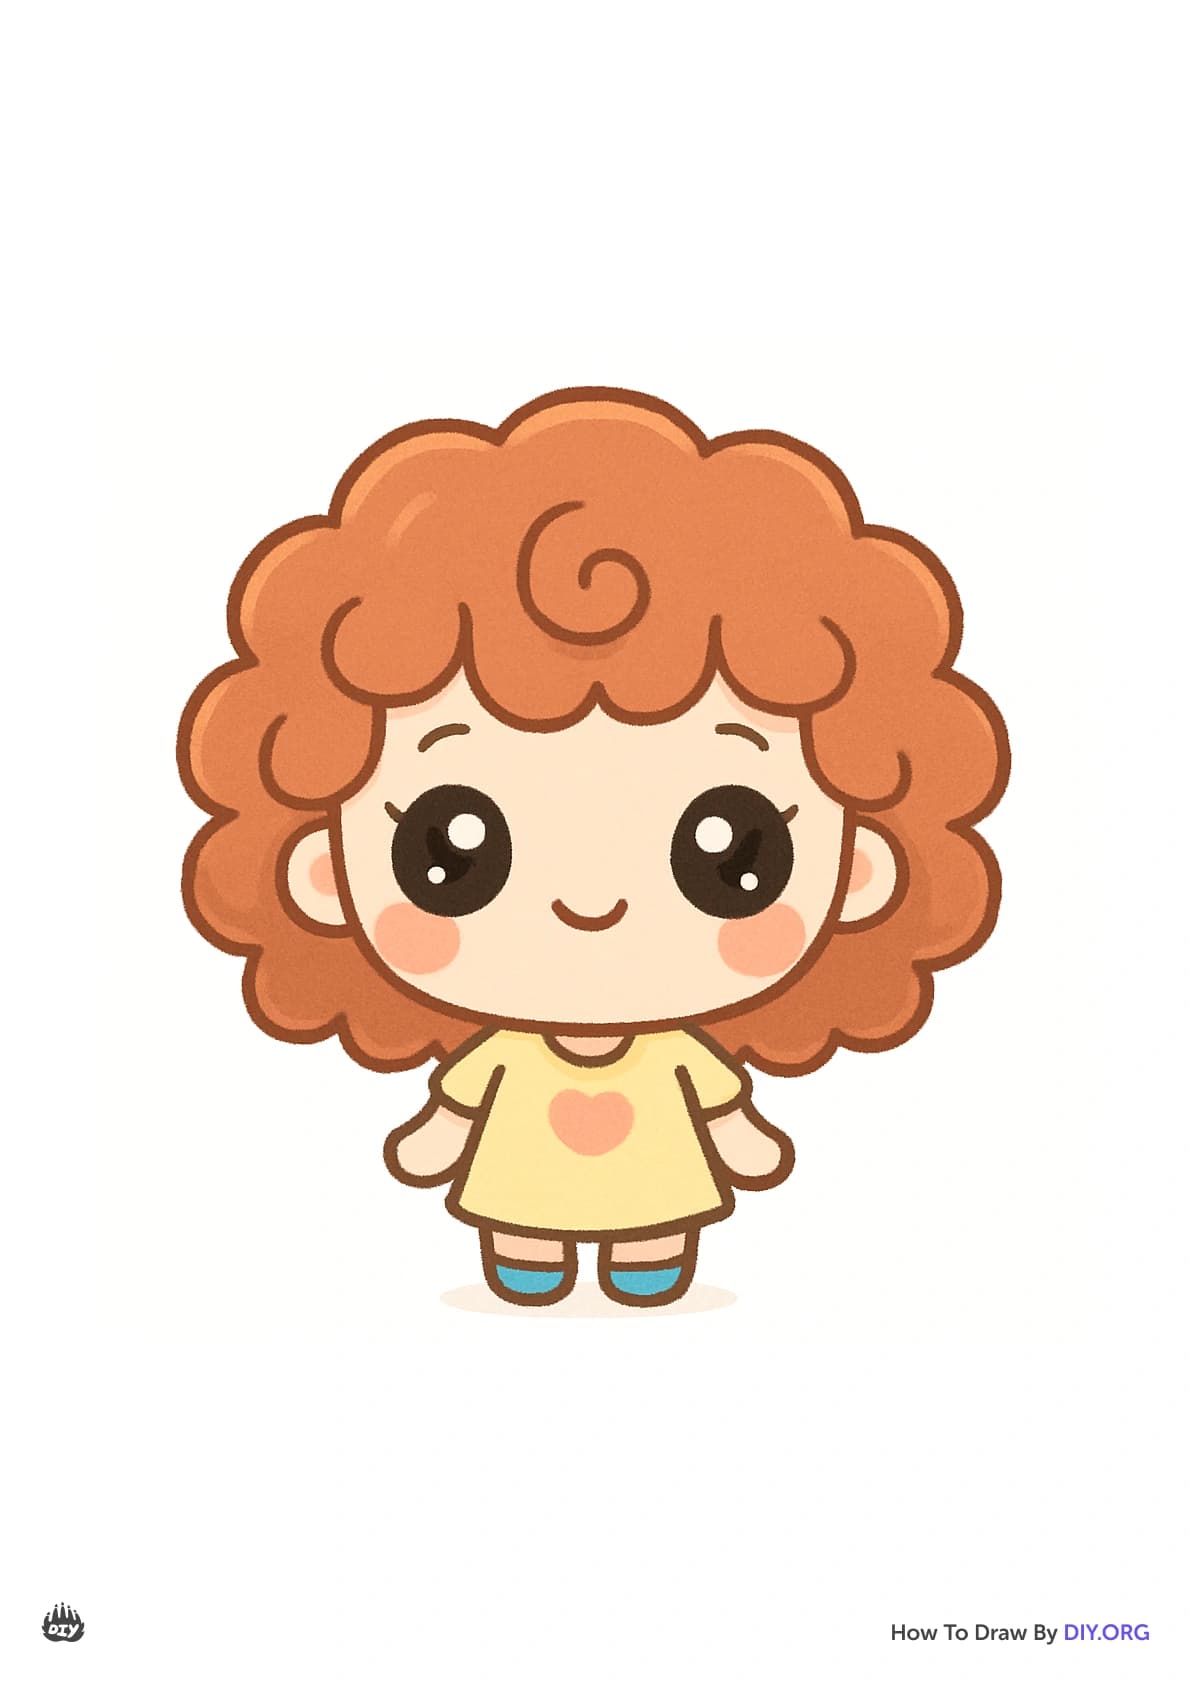
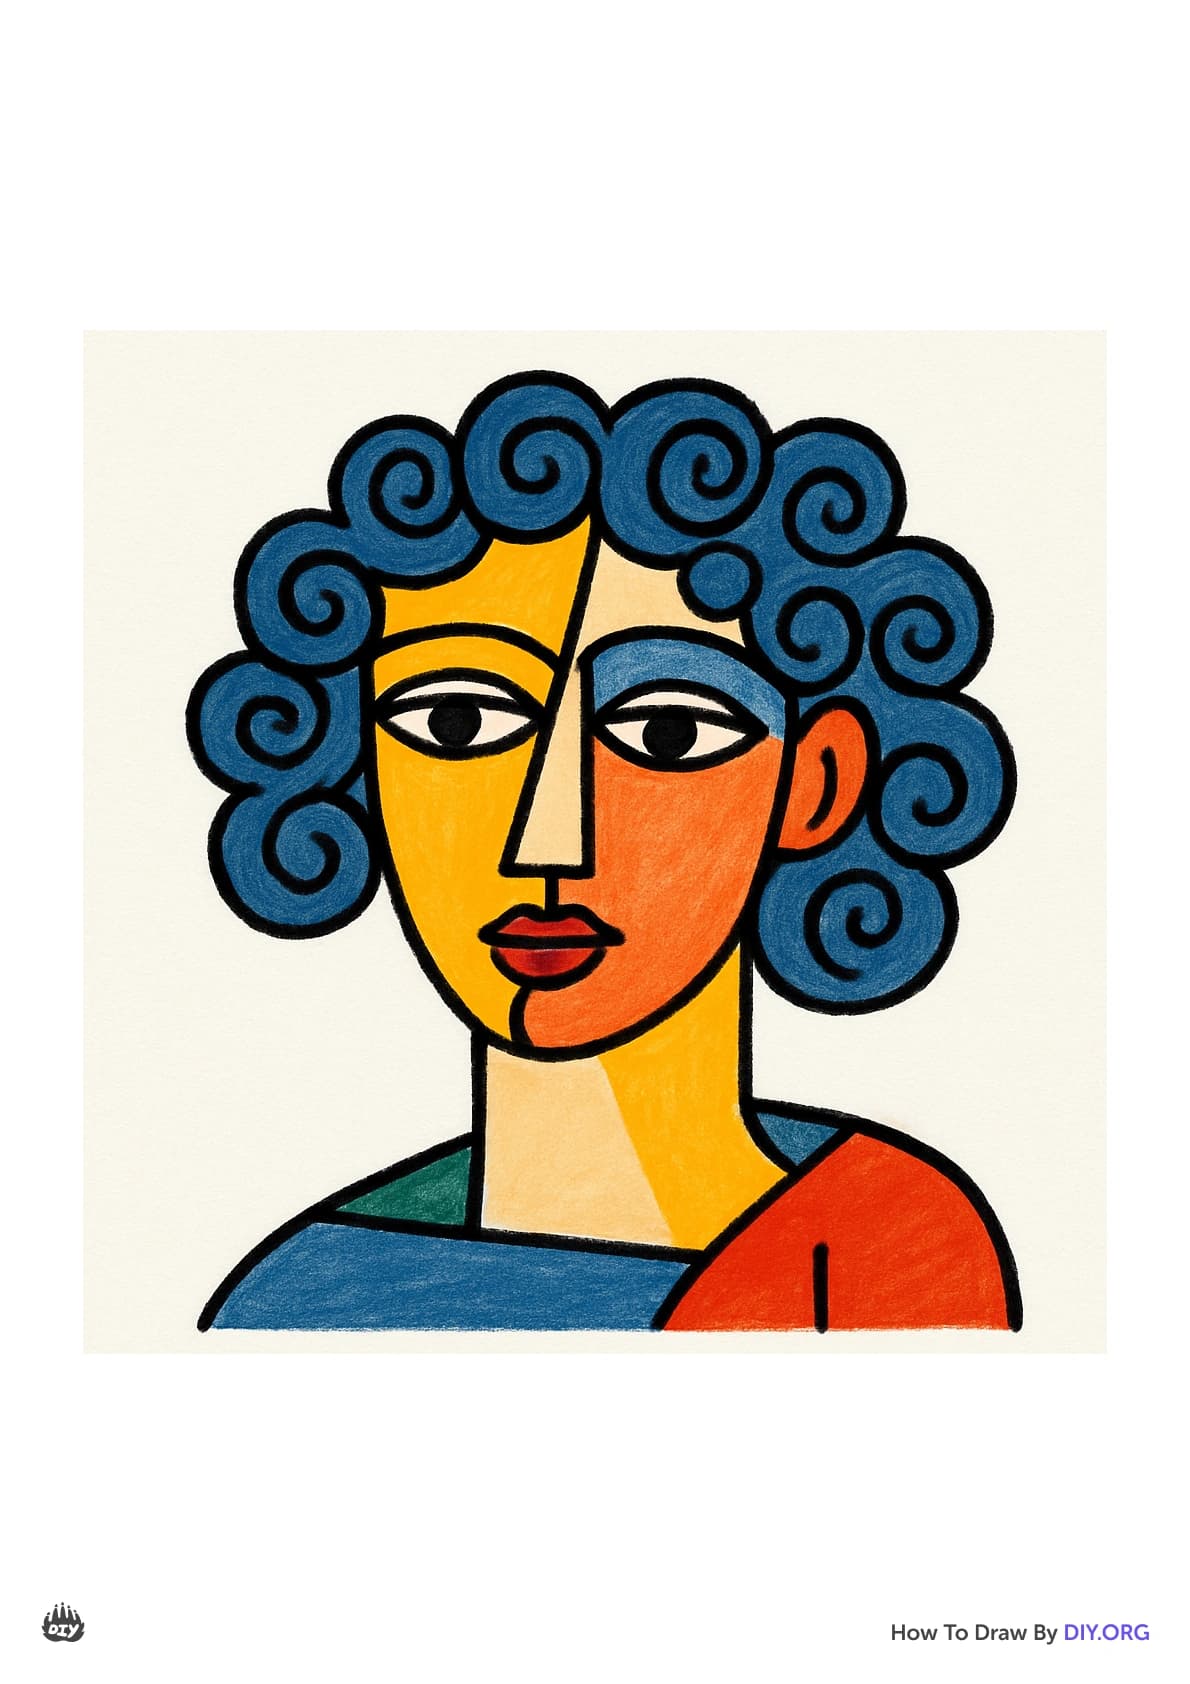
Get inspired with these


Instructions
How to draw CURLY HAIR GIRL 🍜👩 🦱👩 🦱🍜| Step by Step | Easy drawing for kids🌈🌈
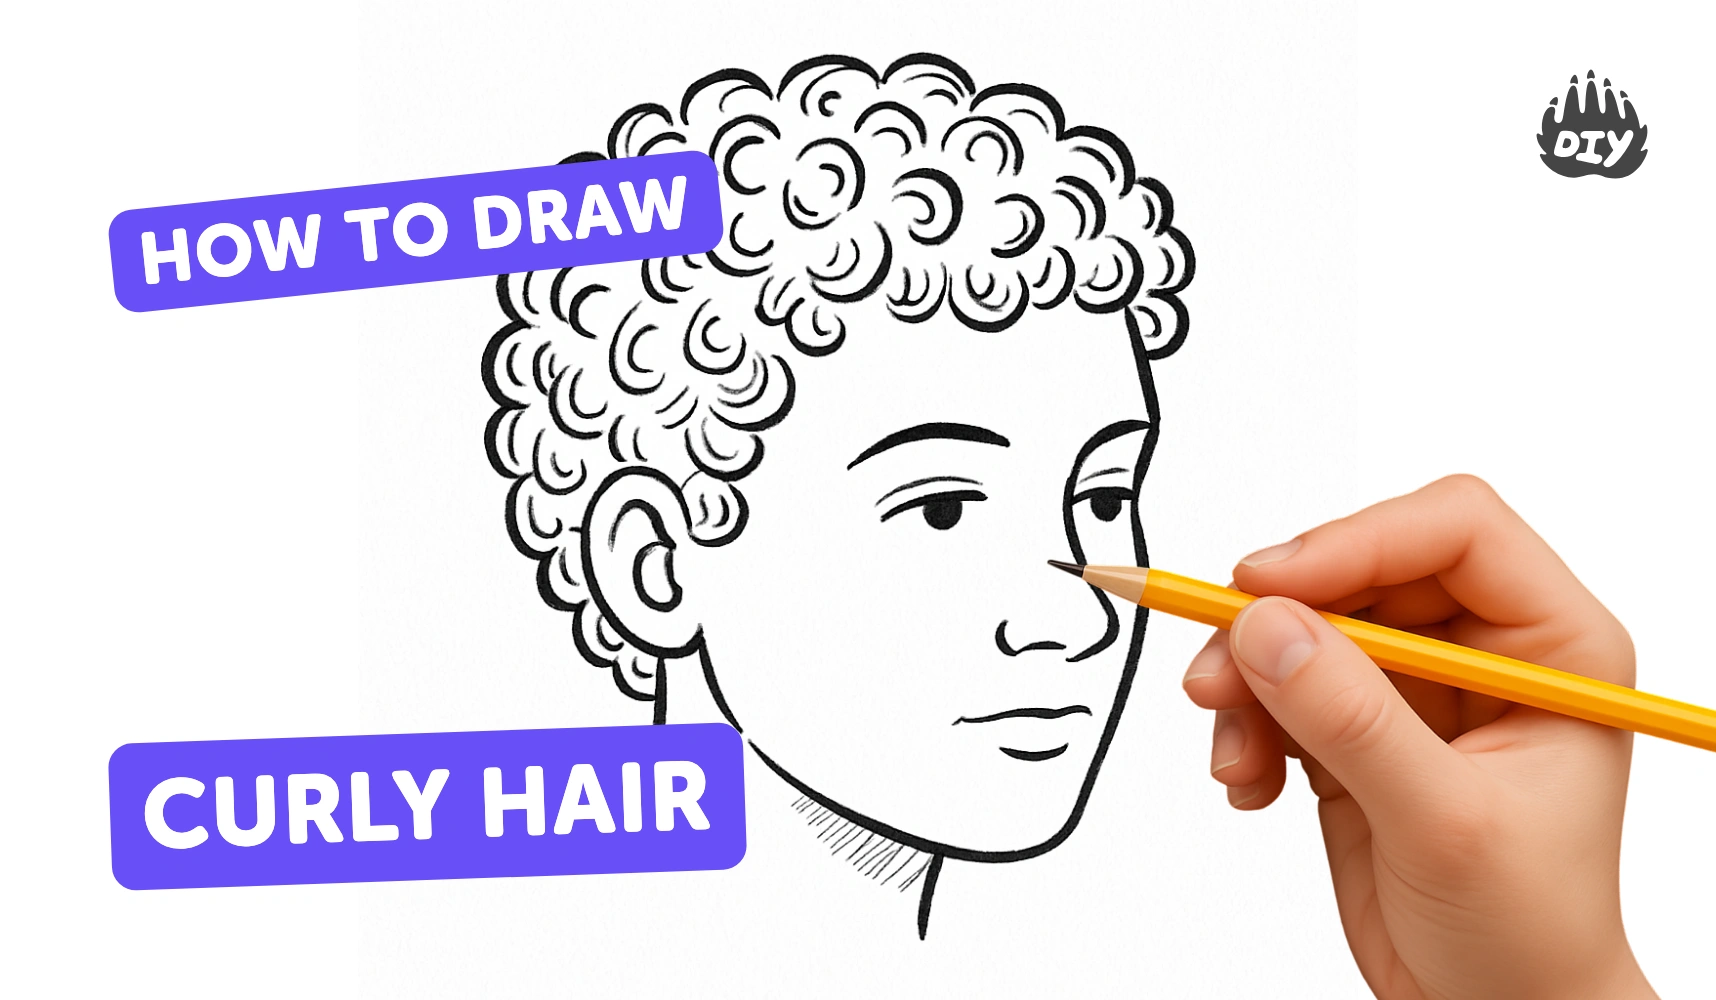
Step 1
Lightly draw the head shape with an oval and a simple neck.
Step 2
Mark a soft hairline and draw one part or direction line to show how the hair will flow.
Step 3
Block in the hair volume using large fluffy cloud shapes around the head.
Step 4
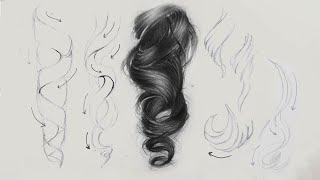
Draw long curved lines inside each cloud to show the main curl directions.
Step 5
Add spiral or loop shapes inside the cloud masses to suggest individual curls.
Step 6
Draw overlapping curl edges where one curl sits over another to create layers.
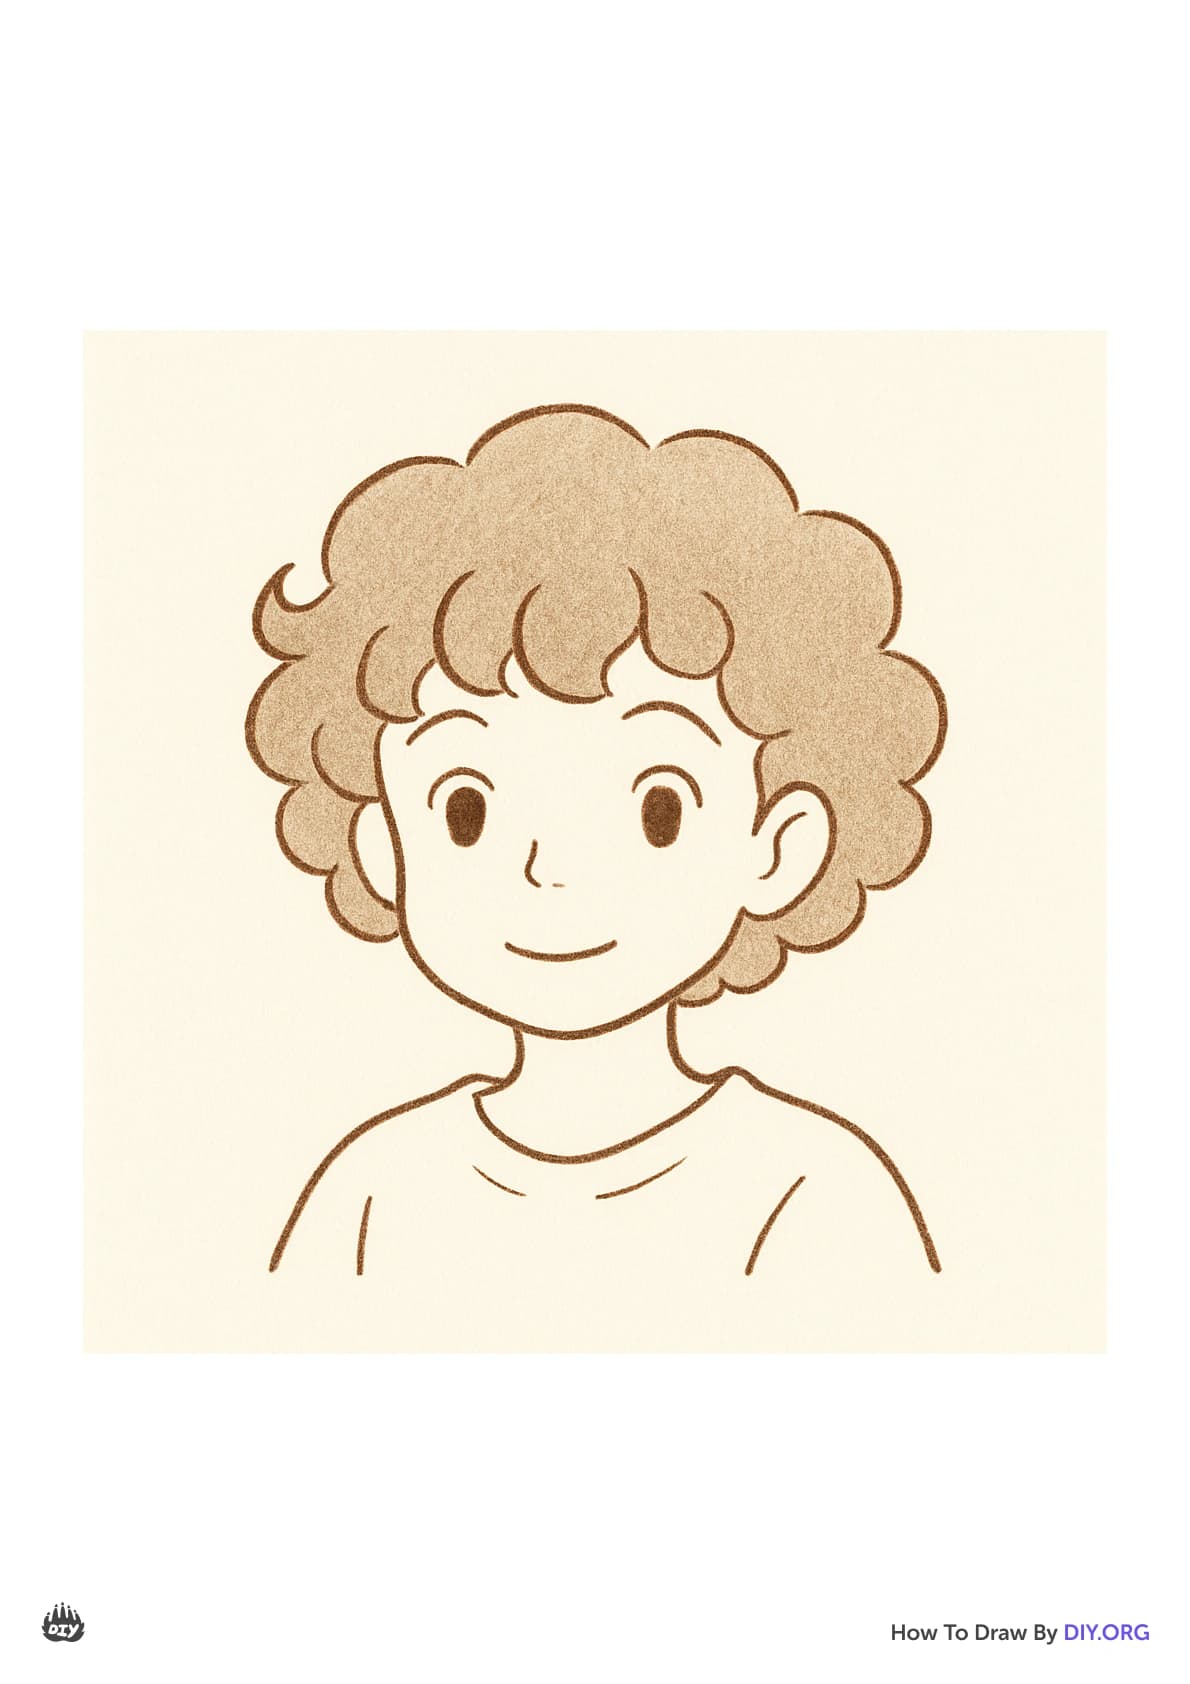
Step 7
Erase stray construction lines outside the hair shapes to tidy the drawing.
Step 8
Shade the underside of each curl with light pencil strokes to create shadows.
Step 9
Darken the deepest shadow areas where curls overlap or meet the scalp.
Step 10
Add midtone shading across the curl bodies with softer strokes.
Step 11
Gently blend the midtones with a tissue or cotton swab for smooth texture.
Step 12
Use the eraser to lift thin highlights along the tops and edges of curls.
Step 13
Add short texture strokes and tiny curl details for a lively finish.
Step 14
Step back and look from a little distance to spot any areas that need more contrast.
Step 15
Share your finished curly hair drawing on DIY.org.
Help!?
I don't have a tissue or cotton swabs for blending—what can I use instead?
For 'Gently blend the midtones with a tissue or cotton swab,' substitute a folded tissue, a clean fingertip, a corner of a paper towel, or a pencil blending stump to smooth the pencil strokes.
My curls look flat—what should I fix in the steps to make them look 3D?
Make the drawing pop by following 'Shade the underside of each curl with light pencil strokes,' 'Darken the deepest shadow areas where curls overlap or meet the scalp,' and then 'Use the eraser to lift thin highlights along the tops and edges of curls.'
How can I adapt this activity for younger kids or older kids?
For younger children simplify to 'Lightly draw the head shape,' 'Mark a soft hairline,' and 'Block in the hair volume using large fluffy cloud shapes' with big curved lines, while older kids can add spiral or loop shapes, overlapping curl edges, layered midtone shading, and blending for realism.
How can we extend or personalize the finished curly hair drawing?
Personalize it by changing the 'one part or direction line' to try different hair flows, varying spiral sizes and overlap patterns, adding accessories or color after blending midtones, and then share your finished curly hair drawing on DIY.org.
Related videos
DO'S & DON'TS: How to Draw Curly Hair | Step by Step Drawing Tutorial
4 Videos
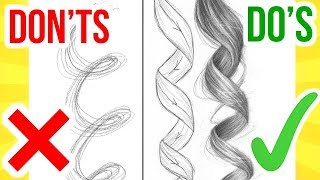
DO'S & DON'TS: How to Draw Curly Hair | Step by Step Drawing Tutorial
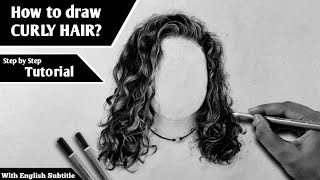
How to draw Curly Hair | Tutorial for Beginners | Step by step
How to Draw Curly Hair Tutorial 👩 🦱 Easy Step by Step #art #drawing #markers
Drawing Curly Hair: A Basic Guide for Beginners
Fun Facts
🌀 Curly hair's spiral shape creates banded highlights and shadows—perfect for practicing contrast and texture.
✏️ Using a range of pencil grades (HB through 6B) gives you light, mid, and dark tones to model curls convincingly.
🎨 Overlapping curl shapes and varied line weight instantly add volume and movement to drawn hair.
🔁 Many curls follow a repeating rhythm; keeping that pattern consistent helps hair read as natural and full.
🧽 A kneaded eraser gently lifts tiny highlights from pencil strokes, making curls look shiny without harsh lines.
How do I draw curly hair step by step for a child?
What materials do I need to draw curly hair with a pencil and eraser?
What ages is learning to draw curly hair suitable for?
What are the benefits and variations of drawing curly hair for portrait practice?
