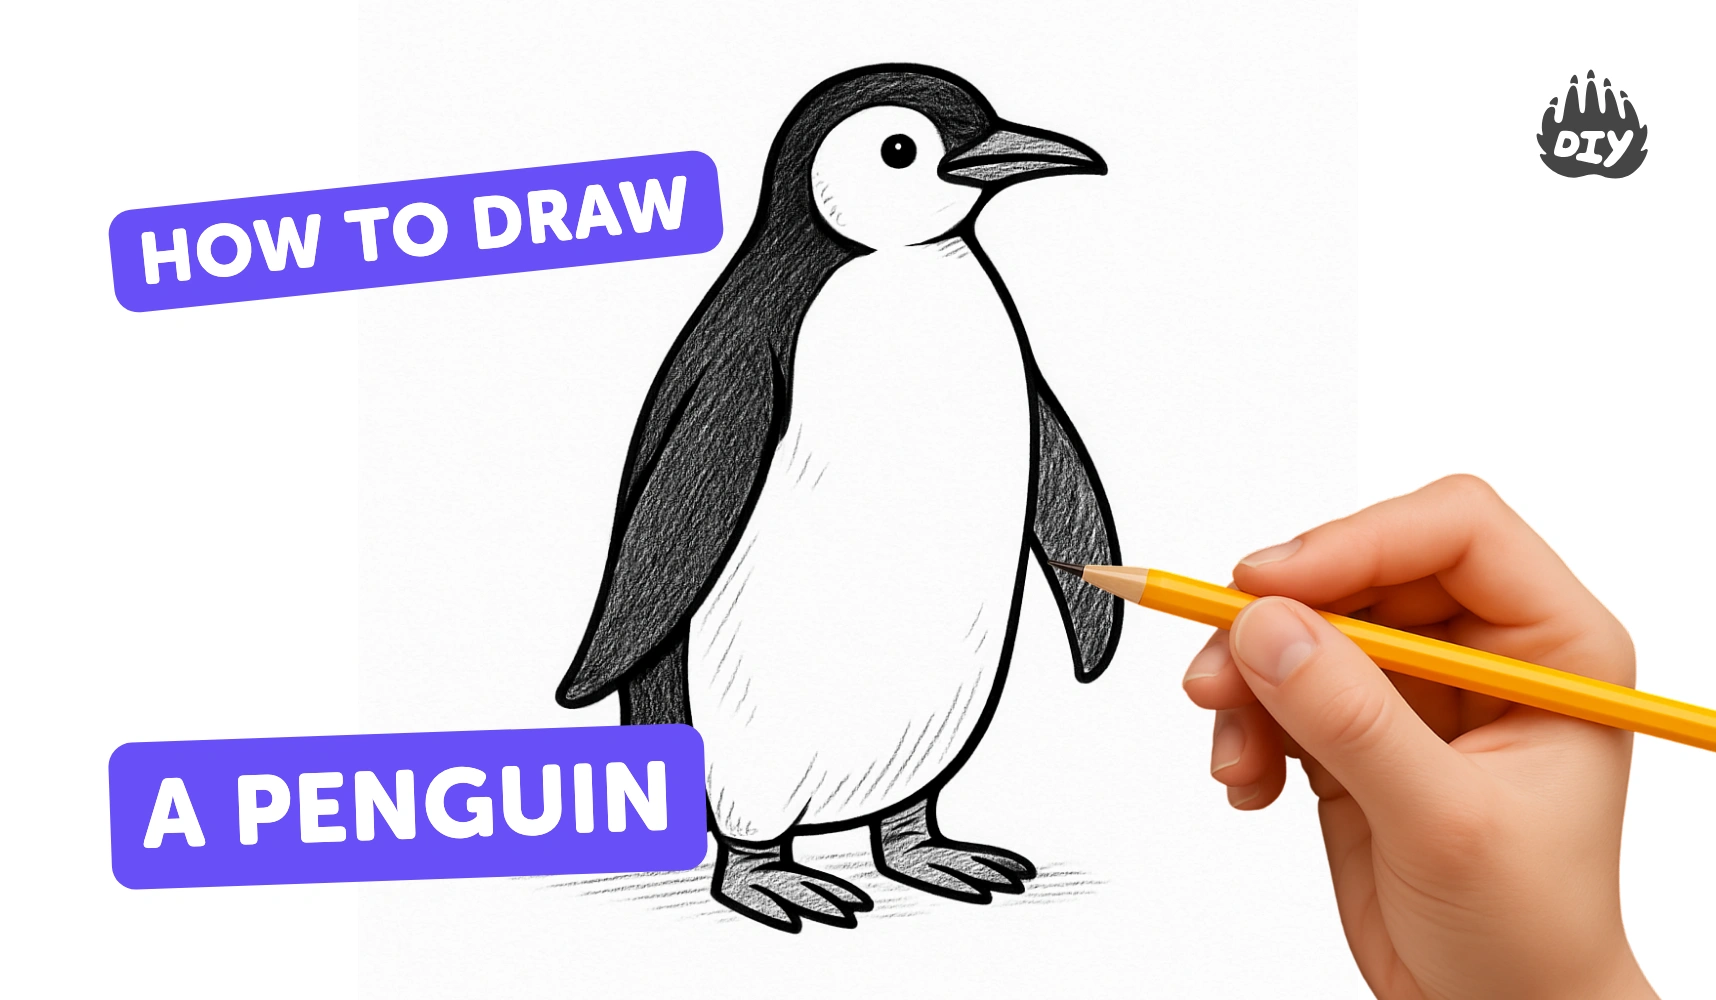
How to draw a penguin - a free penguin drawing guide
Draw a penguin step-by-step using simple shapes, then add details, texture, and shading to complete a finished penguin illustration. Practice proportions and lines.

Drawing Apps
Get inspired with these


Instructions
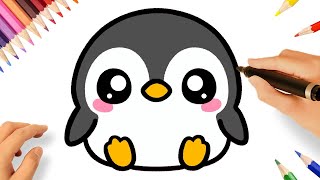
HOW TO DRAW A CUTE PENGUIN EASY STEP BY STEP 🐧❤️
Step 1
Put your paper on a flat table and lightly draw a vertical center line down the middle to help place your penguin.
Step 2
Lightly draw a large oval centered on the line for the penguin’s body.
Step 3
Lightly draw a smaller circle overlapping the top of the oval for the penguin’s head.
Step 4
Lightly sketch a rounded oval or upside-down teardrop inside the lower part of the body for the white belly patch.
Step 5
Draw two small circles on the head for the eyes and keep space between them.
Step 6
Draw a small triangle or diamond shape for the beak just below the eyes.
Step 7
Draw two curved teardrop shapes on each side of the body for the flippers.
Step 8
Draw two small ovals at the bottom of the body for the feet and add short lines for toes.
Step 9
Trace over your final penguin lines with a black marker to make the outline bold.
Step 10
Gently erase the light construction lines so only the clean outline and belly patch remain.
Step 11
Add soft pencil shading under the flippers and along the sides of the body and blend lightly with a tissue or cotton swab.
Step 12
Color your penguin: dark gray or black for the back and head orange for the beak and feet while leaving the belly white.
Step 13
Add tiny white highlights in the eyes and any small details you like to make your penguin come to life.
Step 14
Take a photo or scan your finished penguin and share your creation on DIY.org.
Help!?
What can we use instead of a black marker or cotton swab if we don't have them?
If you don't have a black marker, trace the final penguin lines with a dark gray or black colored pencil, fine-tip pen, or crayon, and use a finger, folded tissue, or a blending stump instead of a cotton swab for the soft pencil shading step.
My penguin's head looks too big or off-center—what step should I redo to fix it?
If the head is off or too large, keep the paper flat, lightly erase and redraw the vertical center line, then re-sketch the large oval for the body and the smaller circle so the circle overlaps the top of the oval as described before tracing with marker.
How can I change this drawing to suit different ages or skill levels?
For preschoolers, simplify by tracing or coloring pre-drawn ovals, circles, and teardrops for the body, head, flippers, belly patch, beak, and feet, while older kids can add detailed pencil shading under the flippers, textured feathers, and scan the drawing to add digital color before sharing on DIY.org.
What are some ways to make the penguin drawing more creative or display-worthy?
Enhance and personalize your penguin by adding a snowy background, a family of penguins, or a patterned scarf, include the tiny white highlights in the eyes as the instructions suggest, and then take a photo or scan the finished piece to share on DIY.org.
Related videos
HOW TO DRAW A CUTE PENGUIN EASY STEP BY STEP 🐧❤️
4 Videos
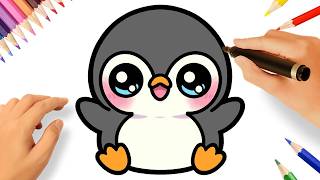
HOW TO DRAW A CUTE PENGUIN EASY STEP BY STEP 🐧❤️
How to Draw a Penguin | Step by Step Drawing and Coloring for Kids #easydrawing #drawingfortoddlers
How to Draw a Cute Penguin | Easy Drawing Penguin | Drawing & Coloring For Kids & Beginners
HOW TO DRAW A CUTE PENGUIN EASY 🐧💗
Fun Facts
🐧 Gentoo penguins can reach about 36 km/h (22 mph) underwater, making them the fastest swimming penguins.
✏️ Many artists begin with simple shapes (circles, ovals, rectangles) to block in correct proportions before adding details.
🎨 Penguins are counter-shaded — dark backs and light bellies — which helps them blend in from above and below in the water.
📏 Emperor penguins are the tallest species, standing around 1.1–1.3 m (3.6–4.3 ft), a handy real-world size for proportion practice.
❄️ Simple shading techniques like light pressure, hatching, and cross-hatching can turn a flat outline into a three-dimensional-looking penguin.
How do I draw a penguin step by step?
What materials do I need to draw a penguin?
What ages is penguin drawing suitable for?
What are the benefits of drawing a penguin?
