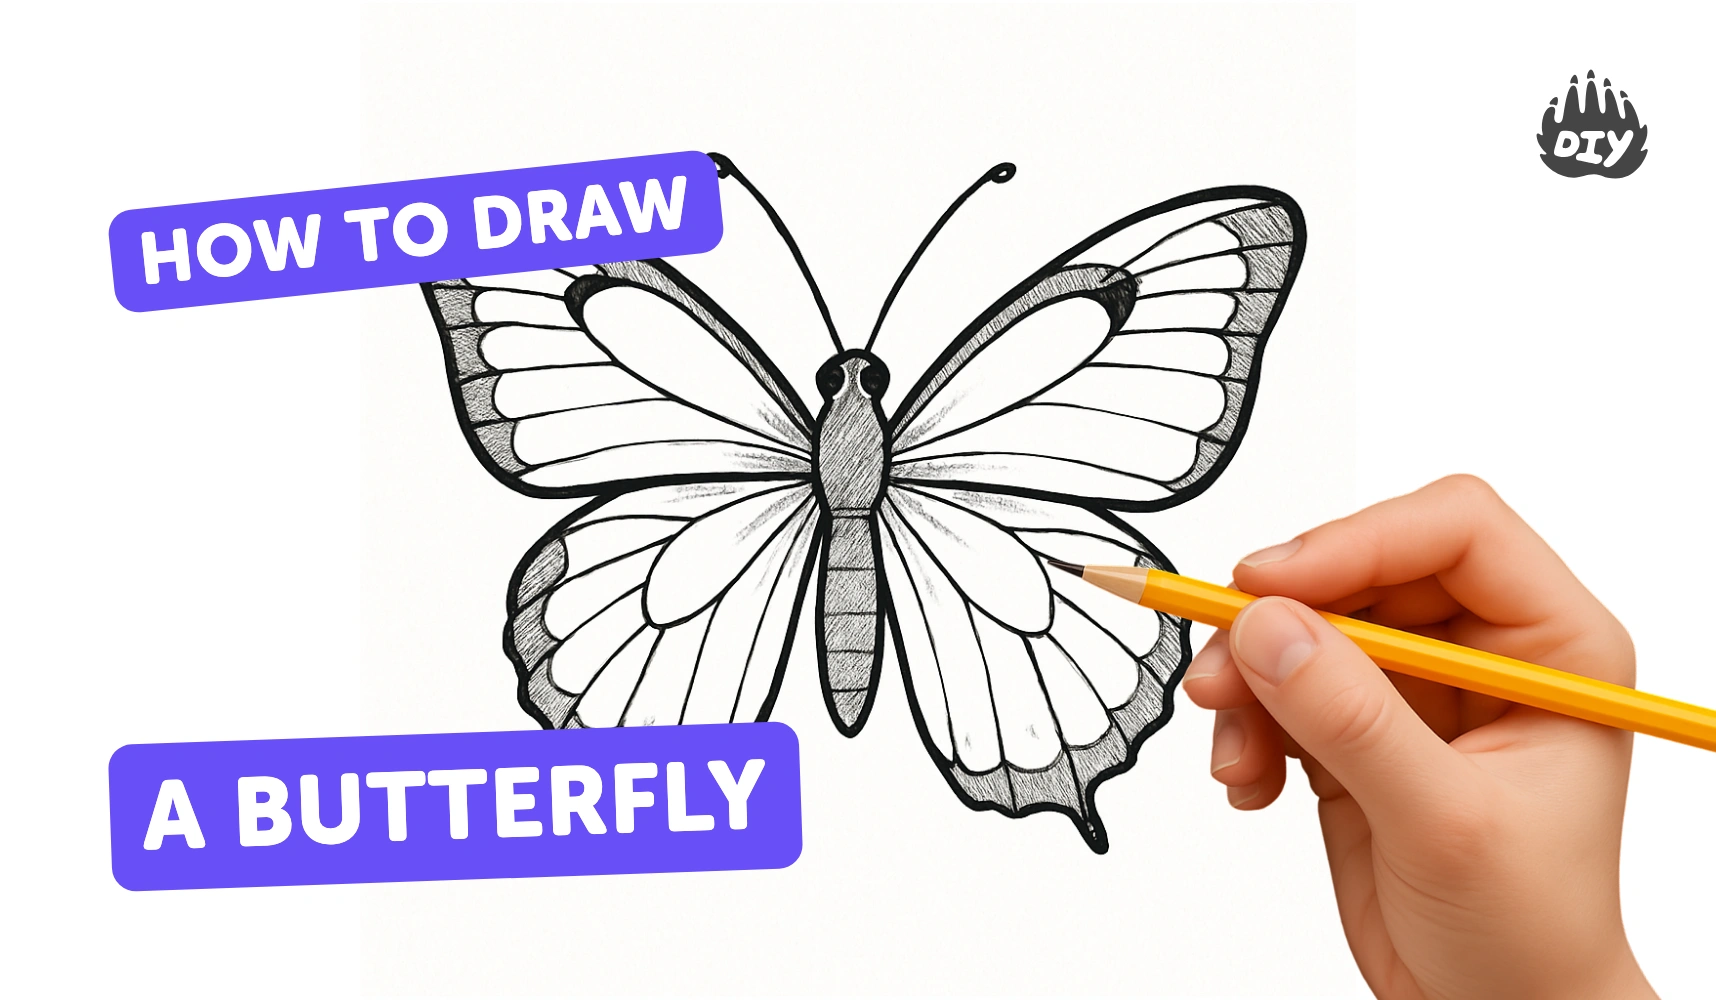
How to draw a butterfly - a free butterfly drawing guide
Draw a detailed butterfly step-by-step using simple shapes, symmetry, and color blending. Practice fine motor skills, observational drawing, and creativity while learning symmetry principles.

Drawing Apps
Get inspired with these


Instructions
How to Draw a BUTTERFLY! Super EASY for Kids | Step by Step Easy for Beginners
Step 1
Gather the materials listed and find a flat comfortable place to draw.
Step 2
Fold your paper in half vertically and press a light crease to make a center guide.
Step 3
Draw a small oval on the center line for the butterfly body.
Step 4
Draw a small circle on top of the oval and add two thin curved lines for antennae.
Step 5
Draw a large curved top wing and a smaller curved lower wing on the left side of the body.
Step 6
Repeat the same top and lower wing shapes on the right side so the wings mirror each other.
Step 7
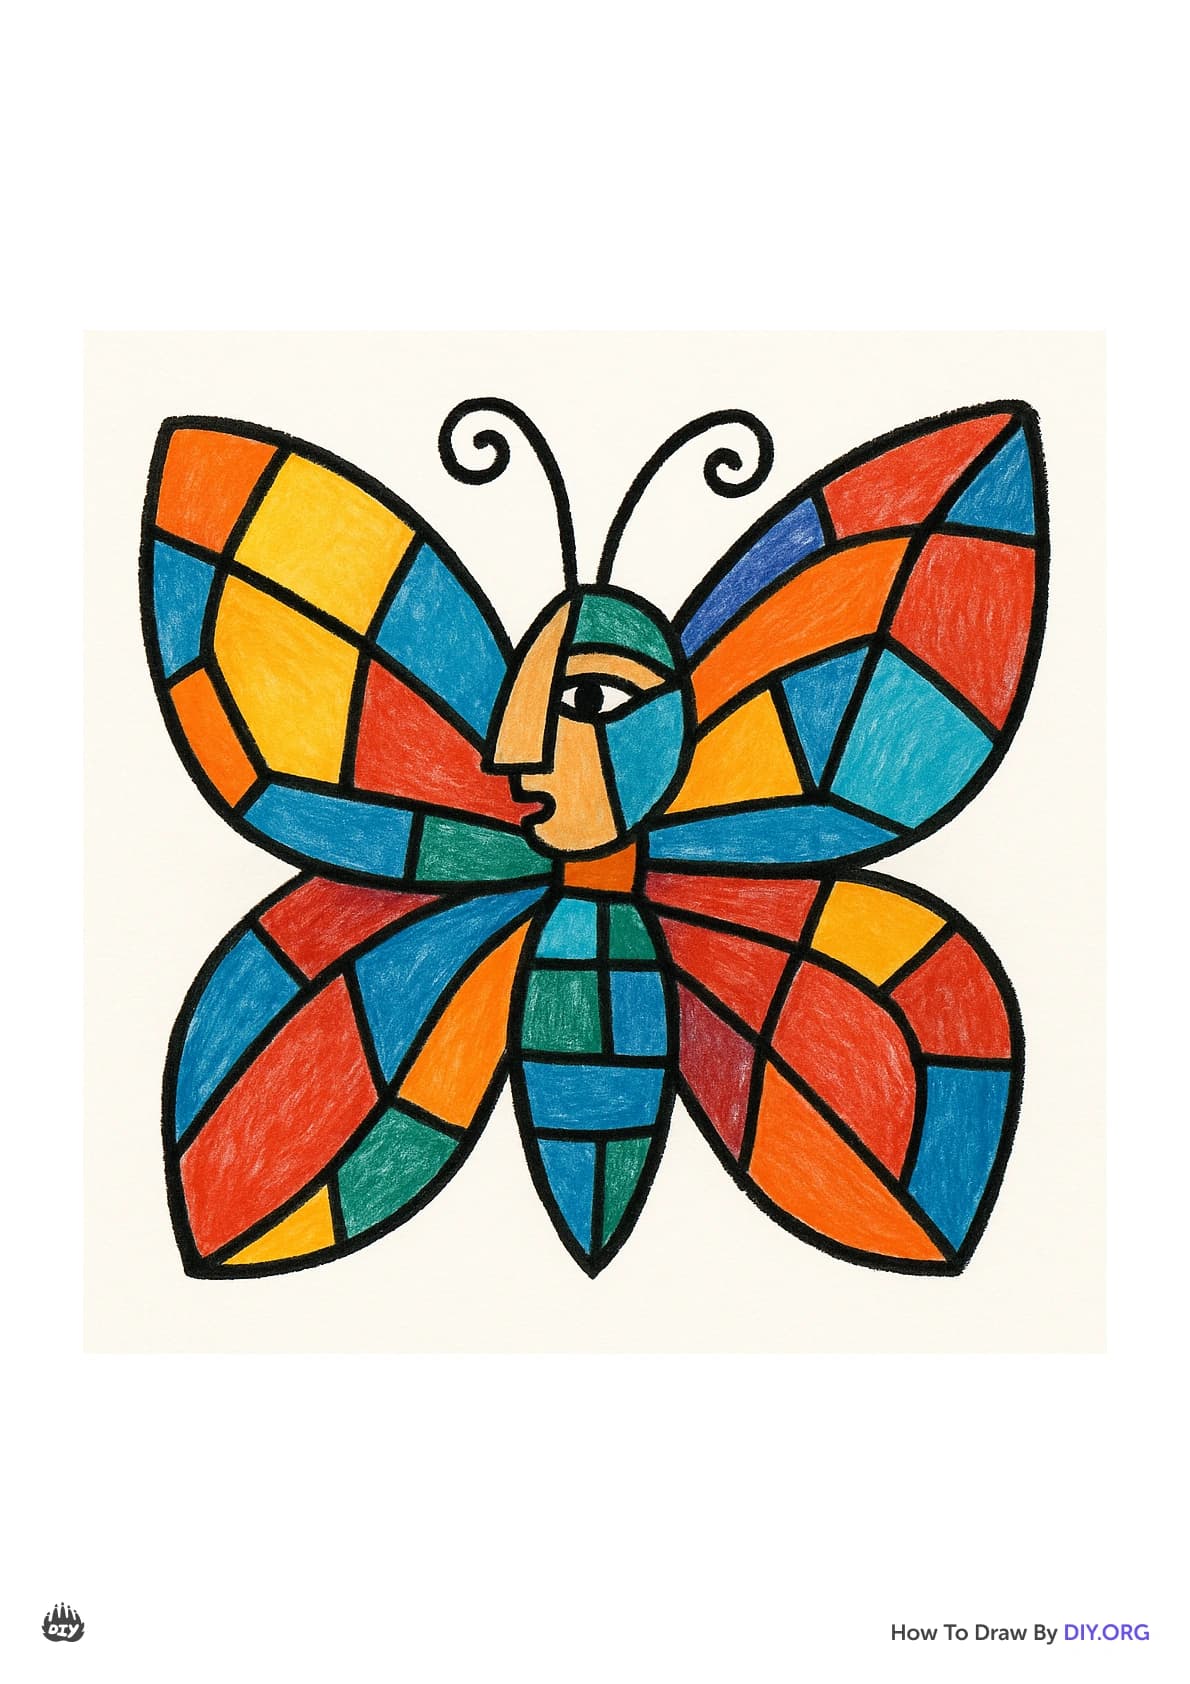
Add simple pattern shapes like circles teardrops and stripes on the left wings.
Step 8
Copy the same pattern shapes onto the right wings to keep the design symmetrical.
Step 9
Trace your final outlines with a black pen or darker pencil to make the drawing pop.
Step 10
Erase stray pencil marks and the center crease gently.
Step 11
Color the wings' base areas with a light even layer of your first color.
Step 12
Add a second color to the wings where you want gradients or patterns to be stronger.
Step 13
Blend the layered colors where they meet using a tissue cotton swab or light pencil strokes for smooth transitions.
Step 14
Shade the body by pressing a little darker along the edges to make it look round.
Step 15
Share your finished colorful butterfly on DIY.org.
Help!?
What can we use if we don't have a black pen, colored pencils, or cotton swabs listed in the materials?
If you don't have a black pen for 'Trace your final outlines with a black pen or darker pencil,' use a fine-tip marker or dark crayon, swap colored pencils for crayons or washable markers when you 'Color the wings' base areas,' and replace a cotton swab for blending with a folded tissue or your fingertip.
My wings aren't matching when I 'Repeat the same top and lower wing shapes on the right side'—how can I fix that?
Use the folded center crease from 'Fold your paper in half vertically' and either trace the left wing through the fold onto the right side or draw one side, fold the paper, and press lightly to transfer a guide so both wings mirror each other.
How can I adapt this butterfly drawing for younger or older children?
For younger kids simplify 'Add simple pattern shapes like circles teardrops and stripes' to big dots and stripes and use crayons, while older kids can spend more time on 'Shade the body' and 'Blend the layered colors' with colored pencils or blending stumps for realistic effects.
What are some ways to enhance or personalize the finished butterfly beyond coloring?
After you 'Color the wings' base areas,' personalize by adding glitter glue, stickers, metallic gel-pen highlights, or carefully cutting and folding the wings for a 3D effect, then photograph and 'Share your finished colorful butterfly on DIY.org.'
Related videos
How to Draw a BUTTERFLY! Super Easy for Kids
4 Videos

How to Draw a BUTTERFLY! Super Easy for Kids

How to Draw A Butterfly 🦋 Step by Step | easy drawing and painting tutorial for kids | gdb kids art
How To Draw a Butterfly 🦋Easy for Kids, Teens & Adults 🦋Beginner Step-by Step Drawing Tutorial
How to Draw a Butterfly (Easy Step by Step)
Fun Facts
🦋 There are about 17,500 species of butterflies worldwide, giving you tons of wing patterns to study and copy!
🎨 Many butterfly colors come from microscopic wing scales that reflect light (structural color), not just pigments — that’s why some look iridescent.
🔁 Butterfly wings are bilaterally symmetrical, so drawing one side first and mirroring it helps create a balanced design.
👣 Butterflies have taste sensors on their feet and land to 'taste' plants — a fun detail to imagine when placing them on flowers in your drawing.
👀 Some butterflies display ultraviolet wing patterns invisible to humans, which artists can mimic by adding hidden or accent colors.
How do I draw a colorful butterfly step by step?
What materials do I need to draw a butterfly?
What ages is this butterfly drawing activity suitable for?
What are the benefits, variations, and safety tips for drawing butterflies?
