How to draw a bunny - a free bunny drawing guide
Draw a bunny using basic shapes, add eyes, ears, paws, simple fur shading and color to complete a neat, proportionate finished illustration. Download the PDF for complete instructions.

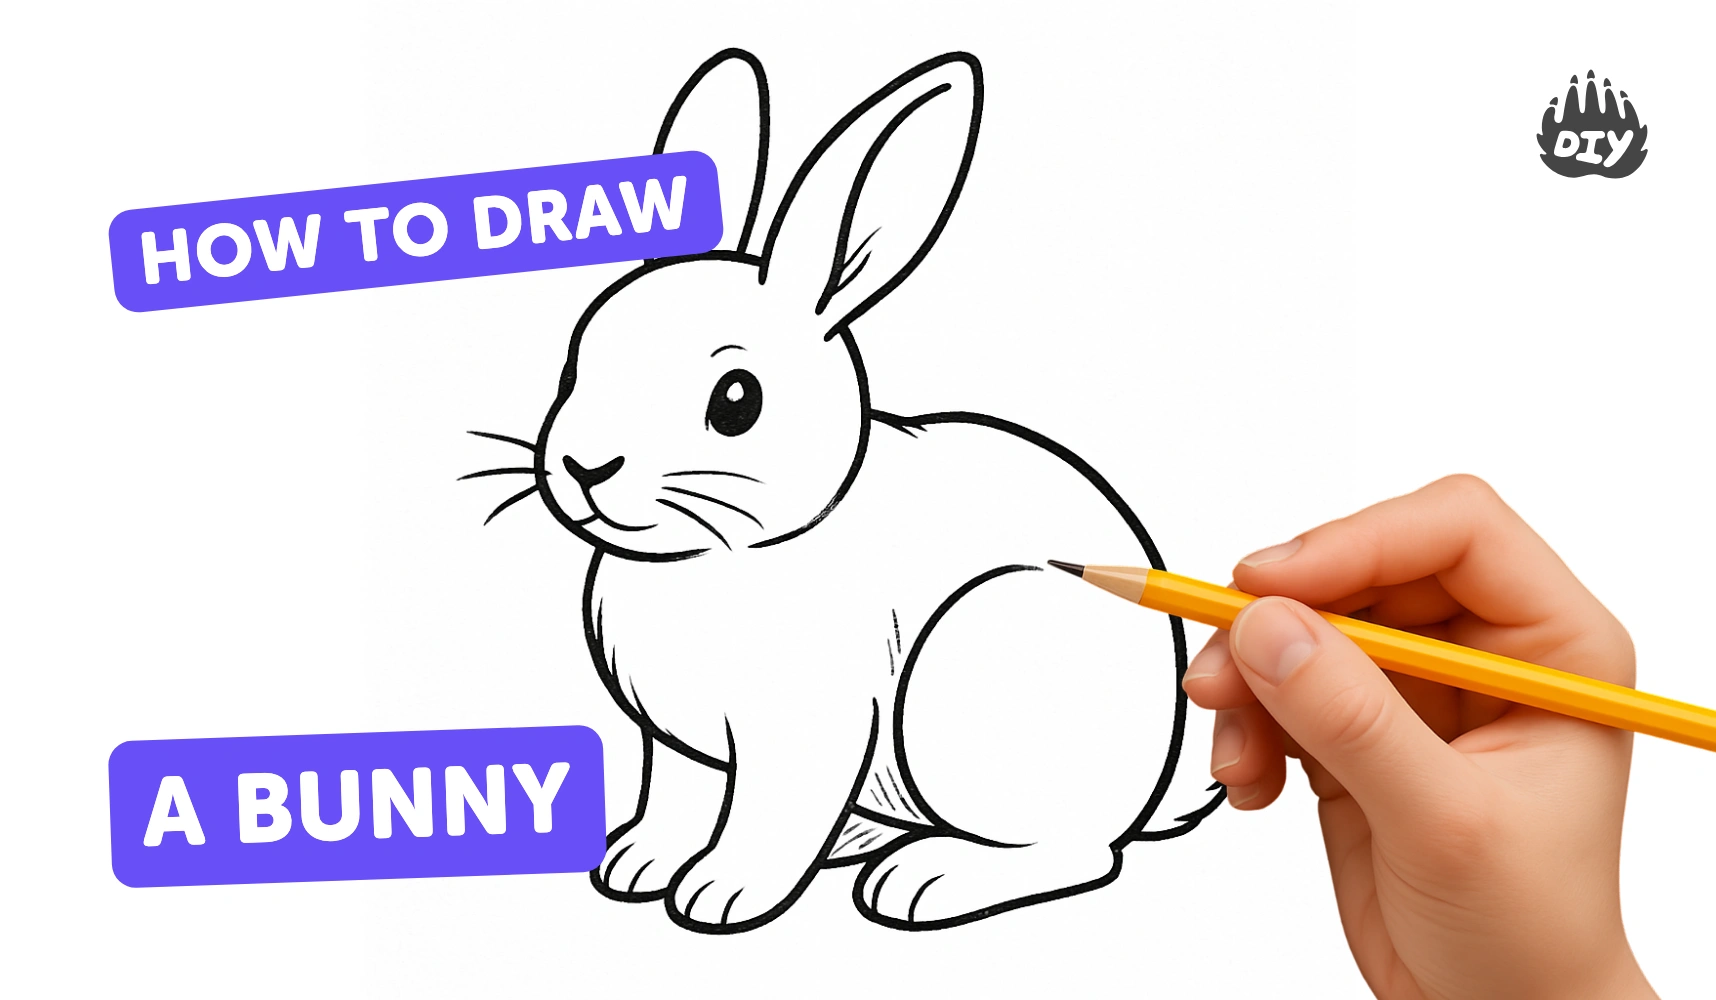
Step-by-step guide to draw a bunny
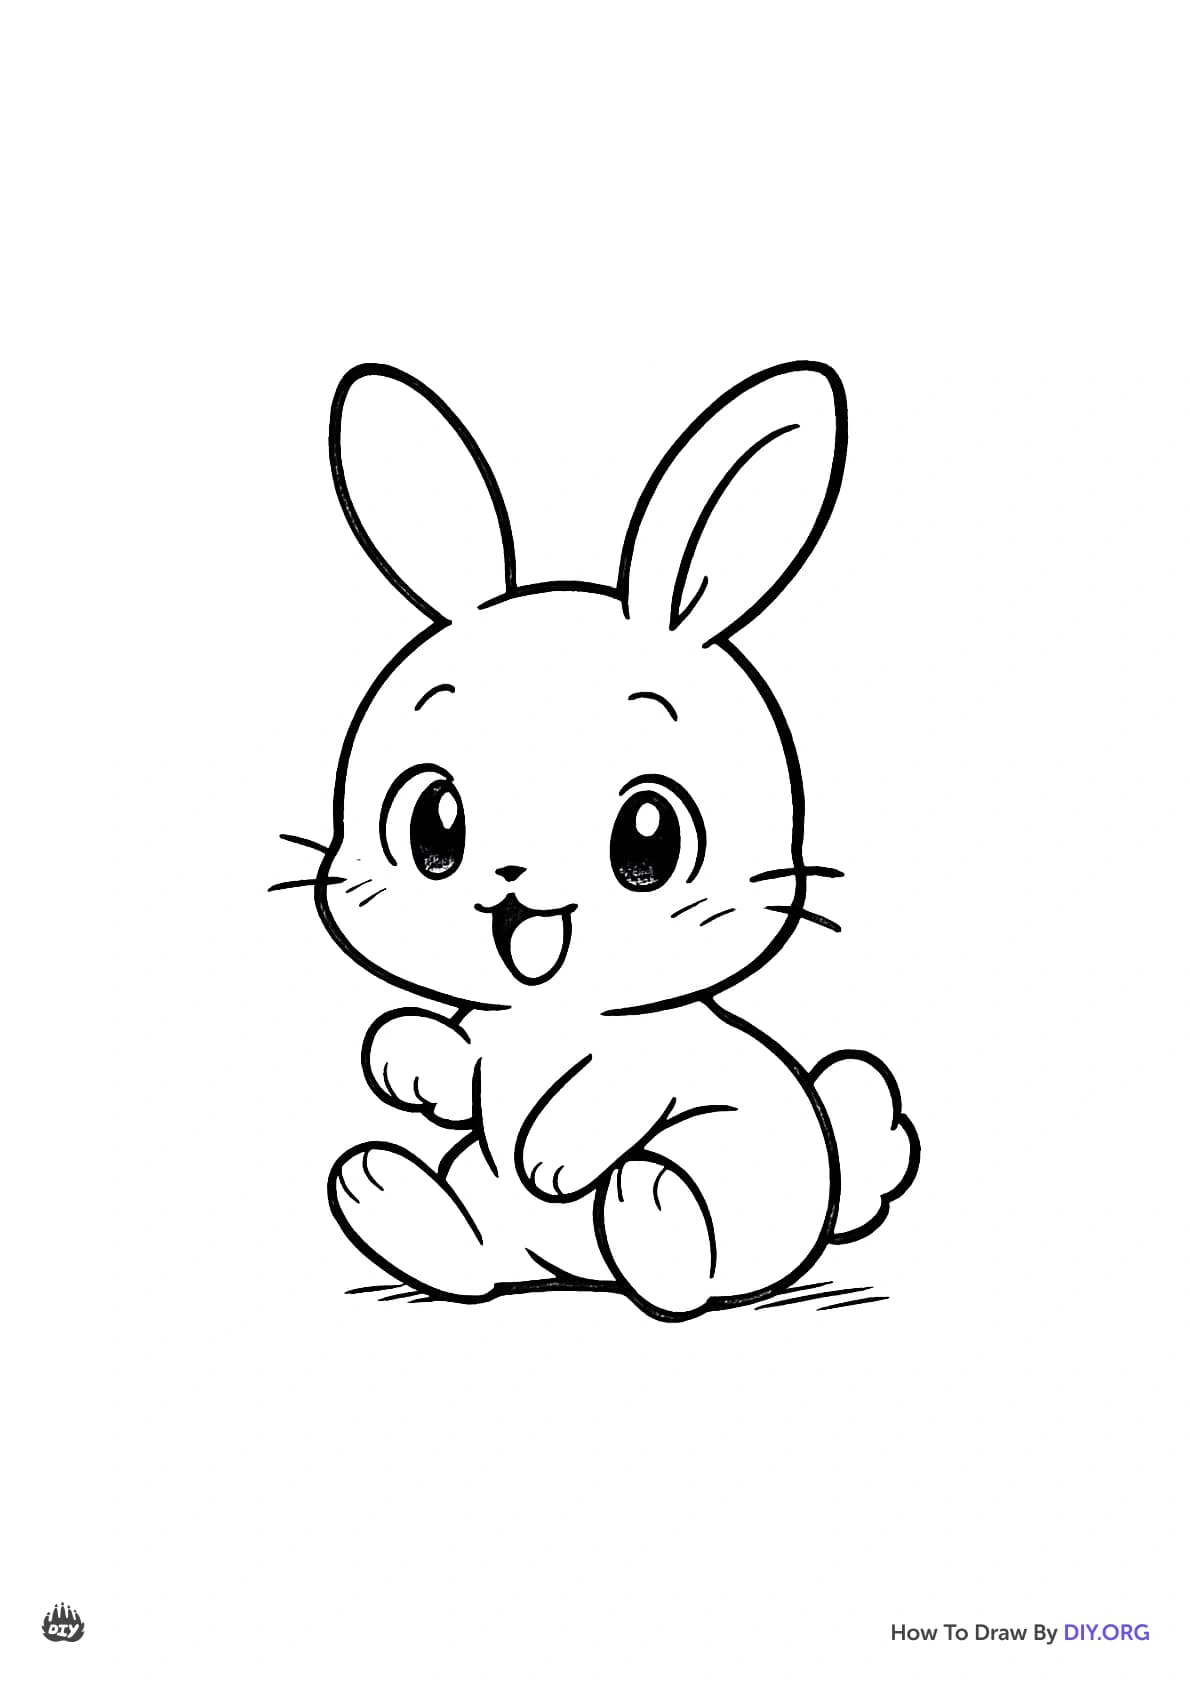
How to Draw a Bunny | Easy Step-by-Step Drawing Tutorial for Beginners
Step 1
Place your paper and pencil on a flat surface in front of you.
Step 2
Lightly draw a circle near the top center of the paper for the bunny’s head.
Step 3
Draw a larger oval below and slightly overlapping the circle for the bunny’s body.
Step 4
Draw two long ovals on top of the head for the bunny’s ears.
Step 5
Draw two small circles inside the head for the bunny’s eyes.
Step 6
Draw a small triangle in the middle of the face for the bunny’s nose.
Step 7
Draw a short curved line under the nose to make the bunny’s mouth.
Step 8
Sketch two small rounded shapes at the lower front of the body for the front paws.
Step 9
Add two wider rounded feet at the base of the body for the back legs.
Step 10
Draw a small fluffy cloud shape on the side or back of the body for the tail.
Step 11
Add short light pencil strokes along the head and body to show simple fur shading.
Step 12
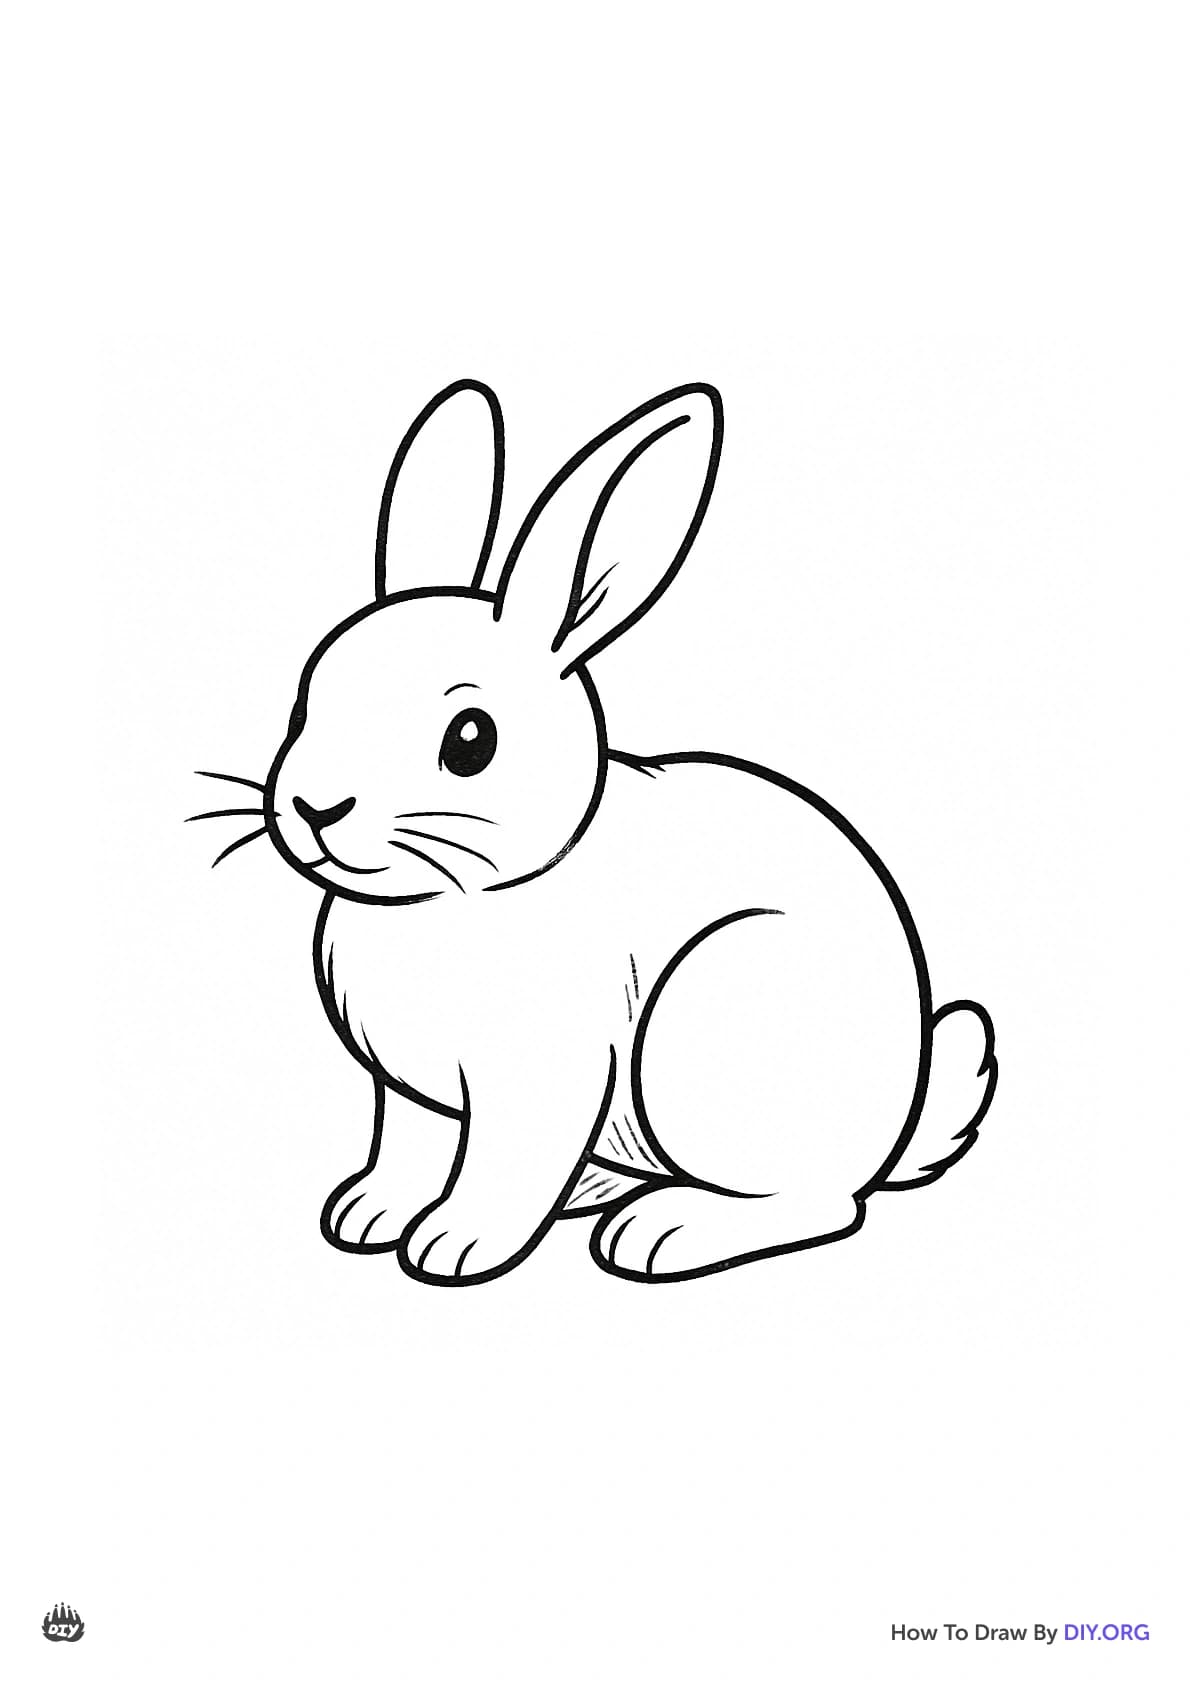
Carefully trace the final bunny outline with your black marker or fine liner to make it neat.
Step 13
Gently erase any extra pencil guidelines so only the clean drawing remains.
Step 14
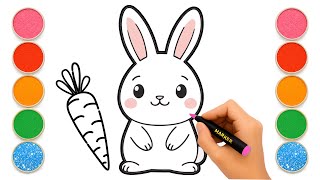
Color your bunny and the background using your coloring materials to finish the illustration.
Step 15
Share your finished bunny drawing on DIY.org.
Help!?
What can I use if I don't have a black marker or fine liner for tracing the final outline?
If you don't have a black marker or fine liner, carefully trace the final pencil outline (step 11) with a dark ballpoint pen, a sharpened colored pencil, or a thin paintbrush and ink, then let it dry before erasing.
My bunny looks lopsided when I draw the head and body — how can I fix that?
If the circle head and overlapping oval body (steps 2–3) look lopsided, redraw them lightly using a vertical centerline to align both shapes before adding ears and paws, then trace once you are happy with the placement.
How can I change the activity for different age groups?
For preschoolers pre-draw the head and body and let them add eyes, nose, and color (steps 2–6 and 13), for school-age kids follow all steps and practice the short fur strokes (step 10), and for older kids add detailed shading, texture, and background elements (steps 10–13).
What are some ways to extend or personalize the bunny drawing after finishing it?
To extend or personalize the drawing, add a patterned scarf, a name tag, a grassy or indoor background, or glue a cotton ball for the tail after tracing and erasing (steps 11–12), then color and share your finished illustration on DIY.org (step 13).
Watch videos on how to draw a bunny
How to draw a cute rabbit easy step by step🐇 🐰
4 Videos
How to draw a cute rabbit easy step by step🐇 🐰
How to draw a cute bunny easy 🐰💖 | Drawing and coloring Easter bunny step by step for kids
How to Draw a Cute Bunny in a Basket 🐰 | Easy Drawing Tutorial for Kids
Let's Draw a Cute Rabbit! 🐇 | Easy & Fun Art for Kids
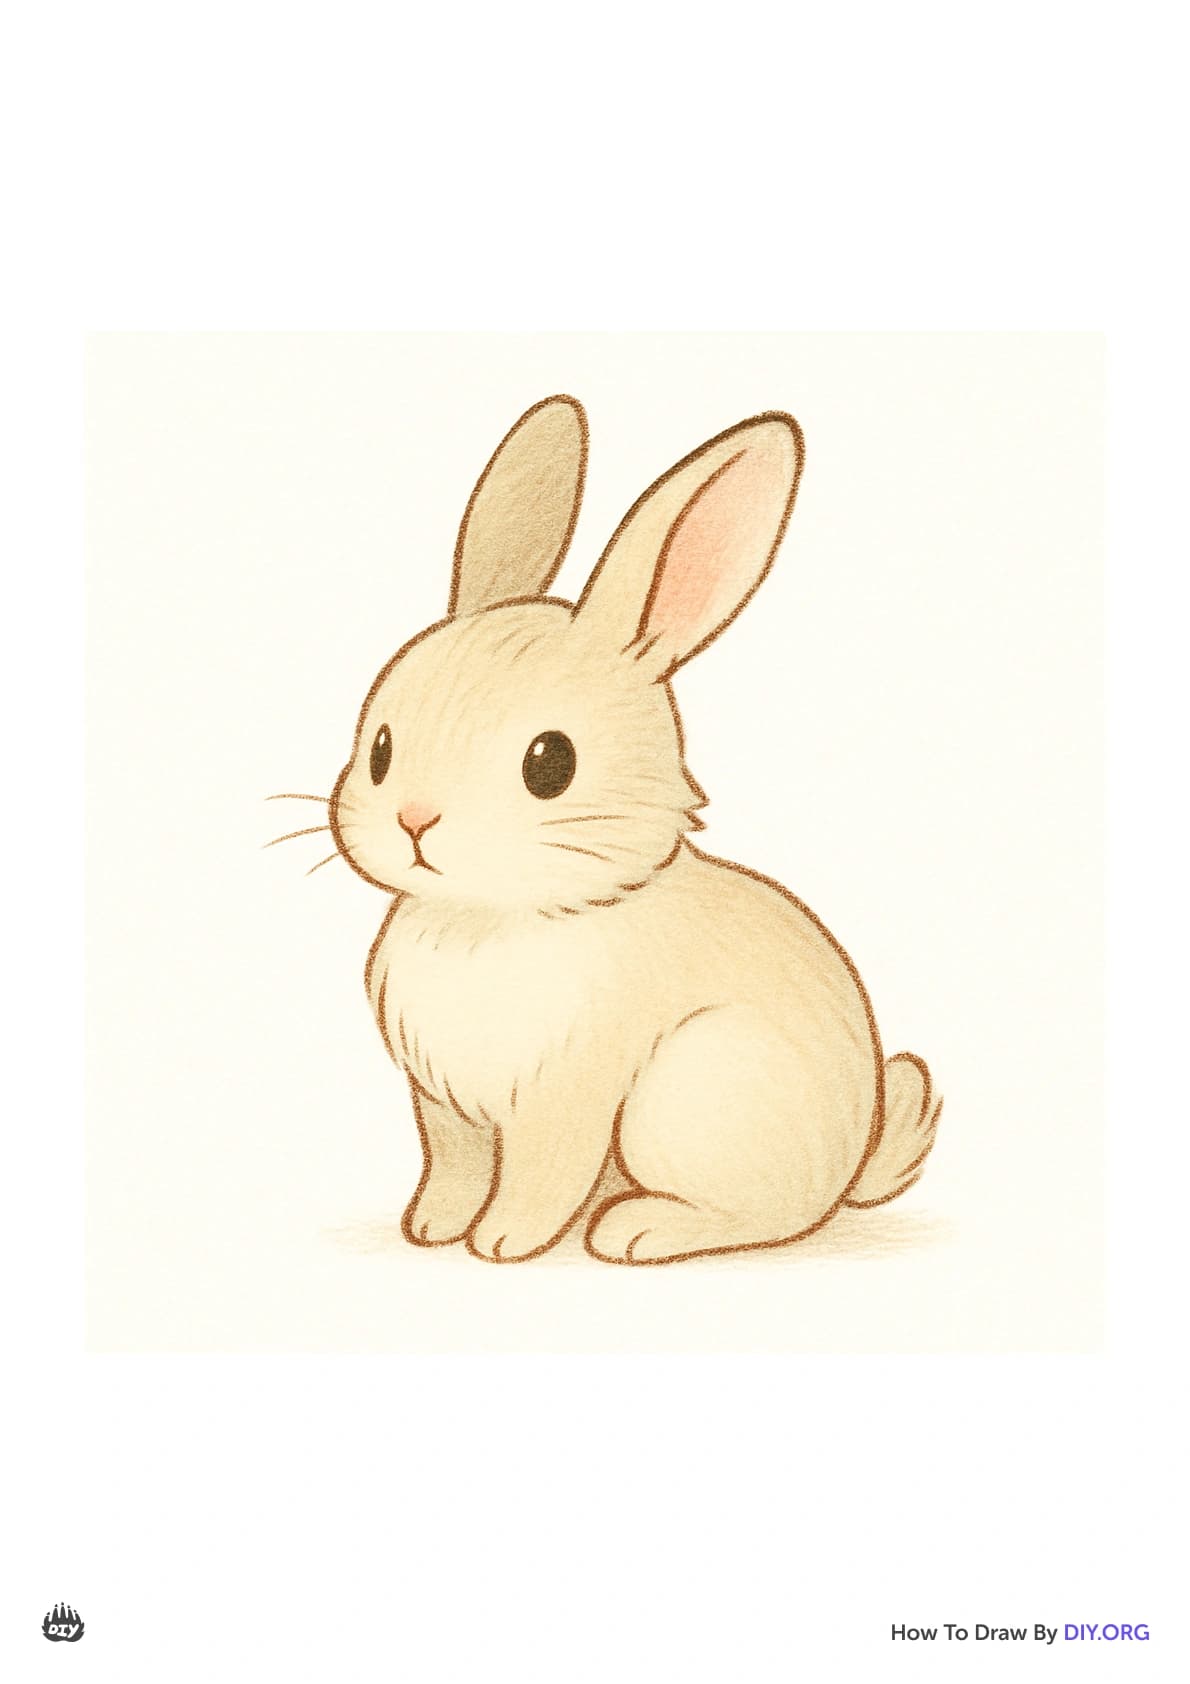
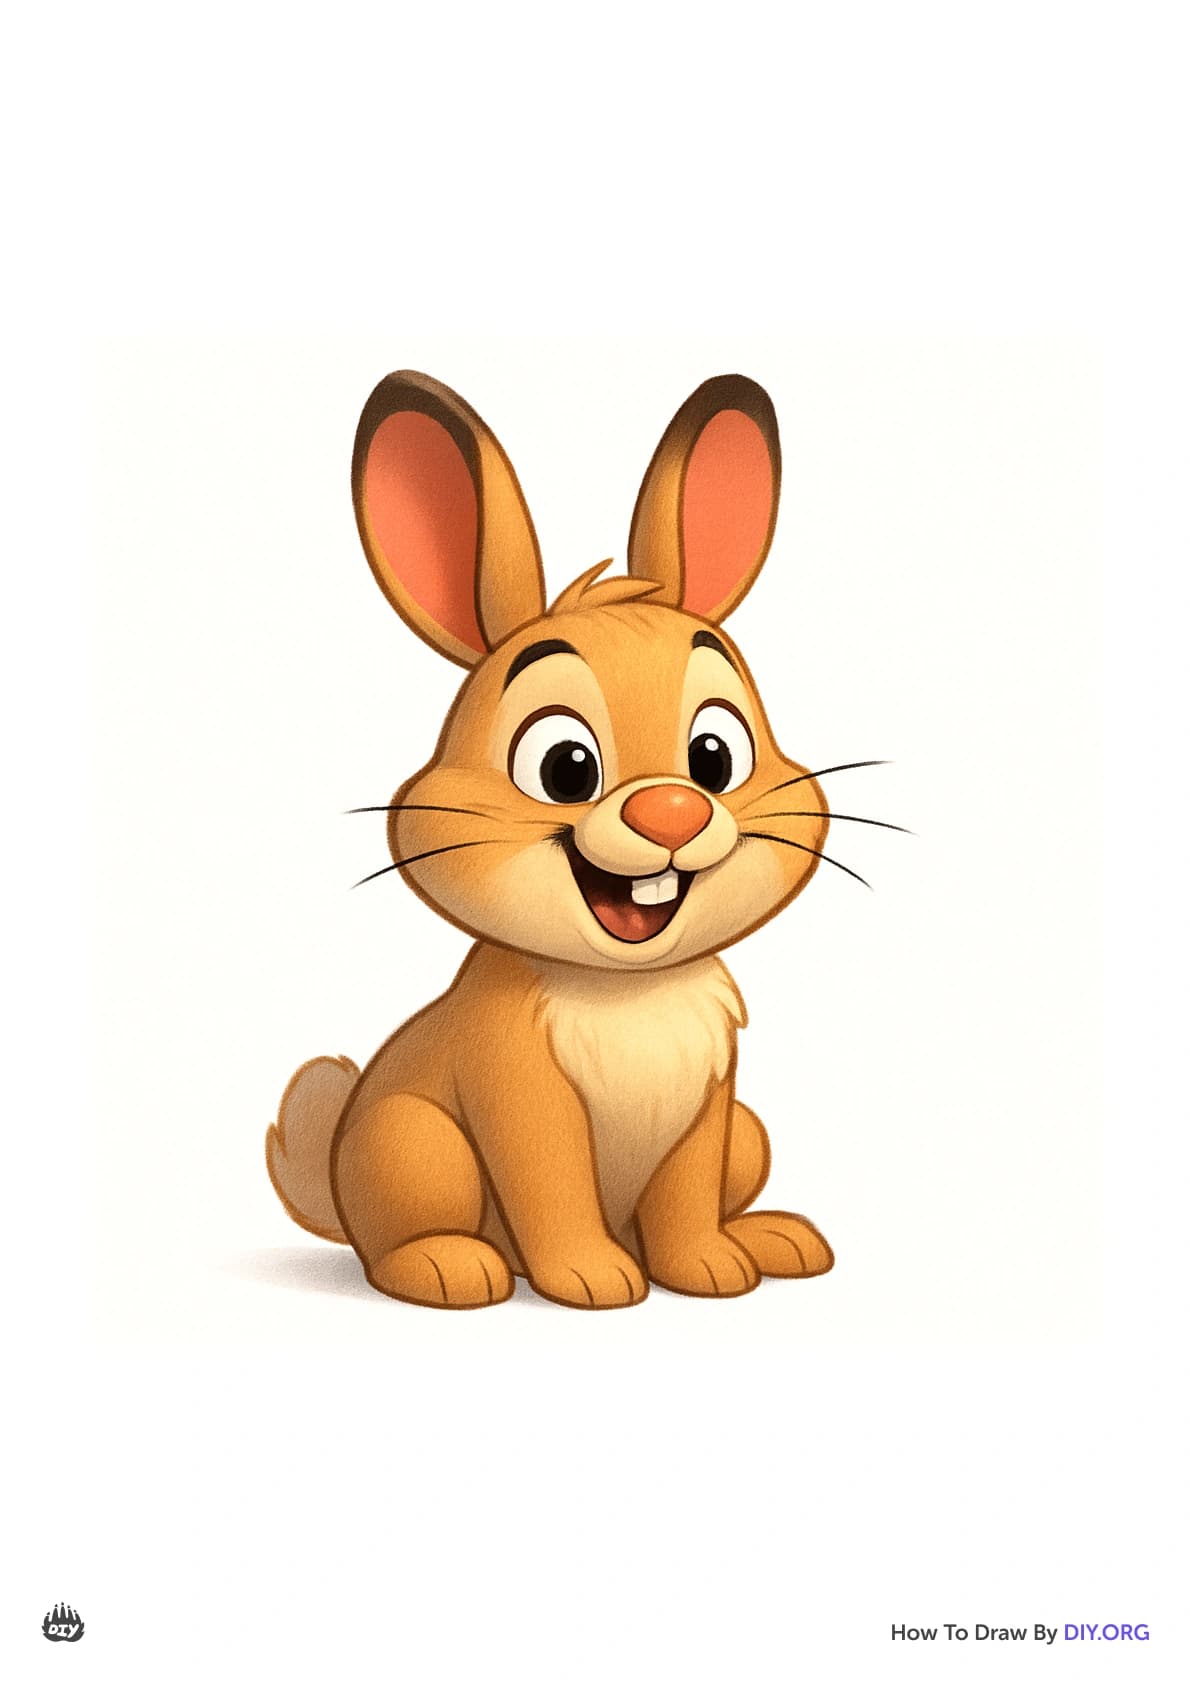
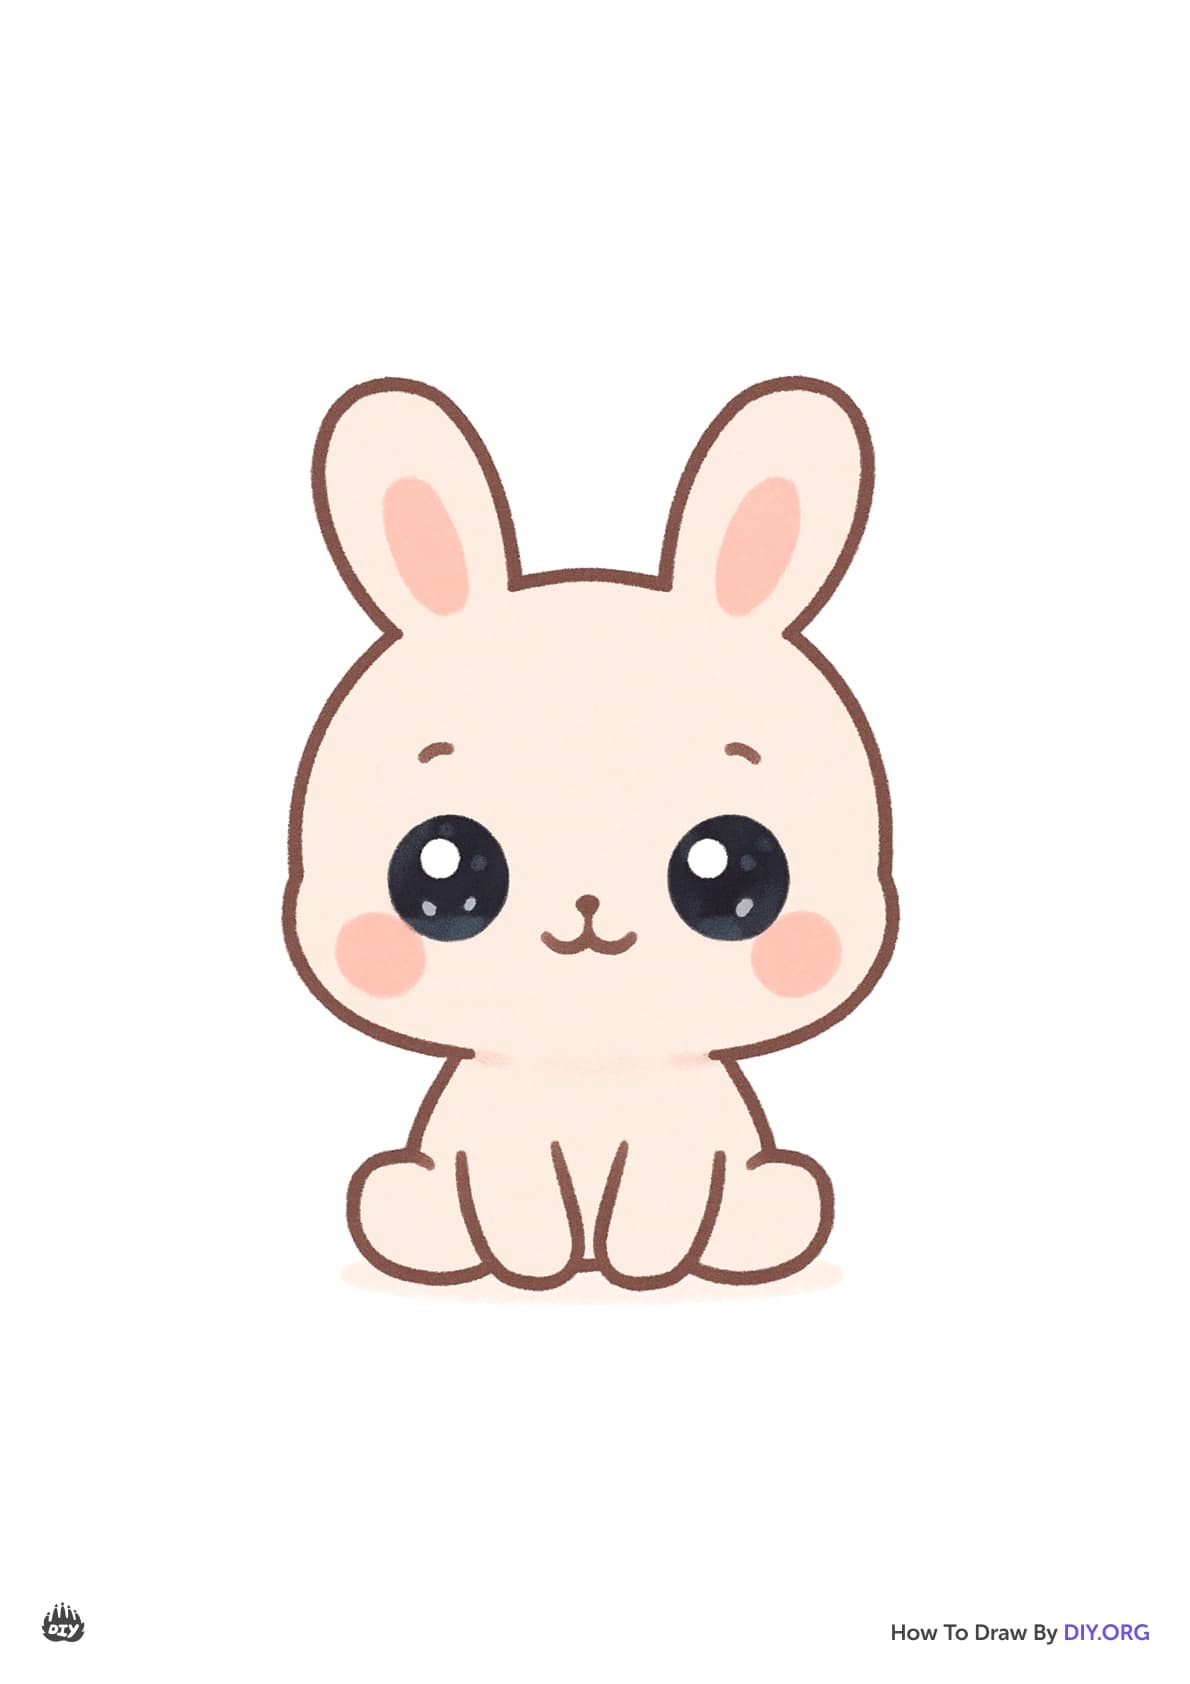
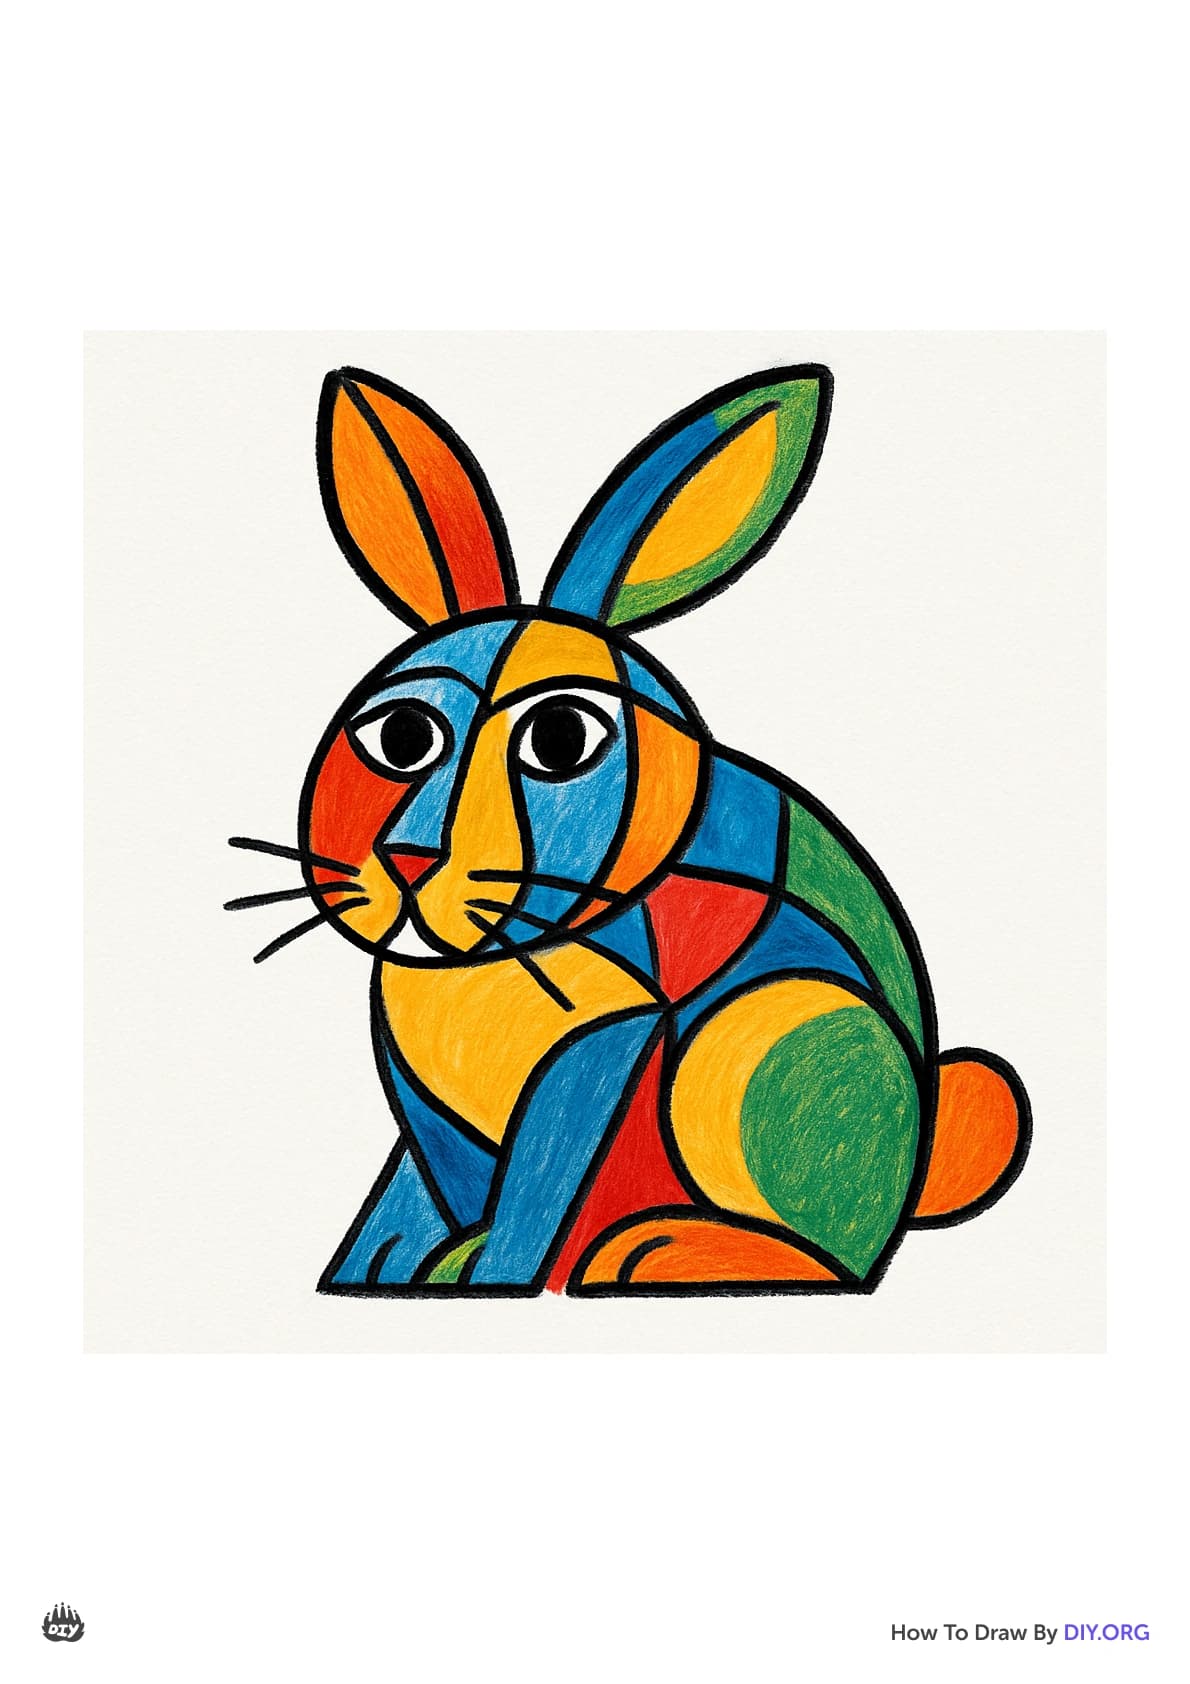
Photos of bunny drawing examples
Facts about drawing for kids
🐰 Rabbits have nearly 360° vision because their eyes sit on the sides of their heads.
✏️ Artists often start with simple shapes like circles and ovals to get proportions and pose right.
🎨 There are hundreds of rabbit breeds with lots of fur colors and patterns you can use for inspiration.
👂 Rabbits can move each ear independently to locate sounds — great reason to draw big expressive ears!
🐾 Rabbits have powerful hind legs used for jumping, which affects how paws and posture look.
How do I draw a bunny step by step?
What materials do I need to draw a bunny?
What ages is this bunny drawing activity suitable for?
What are the benefits of drawing a bunny with my child?
