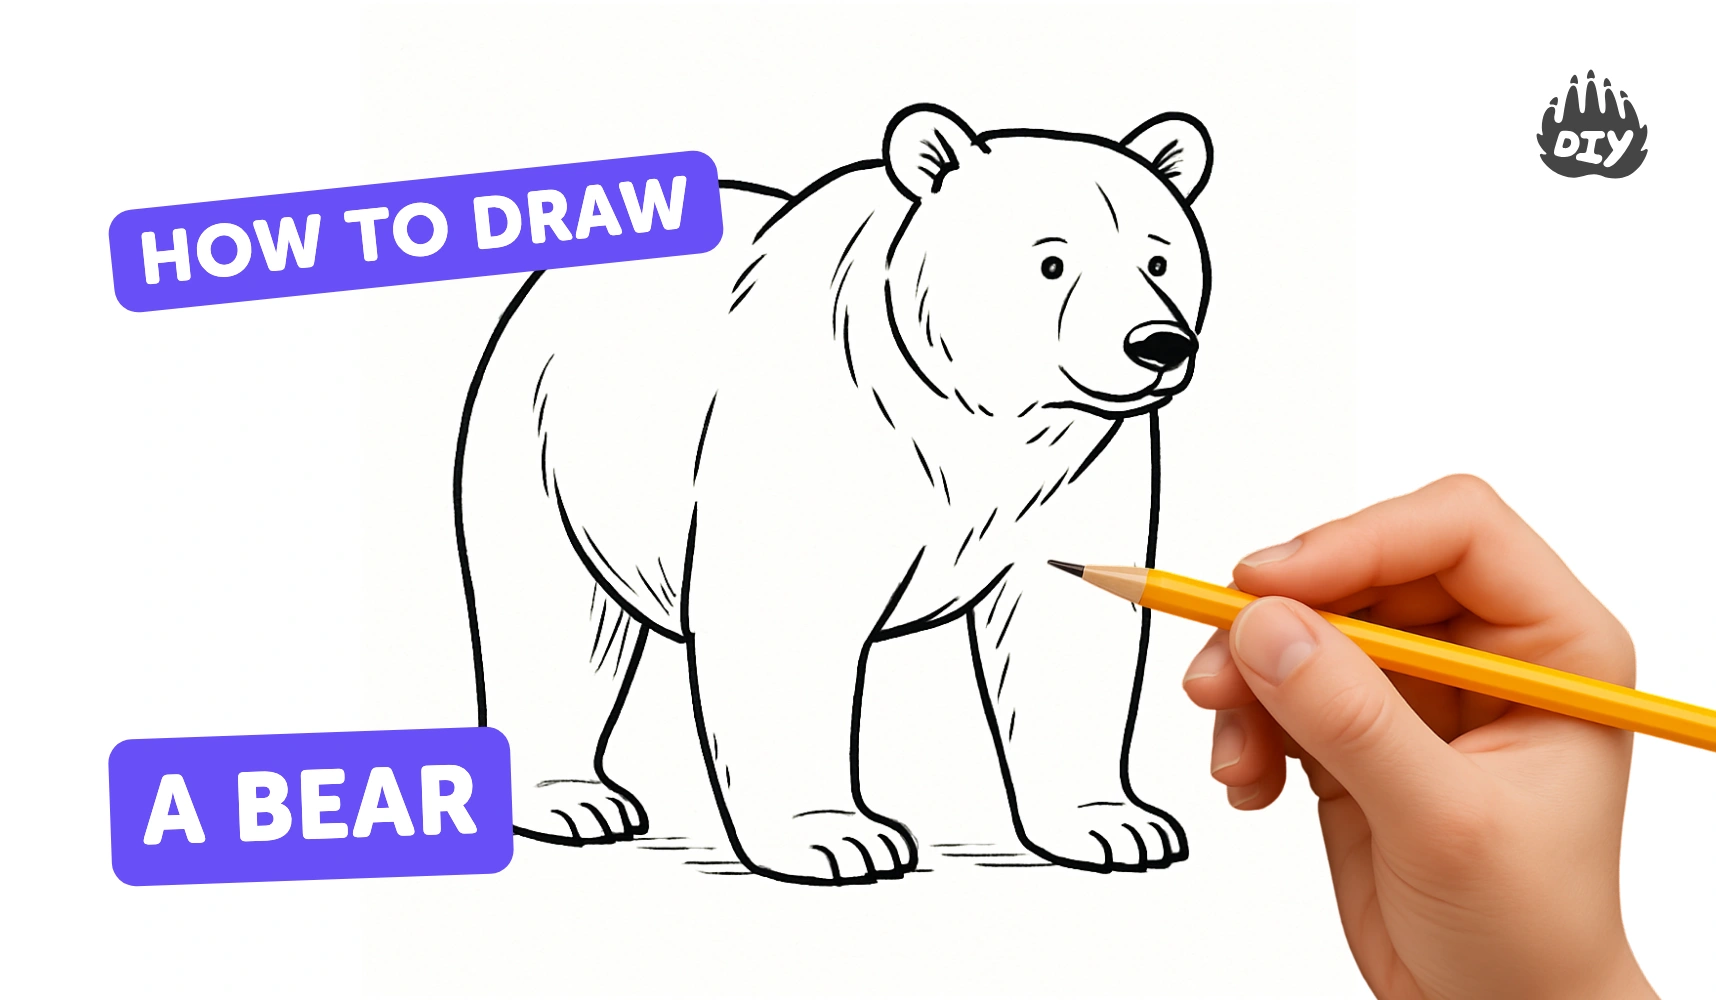
How to draw a bear - a free bear drawing guide
Draw a bear step by step using simple shapes, lines, and pencil shading. Practice proportion, texture, and basic drawing techniques to finish an illustrated bear.

Drawing Apps
Get inspired with these


Instructions
How to Draw a Bear | Easy Drawing Lesson for Kids | Step by step
Step 1
Choose a comfy spot and place your paper and pencil ready to draw.
Step 2
Lightly sketch a big oval for the bear’s body using gentle pencil strokes.
Step 3
Lightly draw a slightly smaller circle overlapping the top of the oval for the bear’s head.
Step 4
Add two rounded ears on top of the head by drawing two small curved bumps.
Step 5
Draw a light vertical line down the center of the head and a light horizontal line where the eyes will go.
Step 6
Draw two small rounded eyes on the horizontal guideline.
Step 7
Draw a rounded triangle nose on the centerline below the eyes and a short line down with a small curved mouth.
Step 8
Sketch the legs and paws using short rounded rectangles or ovals for each paw.
Step 9
Add fur texture with short curved strokes that follow the curve of the body and face.
Step 10
Shade shadow areas lightly such as under the belly behind the ears and under the chin to add depth.
Step 11
Gently blend shaded areas with a tissue or cotton swab to make smooth tones.
Step 12
Erase the light guide lines and clean up any stray marks to finish the drawing.
Step 13
Share your finished bear drawing on DIY.org
Help!?
What can we use if we don't have a tissue, cotton swab, pencil, or drawing paper?
Use a clean fingertip, a folded scrap of printer paper or soft cloth to blend instead of a tissue or cotton swab, substitute a colored pencil, pen, or charcoal stick for the pencil, and draw on plain printer paper, notebook paper, or cardboard from a cereal box instead of drawing paper.
My bear's head and body look uneven or my shading smudged — how can I fix those problems?
Keep the big oval and overlapping circle guidelines very light so you can erase and adjust them easily, use the vertical and horizontal guide lines to center the nose and eyes, shade lightly in layers under the belly and chin, and blend gently with a tissue or fingertip to avoid harsh smudges before erasing stray guide lines.
How can I change the activity to suit different ages or skill levels?
For younger kids simplify to drawing one big oval and circle and add ears with finger paints, for elementary-age follow all steps with light pencil strokes and simple shading, and for older kids or teens add detailed fur texture, layered shading, and ink or colored-pencil finishing touches.
What are some ways to extend or personalize the finished bear drawing?
Personalize the bear by adding a background like trees or a honey jar, dressing it with a hat or scarf, experimenting with colored pencils or watercolors for the fur, or drawing several poses to create a little story to share on DIY.org.
Related videos
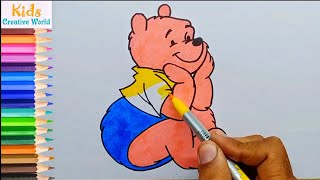
How To Draw a Cute Bear Step by Step!
4 Videos
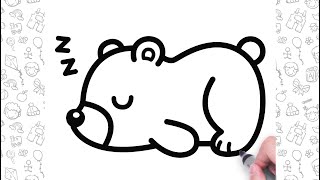
How To Draw a Cute Bear Step by Step!
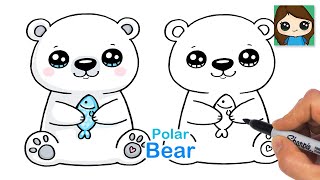
How to Draw a Polar Bear Easy 🐟
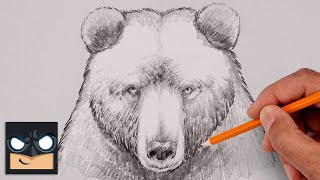
How To Draw a Grizzly Bear | 15 Minute Sketch Tutorial
Cute Bear Drawing and Coloring for Kids | Easy Cartoon Bear Drawing with Colors |
Fun Facts
🐻 Most bears have a big rounded body, short powerful legs and a small head — sketching with ovals and circles helps get proportions right.
✏️ Graphite pencils come in grades (H, HB, B); softer pencils like 2B–6B make darker, softer shading while harder pencils keep crisp lines.
🎨 Shading along the curve of the form (not random scribbles) makes a bear look 3D and furry — light strokes build texture gradually.
👀 Artists often squint to see just the big lights and darks — focusing on values first helps capture the bear's shape faster than drawing every detail.
🧽 A kneaded eraser is a creative tool: dab it to lift graphite for fur highlights or to carve texture instead of only erasing mistakes.
How do I teach my child to draw a bear step-by-step?
What materials do I need to draw a bear with my child?
What ages is drawing a bear suitable for?
What are the benefits of drawing a bear for my child?
