Make Your Own Robotic Arm!
Build a simple robotic arm from cardboard, craft sticks, string, and tape. Learn joint movement, gripping, and basic engineering by controlling it with your hand.


Step-by-step guide to make your own robotic arm
Step 1
Gather all your materials and clear a flat workspace to build your robotic arm.
Step 2
Cut a rectangle of cardboard about 6 inches by 10 inches to use as the base.
Step 3
Use scissors to make a small hole near one short edge of the cardboard base where the shoulder will attach.
Step 4
Use scissors to make a small hole about 1 cm from one end of three craft sticks for the joints.
Step 5
Connect the three craft sticks with paper fasteners so the arm has two movable joints (elbow and wrist).
Step 6
Cut two small claw shapes from cardboard about the size of your thumb to serve as gripper pads.
Step 7
Tape the two claw shapes to the end of the third craft stick to create the gripper.
Step 8
Fasten the first craft stick to the base through the base hole with a paper fastener so the arm can pivot at the shoulder.
Step 9
Cut two lengths of string about 50 cm each to make the control lines.
Step 10
Tie one end of the first string securely to the gripper claws.
Step 11
Thread the first string along the arm back toward the base so pulling it will close the gripper.
Step 12
Tie one end of the second string to the middle joint so pulling it will bend the elbow.
Step 13
Thread the second string back toward the base so both control strings reach your hand.
Step 14
Tape the free ends of both strings to the back of the cardboard leaving small loops to pull as controls.
Step 15
Take a photo or video of your robotic arm and share your finished creation on DIY.org.
Final steps
You're almost there! Complete all the steps, bring your creation to life, post it, and conquer the challenge!

Help!?
What can we use if craft sticks or paper fasteners are hard to find?
Substitute sturdy cardboard strips or pencils for the craft sticks and use brads/split pins or small bolts with washers in place of paper fasteners to connect the three sticks and fasten the shoulder to the base through the hole.
The gripper doesn't close when I pull the string—what should I check?
Check that the first string is tied securely to the gripper claws, runs smoothly along the arm without catching on tape or edges, and that the elbow and wrist paper fasteners aren't tightened so much that they stop the joints from moving.
How can I adapt this project for different age groups?
For younger kids, pre-cut the cardboard base, claws, and pre-make the holes so they only assemble with paper fasteners and tie the 50 cm strings, while older kids can add extra craft-stick segments, straw guides for the control lines, or design more precise gripper pads before sharing on DIY.org.
What are easy ways to enhance or personalize the robotic arm?
Decorate the cardboard base and craft sticks, add a rubber-band return to the gripper or small straw guides for the control strings to smooth movement, and film a short demo or tutorial to post on DIY.org.
Watch videos on how to make your own robotic arm
How to Make a Robotic Arm - Easy DIY Tutorial for Kids
4 Videos
How to Make a Robotic Arm - Easy DIY Tutorial for Kids
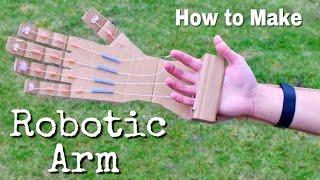
How to Make a Robotic Arm at Home Out off Cardboard with 5 Fingers
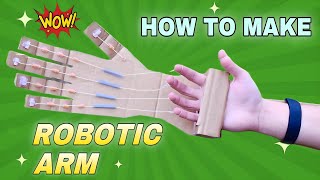
AMAZING INVENTION! How to Make a Robotic Arm - Tutorial

How to Make Hydraulic Powered Robotic Arm from Cardboard
Facts about robotics and basic engineering
📦 Cardboard is lightweight but surprisingly strong for its thickness, which is why makers love it for prototypes.
🪵 Craft (popsicle) sticks act like little wooden beams — perfect simple levers for building joints and supports.
🤖 Industrial robot arms can lift over 1,000 kg — your cardboard arm uses the same joint ideas on a tiny scale!
🪢 Strings and cables mimic tendons: pulling one cable can open or close a gripper just like muscles do.
🦾 The human arm has three main joints (shoulder, elbow, wrist) that engineers copy to make movable grippers.
How do you build a simple robotic arm from cardboard and craft sticks?
What materials do I need to build a cardboard robotic arm?
What ages is the cardboard robotic arm activity suitable for?
What are some safety tips and creative variations for the robotic arm project?


One subscription, many ways to play and learn.
Only $6.99 after trial. No credit card required