
Imagine walking through your home and being greeted by a vibrant wall filled with cherished memories, your child’s first steps, family vacations, goofy pet photos, or just magical everyday moments. A DIY photo gallery is more than just décor; it's a personal, creative, and meaningful way to celebrate your child’s growth while making your home feel warm and loved.
In this guide, you’ll discover how to create a beautiful kids’ photo wall that’s easy, safe, and joyfully collaborative. Whether you're displaying milestones or showcasing everyday magic, this is a DIY project the whole family will adore.
Why Create a DIY Photo Gallery for Your Kids?
Building a photo gallery wall for your children can benefit their emotional and creative development in many ways:
Boosts Self-Esteem
When kids see their photos proudly displayed, it gives them a sense of identity and belonging. Studies show that children feel more confident and secure when their memories and achievements are recognized at home.
Encourages Creative Expression
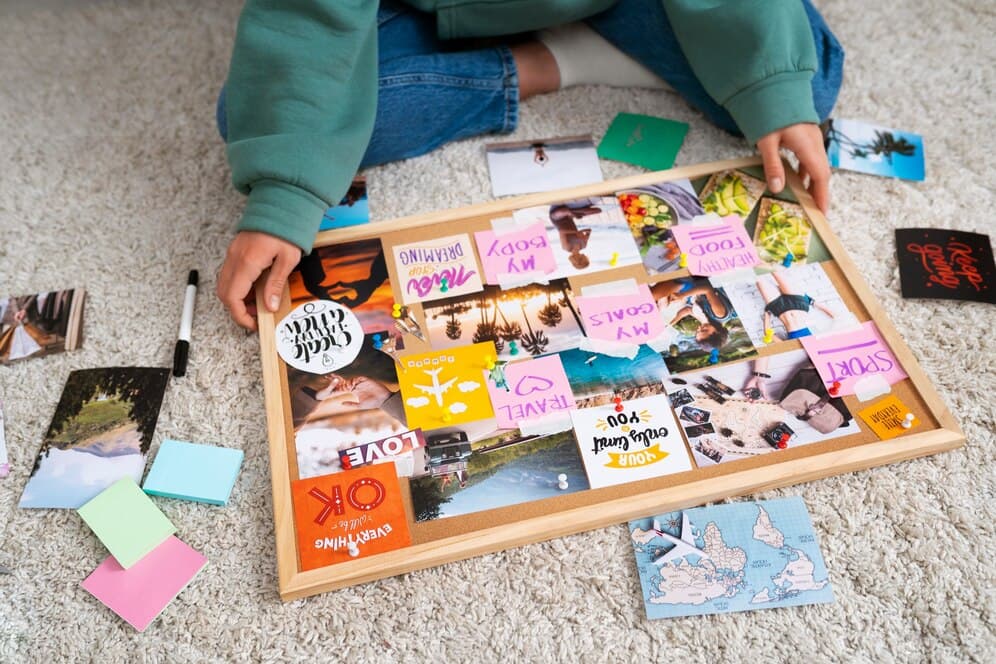
Let your children help pick the photos, choose decorations, and design their own frames. This empowers them to express their personalities and fosters creativity.
Supports Language Development
Talking about the memories behind each photo encourages storytelling and emotional expression, helping kids build vocabulary and communication skills.
Strengthens Family Bonds
A collaborative project like this creates space for connection. You’ll share stories, laughter, and quality time as you put your gallery together.
Reduces Clutter
Organize your home while keeping artwork, photos, and mementos in one thoughtful display that’s always evolving.
Materials Needed for a Kid-Friendly Photo Gallery Wall
Here’s a list of everything you’ll need to create a safe, functional, and fun DIY photo gallery:
Picture Frames – Use a mix of sizes and colors to add dimension. Choose plastic or wood frames over glass for safety.
Photos – Print your child’s favorite memories, artwork, or school achievements.
Tools – Scissors, measuring tape, level, glue, adhesive strips, drywall anchors, screws, and a power drill if necessary.
Decorative Supplies – Washi tape, markers, stickers, ribbons, colorful paper, or dried flowers to add a personal touch.
What to Consider Before Starting Your DIY Gallery
A bit of planning helps you avoid common mistakes and ensures your gallery wall is safe and stylish.
Safety First
Keep tools away from little hands, and use sturdy ladders or stools on flat surfaces. Lighter frames can be mounted with adhesive strips. Use drywall anchors for heavier frames, especially if hanging above furniture.
Pick Kid-Safe Materials
Avoid glass when possible and opt for durable frames that can handle wear and tear in a kid-friendly home.
Account for Temperature & Humidity
Photos can warp or develop mold in humid environments. Choose a stable, dry area away from windows or heat sources.
Consider Lighting
Avoid direct sunlight which can fade prints. Instead, choose well-lit spaces with soft natural light.
Involve Your Kids
Ask your children to help select photos, colors, and layouts. Let them decorate the frames to reflect their style.
Reflect Their Personality
Does your child love animals, space, or superheroes? Infuse their interests into your gallery using themed decorations and artwork.
Maintain a Consistent Theme
Stick to a color palette or design style to keep your wall looking cohesive. Monochrome photos, matching frames, or seasonal rotations can unify the look.
What to Include in Your DIY Kids’ Photo Gallery
A great photo wall tells a story. Mix milestone moments with the everyday magic of childhood.
Family Milestones – Birthdays, first day of school, graduations, or new sibling arrivals.
Everyday Moments – Playing in the yard, bedtime routines, spontaneous hugs, and silly faces.
Travel Memories – Beach days, museum visits, or nature hikes.
Holiday Celebrations – Halloween costumes, snowball fights, or festive family meals.
Pet Adventures – Photos with furry friends add a playful, heartwarming touch.
Sibling Love – Candid shots of siblings bonding, laughing, or teaming up for mischief.
Inspirational Quotes – Add framed notes, affirmations, or jokes to make your gallery even more meaningful.
How to Make a DIY Photo Gallery Wall for Kids
Follow this simple guide to create a beautiful wall display that grows with your child:
1. Pick the Perfect Spot
Choose a location like a hallway, stairway, or above a couch where your gallery will shine.
2. Select and Print Your Photos
Mix horizontal and vertical prints, and vary sizes for a dynamic layout. Consider DTG printing or enhancing them using simple tools to learn how to edit photos on your iPhone.
3. Choose Frames and Decorations
Match your home's decor or embrace an eclectic vibe with colorful frames and handmade embellishments.
4. Plan the Layout
Use cutouts or paper templates on your wall to visualize spacing and arrangement before hanging anything.
5. Measure & Level
Measure distances between frames (2–3 inches works well), and double-check with a level for a neat, aligned look.
6. Mount the Frames
Start in the center and work outward. Use appropriate hanging tools for weight and surface type.
7. Add Fun Extras
Sprinkle in fairy lights, handmade art, or small shelves to display trophies or crafts.
8. Adjust and Admire
Once complete, take a step back. Tweak spacing, adjust angles, and enjoy the transformation.
Update Often
As your child grows, their interests and achievements change. Keep the gallery dynamic by updating it regularly. Let them take the lead in choosing what’s added or replaced. It's their gallery too!
A DIY Gallery That Grows with Your Family
Your DIY photo wall becomes more than just a project, it becomes a living storybook. With each new addition, your gallery celebrates creativity, milestones, and memories in a deeply personal way.
Plus, as your children help shape the gallery, they’ll develop not just a love of self-expression, but also confidence, connection, and a stronger sense of home.
Ready for More Creative Projects?
