
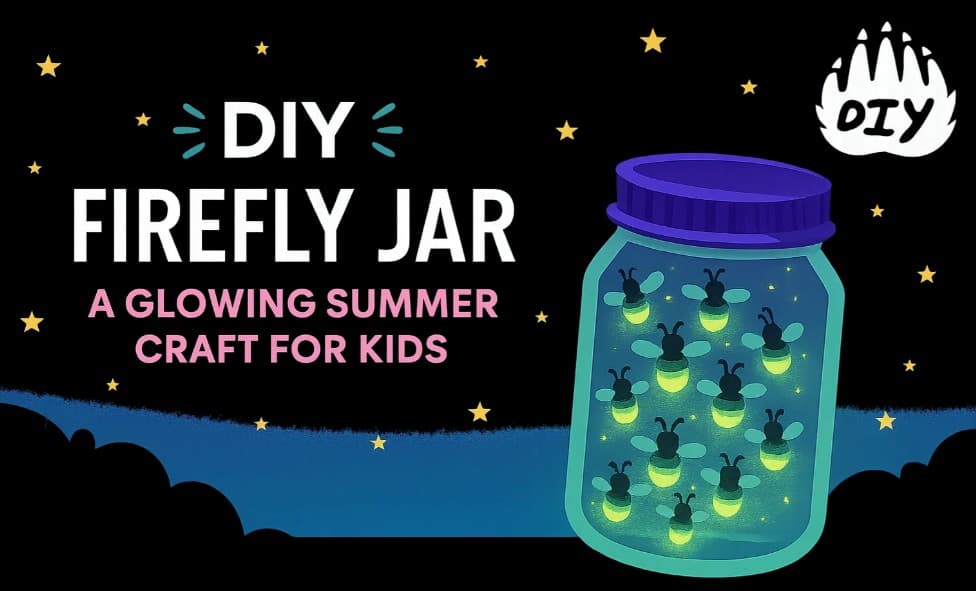
Capture the magic of summer nights with a glowing mason jar firefly lantern! This fun and easy craft is perfect for kids ages 8 to 12 and makes a great at-home activity for families looking to get creative during Great Outdoors Month or any warm evening.
With just a few supplies like a mason jar, construction paper, and a battery-powered tea light, your child can make their own pretend fireflies that light up just like the real thing. It’s a playful way to explore nature, spark creativity, and sneak in a little STEM learning along the way. Best of all, no bugs are harmed, just pure imagination and glow!
Whether you're crafting indoors or out on the porch at dusk, this glowing jar project brings a magical touch to family time. Ready to light up the night?
How to Make a Firefly Lantern Jar
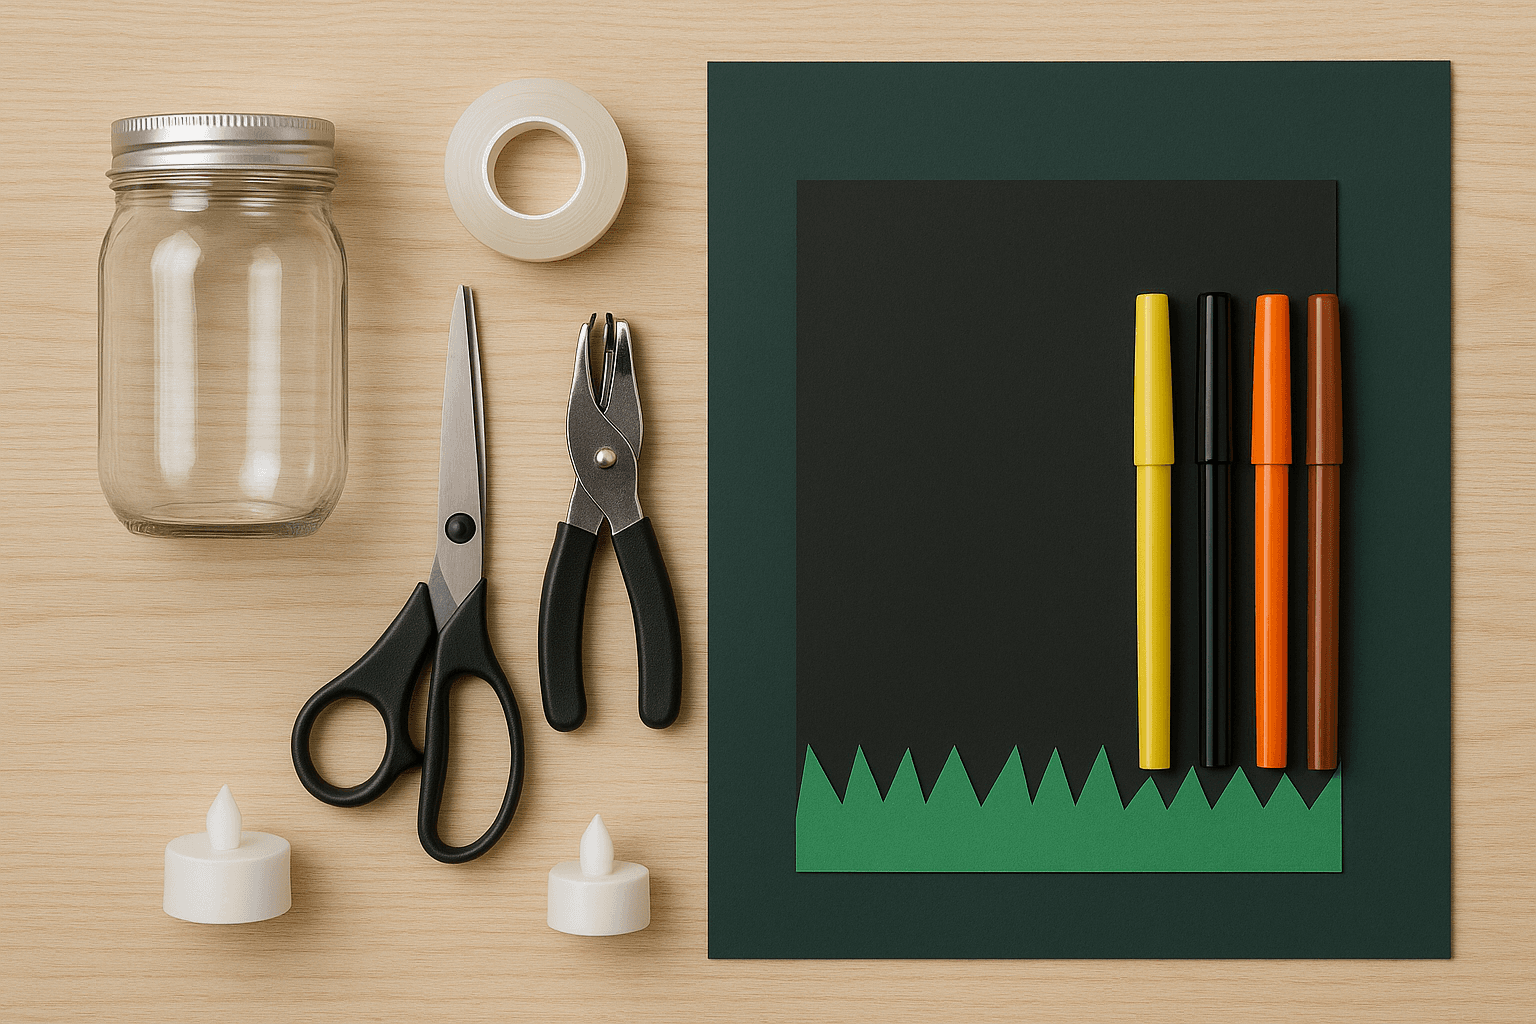
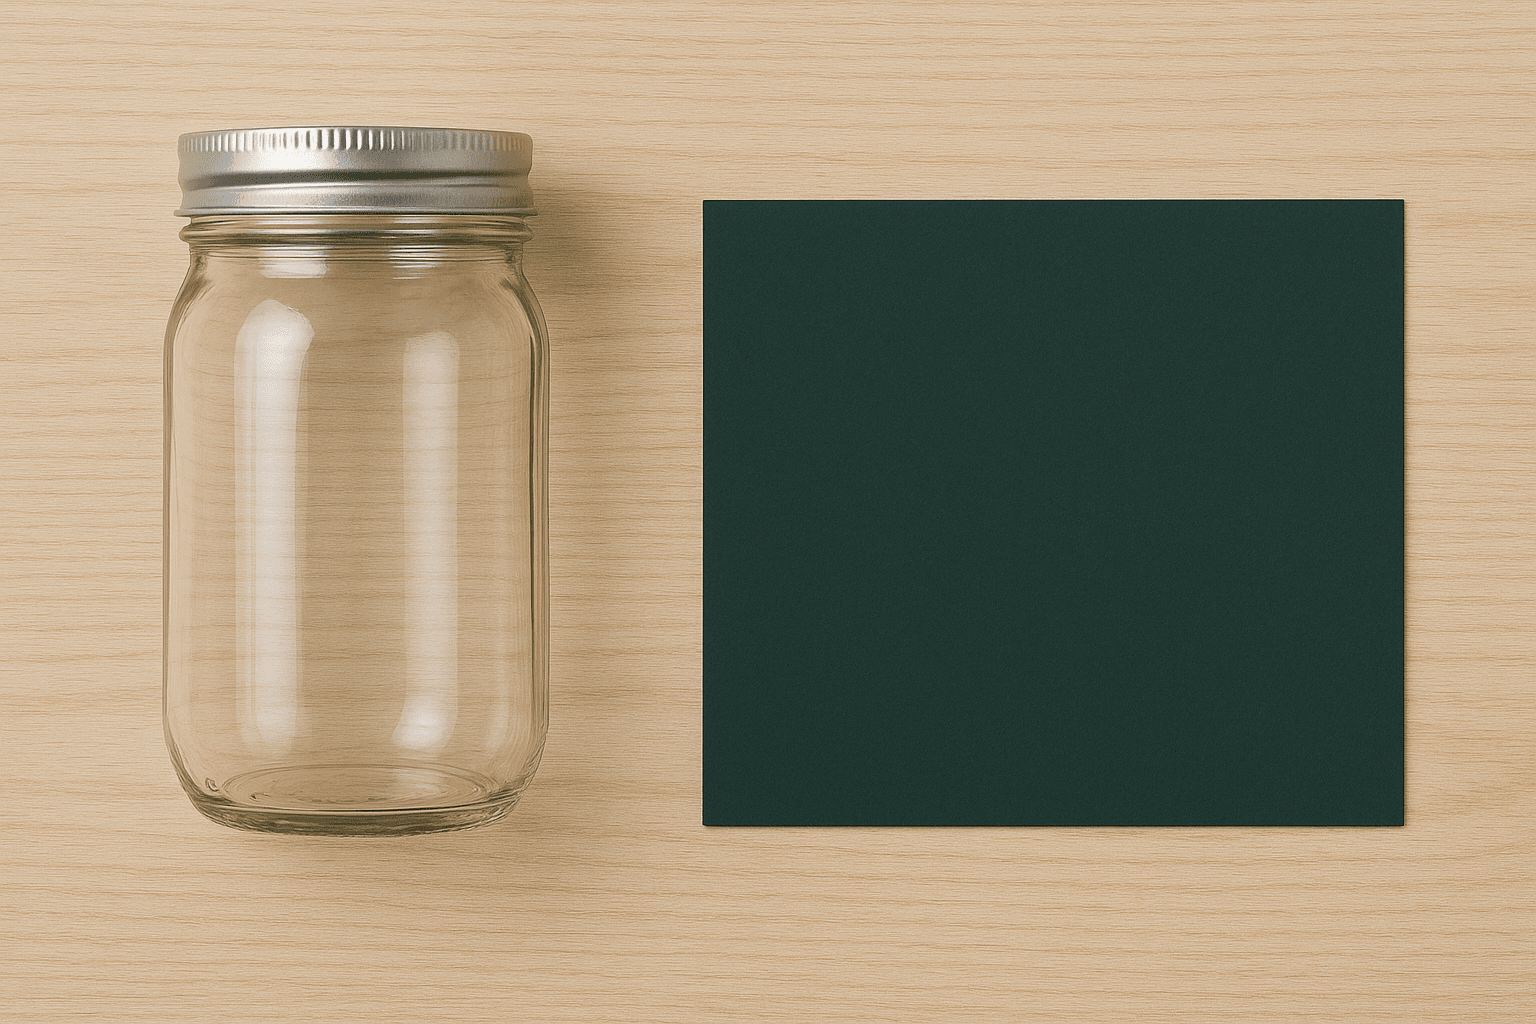
A clear plastic or glass jar (mason jars or peanut butter jars work well) (link here)
A sheet of dark-colored construction paper
Markers or craft paint that works on dark paper
Hole punch (or sharpened pencil) (link here)
Child-safe scissors (link here)
Tape
A small LED tea light or glow stick
Step-by-Step Instructions
1. Create the Night Sky
Cut your construction paper to fit the inside of the jar this will become your starry backdrop. Wrap it around the jar first to get the right size, then trim it to fit snugly inside.
2. Draw the Fireflies
On the side that will face inward, have your child draw 3–5 fireflies. Use dark colors for the body and wings, and a bright yellow spot for each bug’s “glow” belly. You can also decorate the rest of the strip with stars, a moon, or other nighttime elements.
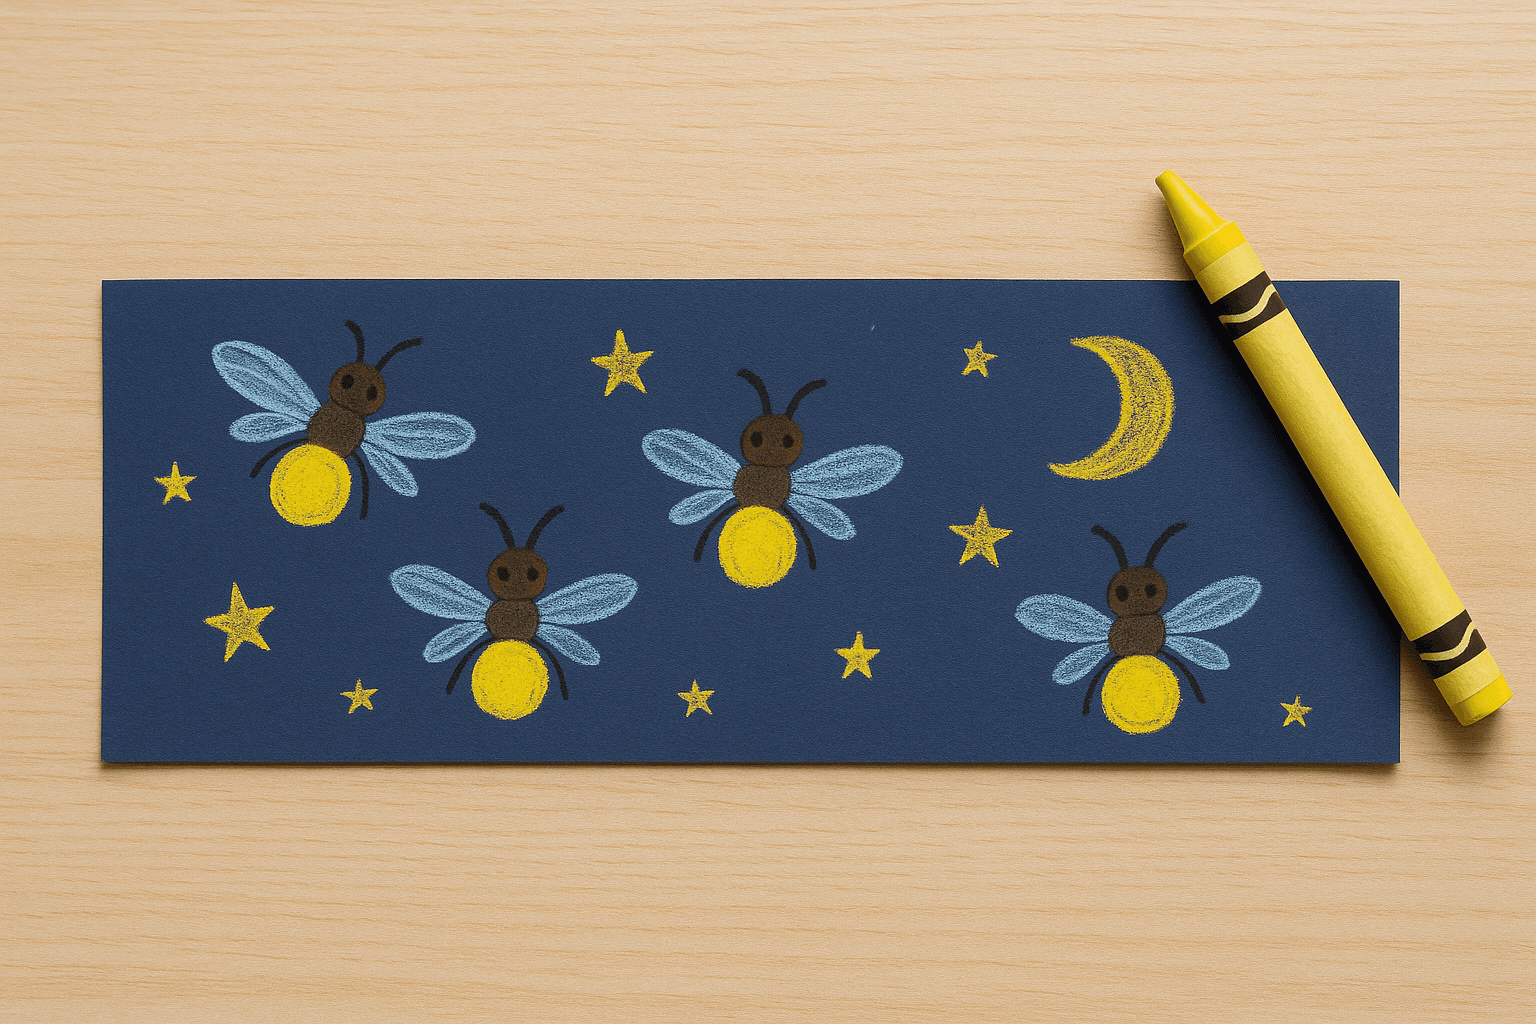
3. Make Them Shine
Use a hole punch or pencil tip to carefully poke a small hole in each firefly’s glow spot. This will allow the light to shine through from behind. (Grown-up help is a good idea here!)
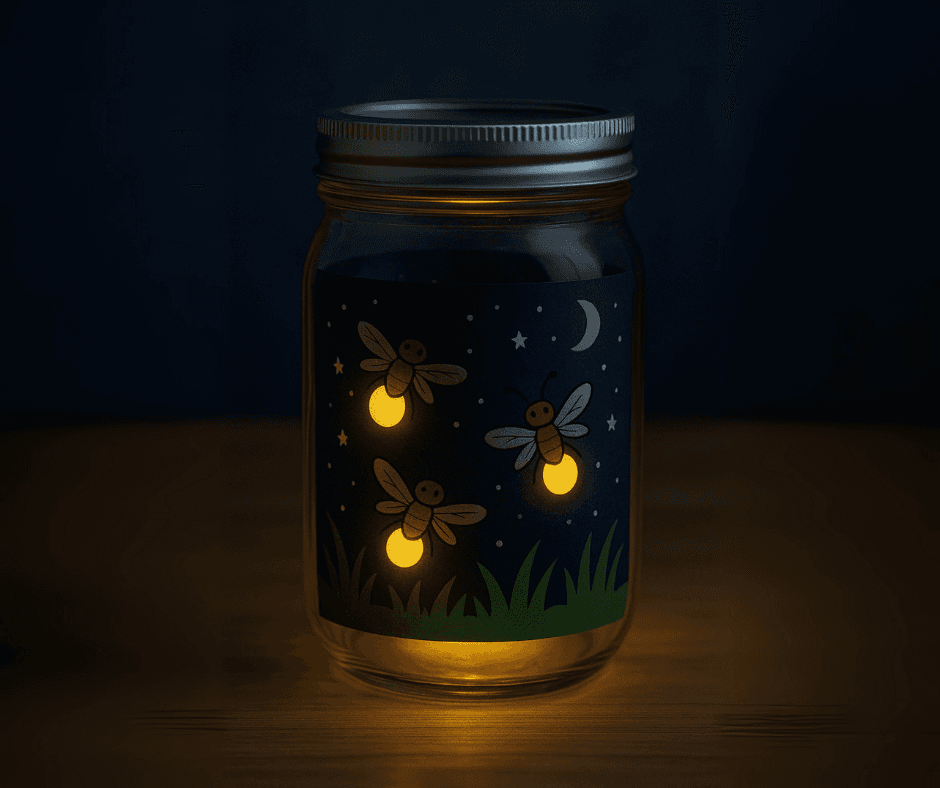
4. Build the Jar
Roll up the paper with the drawings facing inward, and gently slide it into the jar so it hugs the walls. Use tape to secure the seam inside.
5. Add Your Light Source
Turn on the tea light or glow stick and place it inside the jar. Close the lid and watch your fireflies “come to life” in the dark with glowing bellies that twinkle just like the real thing.
Enjoy Your Firefly Jar
Use your DIY firefly lantern as a nightlight while stargazing, or set it up during story time for an extra cozy glow. Recharge glow-in-the-dark parts under a lamp or replace the LED when needed to keep the magic going.
Did You Know?
Fireflies glow through a natural chemical process called bioluminescence. Unlike a regular lightbulb, their glow gives off no heat. Each firefly blinks in a unique pattern, some to attract a mate, others to warn off predators. It’s one of nature’s coolest light shows!
This activity blends art, science, and imagination perfect for summer learning, craft nights, or even as a simple backyard STEM project. Try it with your kids and tag us with your glowing creations!
