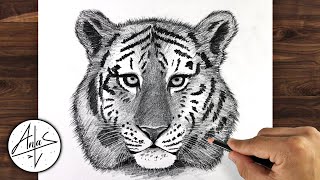
How to draw a tiger - a free tiger drawing guide
Draw a tiger step-by-step using simple shapes, add facial features, stripes, shading, and color to create a realistic tiger illustration.

Drawing Apps
Get inspired with these


Instructions
How to Draw a Tiger | Step by Step Tutorial for Kids 🐯
Step 1
Gather your materials and sit at a flat table with good light.
Step 2
Lightly draw a medium circle near the top of the page for the tiger's head.
Step 3
Lightly draw a larger oval below and slightly behind the head for the tiger's body.
Step 4
Draw two small rounded triangles on top of the head for the ears.
Step 5
Draw four short rounded rectangles under the body to show the legs and paws.
Step 6
Draw a long curving tail coming out from the back of the body with a slightly rounded tip.
Step 7
Lightly sketch a vertical center line and a horizontal eye line across the head to help place the face features.
Step 8
Draw two small ovals for the eyes on the eye line and add tiny circles inside for pupils.
Step 9
Draw a small rounded triangle for the nose at the center line and a curved line under it for the mouth with a few whisker dots at each side.
Step 10
Add curved stripes across the forehead body and tail using S and C shapes that follow the tiger's round form.
Step 11
Carefully trace your final lines with a black marker and wait for the ink to dry.
Step 12
Gently erase extra pencil marks then choose a light source and shade the side opposite the light with soft pencil strokes blending lightly with a tissue to make soft shadows.
Step 13
Color your tiger with orange for the fur white for the belly and face areas and dark color for the stripes then share your finished tiger on DIY.org
Help!?
I don't have a black marker or tissue—what can I use instead for tracing and blending?
If you don’t have a black marker for 'Carefully trace your final lines with a black marker,' use a dark-colored pen or sharpened black/brown colored pencil, and for the tissue used when shading, use a clean cotton ball, Q-tip, or your fingertip to gently blend the soft pencil strokes.
My tiger looks lopsided—what step likely went wrong and how do I fix it?
If the head and body proportions are off, go back to the light guide lines in steps 2–3 (the medium circle for the head and larger oval for the body) and the center/eye guide in step 7, redraw them with very light strokes to correct placement before tracing the final lines.
How can I change the activity for different ages so it's not too hard or too easy?
For younger kids simplify by using bigger rounded shapes for the head, body and legs and drawing only a few bold stripes, while older kids can add detailed S- and C-shaped stripes, careful shading on the side opposite the light (step 13), and extra fur texture with short pencil strokes.
What are some ways to make the finished tiger more special or longer-lasting?
To enhance the drawing, add a simple jungle background, use watercolor or colored pencils for richer orange and stripe contrast after erasing pencil marks, varnish or laminate the page to preserve it, and then share the finished tiger on DIY.org as suggested in the last step.
Related videos
How to draw tiger step by step 🐯 | Easy Tiger Drawing 🐅 | Tiger Drawing most simple ever
4 Videos
How to draw tiger step by step 🐯 | Easy Tiger Drawing 🐅 | Tiger Drawing most simple ever
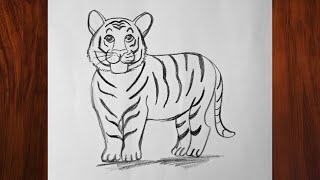
How to draw Tiger Step by step || Tiger Pencil Drawing
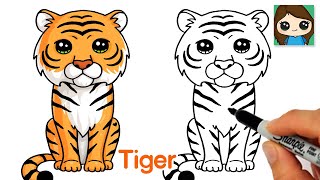
How to Draw a Tiger Easy 🐯Cute Cartoon Animal
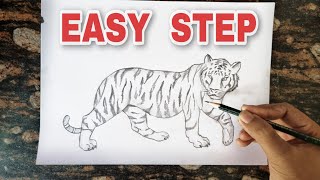
How to Draw a TIGER | Pencil Drawing Tutorial (step by step)
Fun Facts
🐯 Tigers are the largest wild cats — an adult male Siberian tiger can weigh over 300 kg (660 lb).
🧩 Every tiger's stripe pattern is unique, just like human fingerprints — no two tigers have the same stripes.
🟠 A tiger's orange coat with black stripes helps it vanish into tall grasses and dappled light — great inspiration for shading.
🌊 Tigers are strong swimmers and often cool off in water, so drawing splashes can add action to your tiger pose.
🎨 Many artists begin animal drawings with simple shapes (circles, ovals, rectangles) — the exact technique used in step-by-step tiger tutorials.
How do I draw a tiger step-by-step?
What materials do I need to draw a tiger?
What ages is this tiger drawing activity suitable for?
What are the benefits, safety tips, and fun variations for drawing a tiger?
