Learn how to draw a fox easily with DIY.org's step-by-step guide!
Start Drawing Course
See Instructions
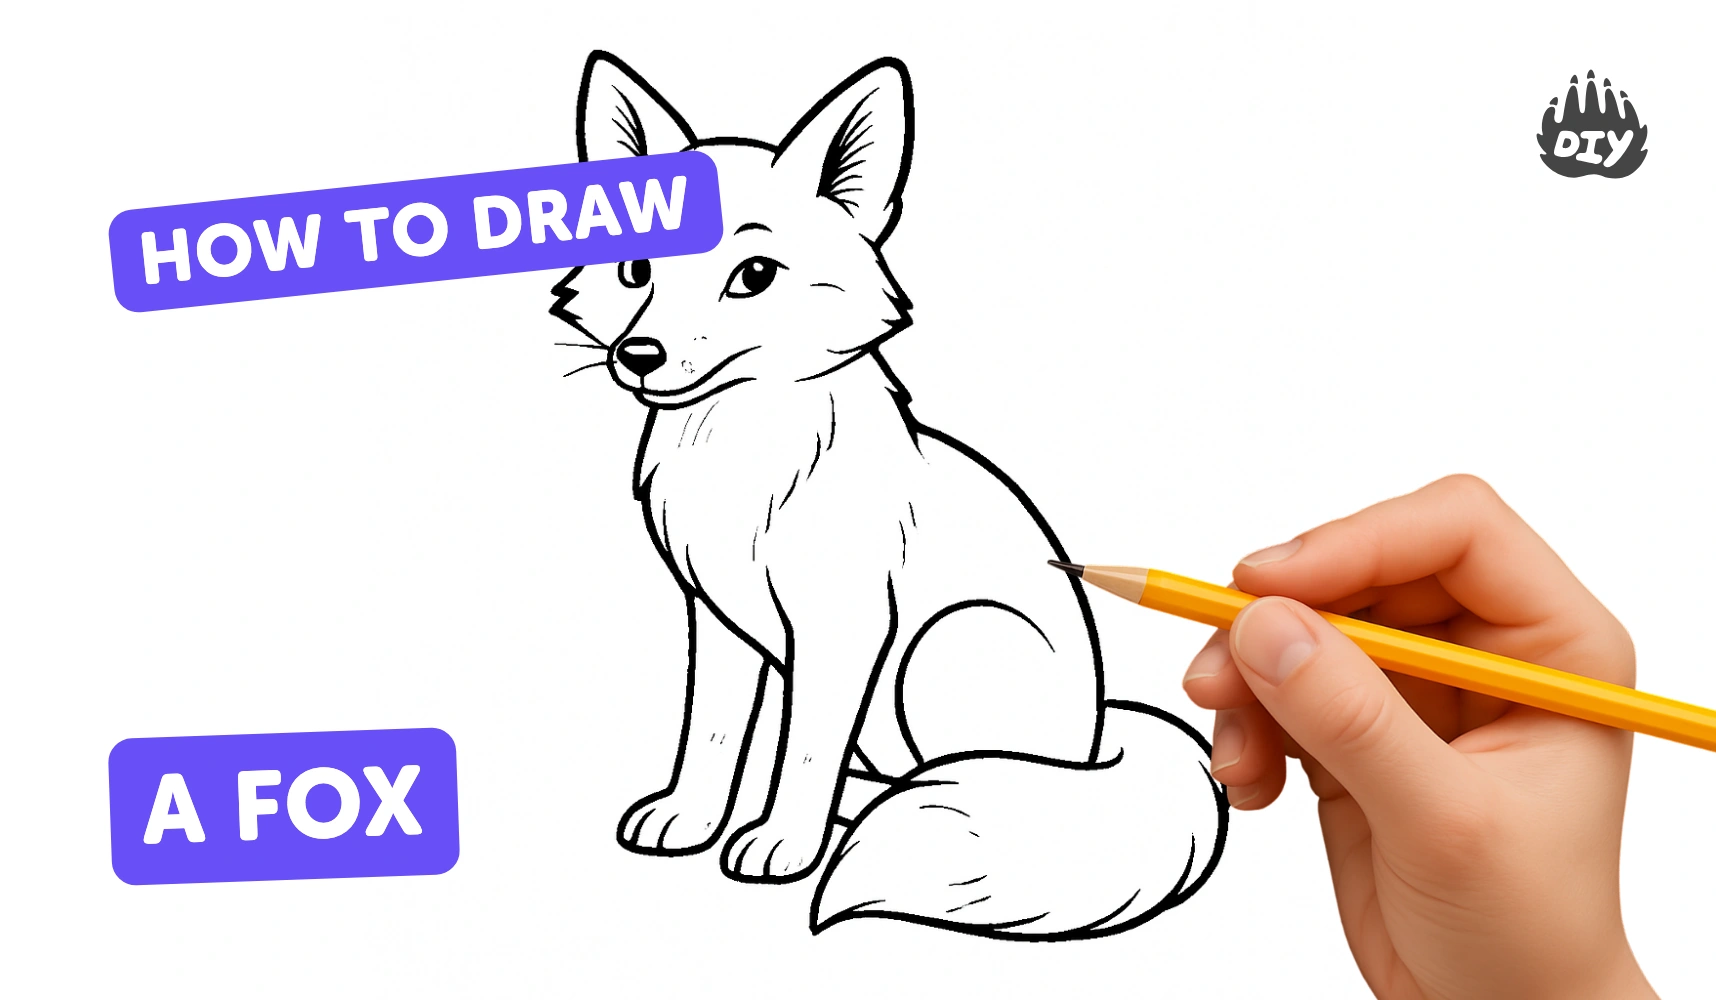
Drawing a fox can be a delightful and engaging activity that encourages creativity while honing your artistic skills. As you dive into this project, you'll explore the unique features that make a fox instantly recognizable, such as its pointed ears, bushy tail, and expressive face. This task not only offers the opportunity to practice your drawing techniques but also allows you to experiment with colors and textures to bring your fox to life. You may choose to depict a realistic representation or embrace a more whimsical style, providing you with endless possibilities for personal expression.
To begin your journey, gather your drawing supplies, which may include pencils, erasers, and colored markers or paints. You'll start by sketching the basic outline of the fox, focusing on its distinct shape before adding in details and textures. As you refine your drawing, consider exploring different poses and backgrounds to enhance your composition. This activity will not only help you improve your drawing abilities but also deepen your appreciation for wildlife, as you study the characteristics that define this fascinating creature.


Instructions
Step 1
Draw the Fox's Head: 🦊 Start by drawing a big oval right in the middle of your paper. This will be the fox's head! Imagine it like a squished balloon. **Tip:** Keep your pencil light so you can erase if you want to make changes!
Step 2
Add those Pointy Ears: 👂 On top of the oval, draw two pointy triangles—one on the left and one on the right. They should be tall and sharp, just like a fox's ears! **Tip:** Make the triangles a bit wider at the base—this gives them more character!
Step 3
Time for the Face: 😺 Now let’s bring your fox to life! In the middle of the oval, draw two small circles for the eyes. Add little dots inside for the pupils—these will make your fox look super cute! Below the eyes, draw a tiny upside-down triangle for the nose and add a smiley mouth just underneath it.
Step 4
Whiskers Time!: 🐱 Draw three long, thin lines coming out from each side of the nose for whiskers. Whiskers help foxes sense their surroundings. You can add small dots at the ends to make them look fancy! **Tip:** Use quick, light strokes for a whimsical touch!
Step 5
Draw the Body: 🦊 Underneath the head, sketch a bigger oval for your fox's body. It should be a bit wider than the head—it’s getting ready to scamper! **Tip:** Make it slightly tilted to give your fox a playful pose!
Step 6
Legs and Paws: 🐾 Now add four short rectangle shapes coming down from the body for the legs. Foxes have strong, agile legs, so make them slightly more sturdy! At the bottom of each leg, draw little ovals for the paws, and add three tiny curved lines for adorable toes!
Step 7
Time for the Fluffy Tail!: 🌬️ Draw a big, bushy tail coming off one side of the fox's body. It should look like a big, fluffy wave! You can make it curve around for an extra fun look. **Tip:** Don’t be afraid to make it big and fluffy—foxes have fabulous tails!
Step 8
Add the Details: ✨ Now, let’s add some details! Draw a little line inside each ear to show the inner fur. You can also add a few curved lines on the body and tail to show where the fur flows.
Step 9
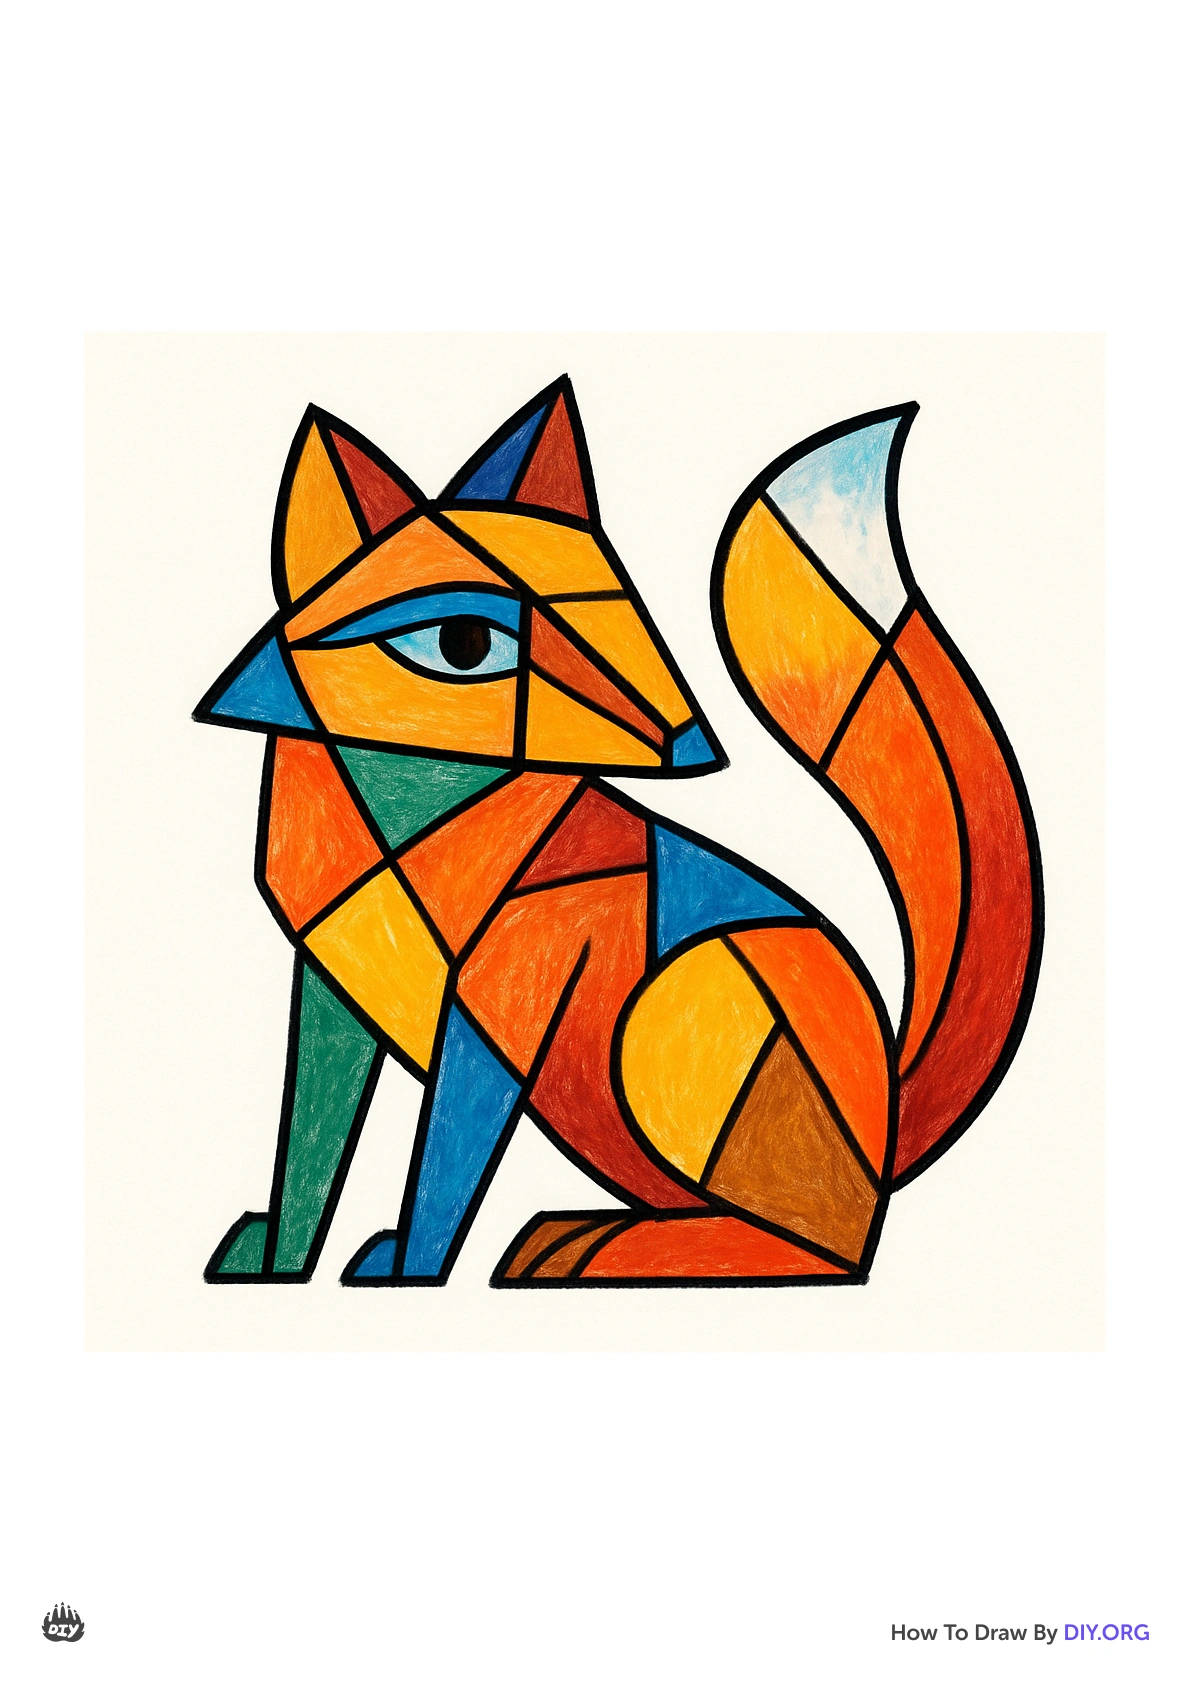
Color Your Fox: 🎨 Grab your orange, white, and black crayons! Color the fox's body orange, leave the belly and inner ears white, and give the tail a little white tip at the end. Use black to color the nose and to make little accents on the eyes. **Tip:** Be creative with shading to give your fox some depth!
Step 10
🎉 You Did It! 🎉: Yay! You’ve created an awesome fox masterpiece! Show it off to your family and friends! Don’t stop here—keep practicing, and soon you’ll have a whole forest of fantastical creatures! Happy drawing! 🦊✨
Download Activity Sheet

Start your 7 day free trial
Our Mission
To create a safe space for kid creators worldwide!
2025, URSOR LIMITED. All rights reserved. DIY is in no way affiliated with Minecraft™, Mojang, Microsoft, Roblox™ or YouTube. LEGO® is a trademark of the LEGO® Group which does not sponsor, endorse or authorize this website or event. Made with love in San Francisco.