Wrap Christmas Presents in a Giftpaper Designed by You!
Design your own festive gift wrap using paper, stamps, and markers, then measure, cut, and neatly wrap Christmas presents to practice creativity and precision.


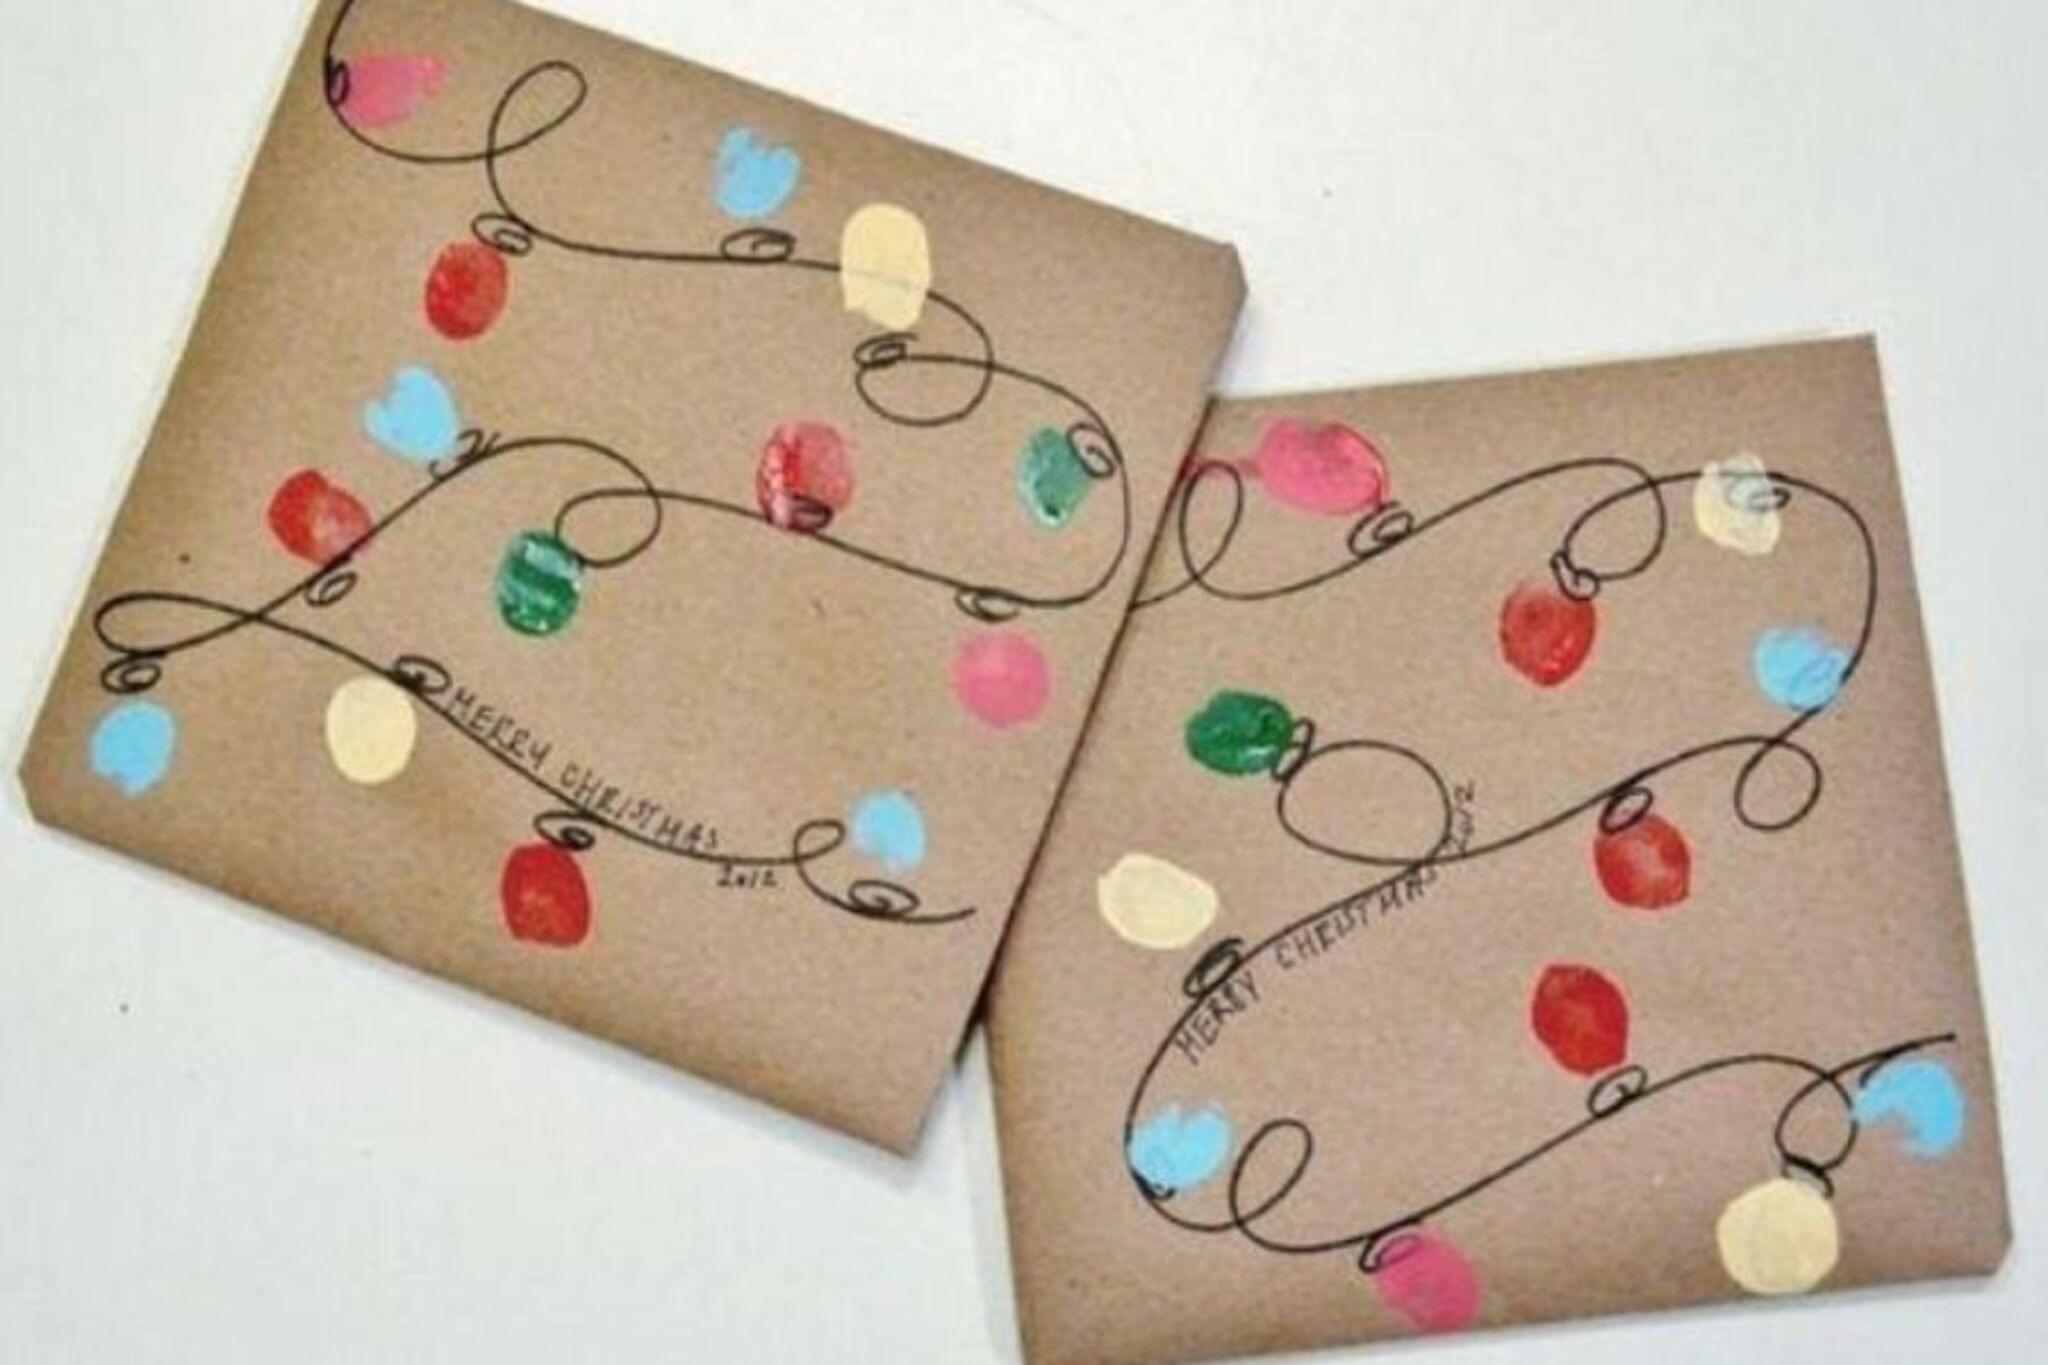

Step-by-step guide to wrap Christmas presents in gift paper you designed
DIY Christmas Gift Wrapping Paper | Christmas Wrapping Paper 2022 | How to Make Wrapping Paper
Step 1
Clear a flat workspace on a table so you have plenty of room to work.
Step 2
Pick one gift to wrap and place it in the center of your workspace.
Step 3
Unroll the plain paper and lay it flat with the decorated side down.
Step 4
Measure the paper so it will cover the gift on all sides and add about two inches for overlap.
Step 5
Mark the cutting line on the paper with a pencil at the measured point.
Step 6
Cut the paper along the marked line using scissors while an adult watches if needed.
Step 7
Use stamps and markers to create fun festive designs across the cut piece of paper.
Step 8
Let the ink and stamp impressions dry for a minute so they don’t smear.
Step 9
Put the gift back in the center of your newly decorated paper.
Step 10
Wrap the paper around the gift so the two long edges meet in the middle.
Step 11
Secure the meeting edges with a piece of clear tape.
Step 12
Fold each short end into neat triangle flaps and tape those flaps closed.
Step 13
Tie ribbon or string around the gift and make a cheerful bow.
Step 14
Attach a gift tag with the recipient’s name and a little message.
Step 15
Share your finished creation on DIY.org
Help!?
I don’t have plain paper, stamps, or ribbon—what can we use instead?
Use brown kraft paper, newspaper, or a large sheet of printer paper instead of the plain paper, make stamps from halved potatoes or sponge shapes and use crayons or colored pencils in place of markers, and swap ribbon for yarn or twine when tying the bow.
The paper ripped/cut edges don’t meet or my designs smudged—how do we fix that?
If the paper rips or won’t cover the gift, re-center the gift, re-measure allowing the instructed two inches overlap and cut with sharp scissors, and if stamps or marker ink smear, let the ink and stamp impressions dry fully before wrapping and press the clear tape firmly or use double-sided tape to secure the meeting edges.
How can we change the steps for different ages?
For toddlers, have an adult complete the ‘measure the paper’ and cutting steps and let them decorate with stickers or large crayons; school-age kids can measure, cut with supervision, stamp, and fold each short end into neat triangle flaps themselves; teens can design complex patterns, tie the ribbon into a bow, write the gift tag message, and share the finished creation on DIY.org.
What are some ways to make the wrapped gift more special or creative?
Layer tissue paper under your decorated plain paper, use metallic or glitter markers and homemade stencils for patterns, glue a small ornament or jingle bell to the ribbon before making the cheerful bow, and add a personalized message on the gift tag.
Watch videos on how to wrap Christmas presents in gift paper you designed
How to Wrap Without Tape | Christmas Hack | Gift Wrapping for Kids
4 Videos
How to Wrap Without Tape | Christmas Hack | Gift Wrapping for Kids
How To Do Christmas Wrapping
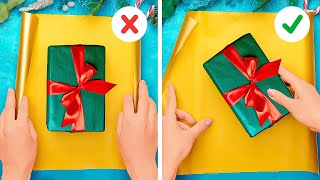
HOW TO WRAP GIFTS | Cute Gift Wrapping Ideas And DIY Crafts To Amaze Your Friends
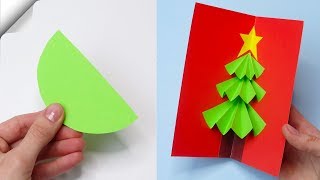
DIY christmas cards How to make christmas card Christmas card ideas
Facts about gift wrapping and paper crafts
🎁 Gift wrapping goes back centuries—ancient China and Japan often used paper and cloth to wrap presents.
🎄 Red and green became popular Christmas colors in the 19th century and are still widely used on wrapping paper today.
✂️ Clever folding and neat measuring can make even oddly shaped gifts look tidy—pro wrappers say “measure twice, cut once.”
📏 A simple ruler and a good seam of tape make the difference between a squishy present and a perfectly crisp package.
🖼️ Rubber stamps and markers let you create repeatable, custom patterns fast—perfect for making one roll of paper look unique.
How do I design and wrap Christmas presents using gift wrap I made myself?
What materials do I need to design and wrap my own Christmas gift paper?
What ages is designing and wrapping your own gift wrap suitable for?
What are the benefits, safety tips, or fun variations for making your own Christmas gift wrap?
