Use pencil textures to draw a ghostly scene
Use pencil textures to draw a ghostly scene, practicing shading, blending, and erasing to create glowing forms, soft shadows, and eerie atmosphere.
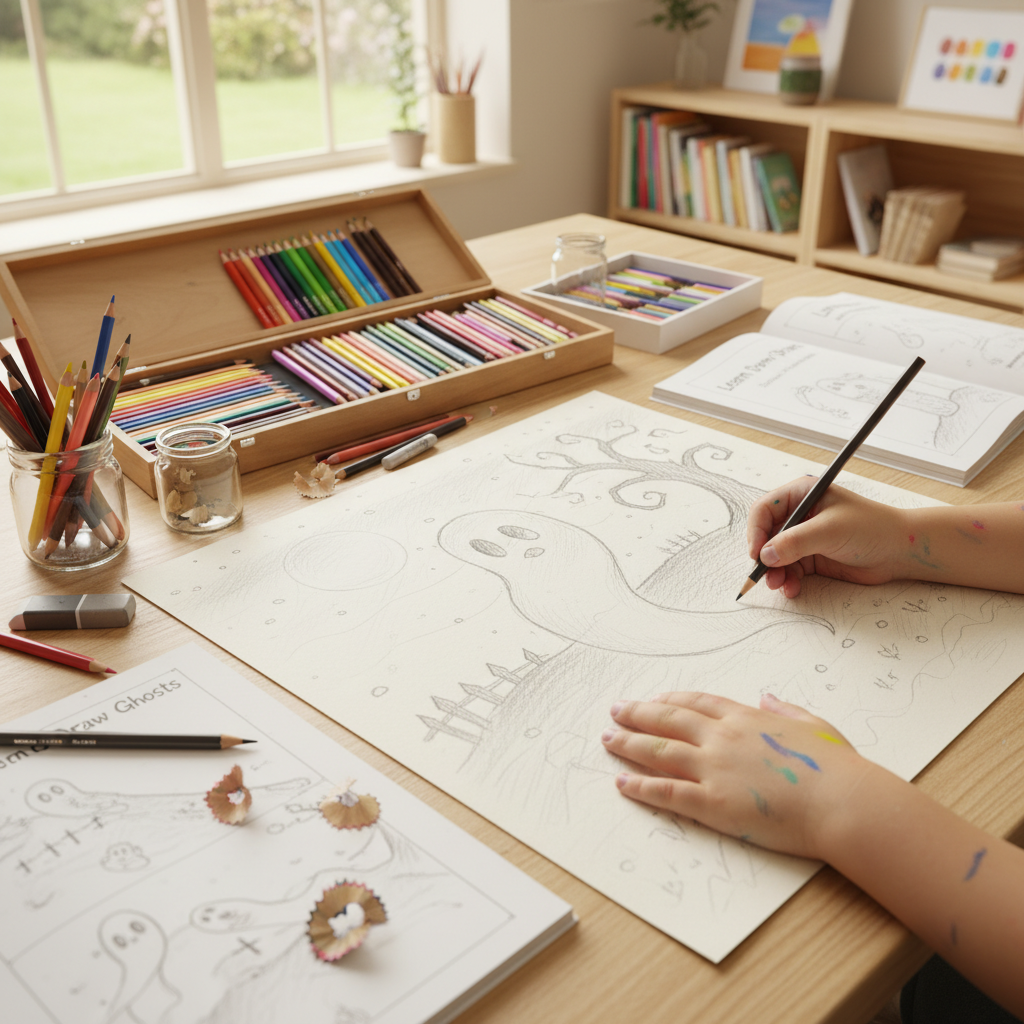
About this activity
Use pencil textures to draw a ghostly scene, practicing shading, blending, and erasing to create glowing forms, soft shadows, and eerie atmosphere.
What you need
Step by step
- 1
Step 1
Gather your materials and clear a flat workspace with good light so you can see pencil marks clearly.
- 2
Step 2
Lightly sketch the main composition with an HB pencil by drawing where the ghosts the ground and any moon or trees will go.
- 3
Step 3
Choose and mark a tiny dot for your light source so you know which way the light falls.
- 4
Step 4
On scrap paper practice pencil textures by making a smooth shaded gradient a cross-hatch patch and a small stipple area to feel how each mark looks.
- 5
Step 5
Shade the ghost bodies with light circular strokes using the HB pencil to build a soft even tone.
- 6
Step 6
Gently blend the shaded ghost areas with your tissue or blending stump to create a soft glowing look.
- 7
Step 7
Darken the shadows behind and beneath the ghosts with a 2B or 4B pencil using soft directional strokes to anchor them to the ground.
- 8
Step 8
Use the kneaded eraser to lift tiny highlights inside the ghosts and to carve soft glowing edges.
- 9
Step 9
Add faint atmospheric smudges and distant trees or a moon with light HB marks and blend lightly to make the scene eerie and soft.
- 10
Step 10
Share your finished ghostly drawing on DIY.org so others can see your spooky pencil textures and glowing effects.
Fun facts
How do you create a ghostly pencil texture scene?
Start with a light pencil sketch of the scene and choose a clear light source. Build tones from light to dark using HB to 6B pencils, applying hatching, cross-hatching, and circular shading. Soften transitions with a blending stump, tissue, or fingertip. Lift highlights with a kneaded eraser to form glowing areas. Smudge backgrounds slightly to create soft shadows and keep edges of ghosts fuzzy for an eerie effect. Finish by refining outlines and contrast.
What materials do I need to draw ghostly pencil textures?
You need a range of graphite pencils (HB, 2B, 4B, 6B), a kneaded eraser and a vinyl eraser, blending tools like a stump or tissue, a pencil sharpener, and medium-weight drawing paper. Optional extras: white colored pencil or chalk for highlights, a soft charcoal stick for deep shadows, fixative spray, and reference photos. Keep a scrap paper for testing tones and practicing textures.
What ages is pencil texture ghost drawing suitable for?
This activity suits children about 6 and up, with younger kids (6–8) doing simpler shapes and basic shading with supervision. Ages 9–12 can practice more blending, erasing highlights, and layered textures. Teens can work on detailed tonal ranges and subtle atmospheres. Adjust tools and time for attention span; offer simpler steps and adult help with sharp tools and fixative for younger children.
What are the benefits and variations of making ghostly pencil scenes?
This exercise strengthens fine motor skills, observational shading, value contrast, and patience while encouraging creativity and mood-building. It teaches how light defines form and how erasing can be a drawing tool. Variations include adding colored pencil accents, using charcoal for moodier scenes, or creating a spooky forest, moonlit window, or friendly cartoon ghosts. Emphasize safe supervised use of sharp pencils and fixative for children.
Watch & Learn
Need help?
What can I use if I don't have a kneaded eraser or a blending stump?
If you don't have a kneaded eraser use a soft white eraser to lift highlights and if no blending stump gently rub with a clean tissue or a folded piece of cotton to blend the shaded ghost bodies and faint smudges.
My ghosts look flat or my highlights disappeared after blending—what should I do?
Use the kneaded eraser to lift tiny highlights inside the ghosts, then reapply light circular HB strokes and blend sparingly to restore the soft glowing look described in the instructions.
How can I adapt this activity for different age groups?
For younger kids simplify by pre-drawing ghost shapes and having them practice the smooth shaded gradient and light circular HB strokes with a tissue for blending, while older kids can practice cross-hatch and stipple on scrap paper and add 2B/4B directional shadows and kneaded-eraser highlights for more depth.
How can we extend or personalize the ghostly scene after finishing the basic drawing?
Enhance the scene by adding a pale colored-pencil halo before blending to deepen the glow, intensifying the 2B/4B shadows for mood, and photographing the finished piece to share the glowing effects on DIY.org.