Use many shades of one color in a drawing
Create a monochromatic drawing using many shades of one color, mixing tints and tones to explore value, depth, and contrast.
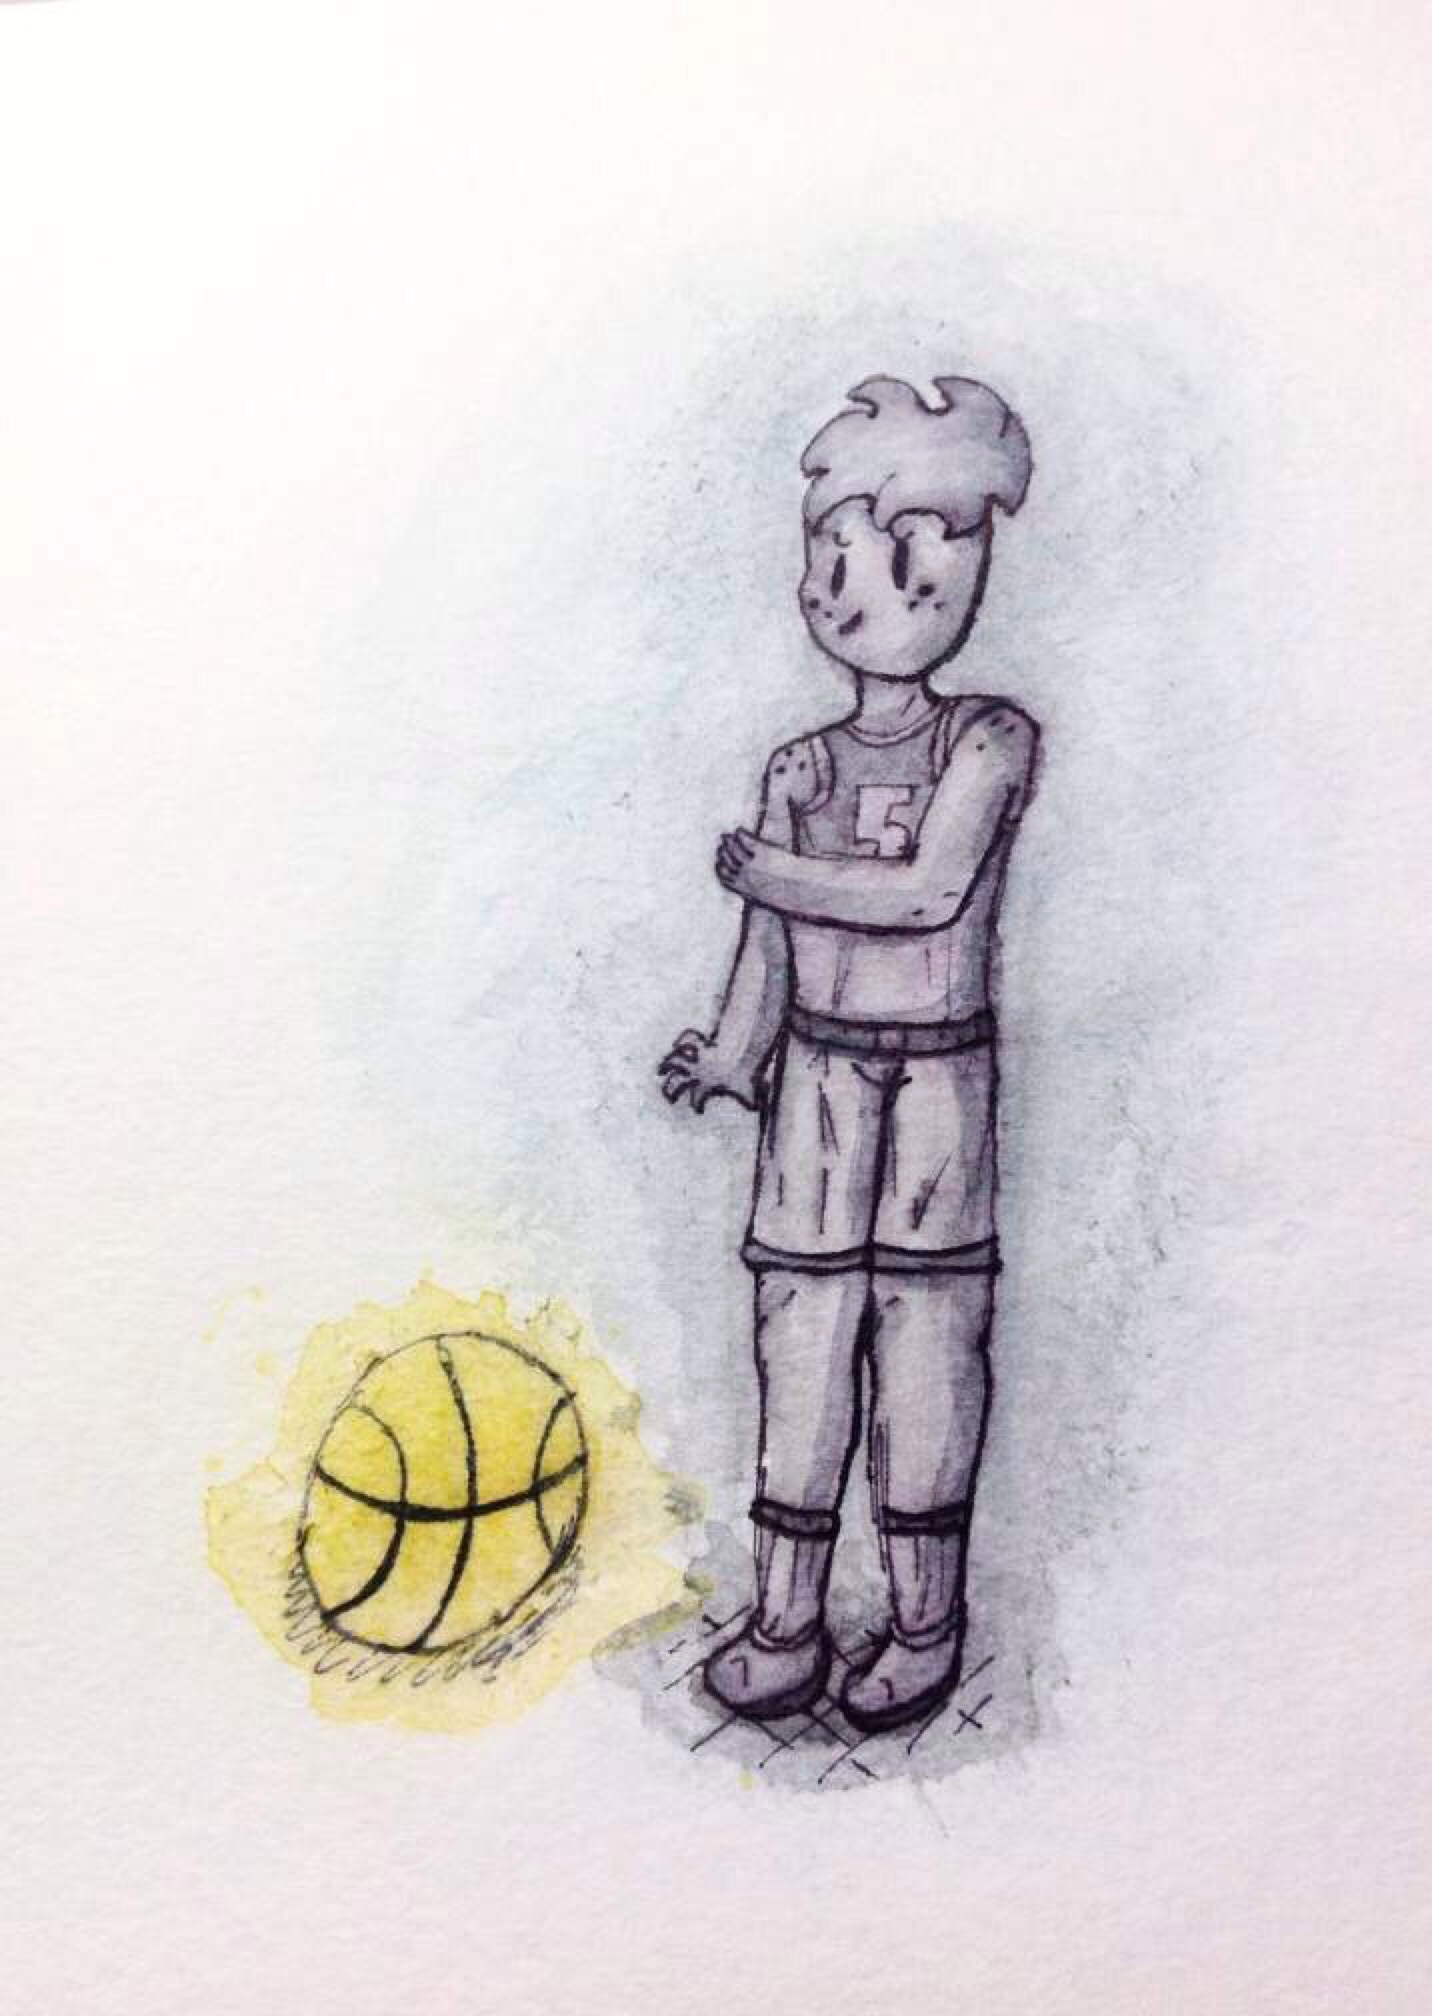
About this activity
Create a monochromatic drawing using many shades of one color, mixing tints and tones to explore value, depth, and contrast.
What you need
Step by step
- 1
Step 1
Pick one color family you love (for example blue or red) for your whole drawing.
- 2
Step 2
Gather all Materials Needed and bring them to your workspace.
- 3
Step 3
Set up your workspace with your paper flat and your palette within reach.
- 4
Step 4
Squeeze small blobs of your chosen color white and black onto the palette.
- 5
Step 5
Mix a very light tint by adding lots of white to a tiny bit of your chosen color.
- 6
Step 6
Create at least six shades on your palette by mixing tints with more white and darker tones by adding tiny bits of black.
- 7
Step 7
Paint a value strip on the edge of your paper showing the shades from lightest to darkest.
- 8
Step 8
Lightly sketch your drawing idea on the paper with your pencil.
- 9
Step 9
Fill the largest light areas of your sketch with the lightest tint.
- 10
Step 10
Paint the middle areas with midtones from your value strip.
- 11
Step 11
Add the darkest tones to the shadow areas to create depth.
- 12
Step 12
Gently blend where two tones meet to make soft transitions.
- 13
Step 13
Paint small details and accents using the lightest and darkest shades to make your drawing pop.
- 14
Step 14
Let your artwork dry completely before touching it.
- 15
Step 15
Share your finished creation on DIY.org.
Fun facts
How do I create a monochromatic drawing using many shades of one color?
Start by picking one color to explore. Make a value scale on scrap paper by mixing the color with increasing amounts of white (tints) and a little gray or the color’s complement (tones) to darken. Sketch a simple composition lightly in pencil. Decide where light and shadow fall, then paint or layer your chosen color from lightest to darkest, preserving highlights. Blend or layer to create depth, and step back to adjust contrast and details as needed.
What materials do I need to make a monochromatic drawing with tints and tones?
You'll need: paper or a sketchbook, a single-color medium (watercolor, acrylic, tempera, colored pencils, or markers), white paint or an opaque white pencil for tints, and gray or black for tones (or a complementary color). Include brushes or blending tools, a palette or mixing tray, water cup, paper towels, pencil and eraser, and optional masking tape. For kids, use washable, non-toxic materials and a protective surface.
What ages is this monochromatic drawing activity suitable for?
This activity suits ages about 4–12, with adjustments. Ages 4–6 enjoy simple tint exercises and scribble shading with guidance; use washable paints or crayons. Ages 7–9 can mix tints and tones, sketch basic forms, and practice a value scale. Ages 10–12 refine blending, plan compositions, and explore subtle contrasts. Always supervise young children and simplify steps or offer templates for early learners.
What are the benefits of having children mix tints and tones in a monochromatic drawing?
Monochromatic drawing teaches value, depth, and contrast, helping children see light and shadow before adding color complexity. It strengthens fine motor control, observation skills, patience, and confidence. Mixing tints and tones reinforces basic color theory and decision-making. The focused palette reduces overwhelm and encourages creative problem solving; results feel cohesive and satisfying, which boosts motivation to try more challenging art projects.
Watch & Learn
Need help?
What can I use if I don't have white or black paint or a palette?
If you don't have white or black paint, use the paper's white for highlights and darken your chosen color by mixing in a tiny bit of dark brown or its complementary color while following the 'Create at least six shades on your palette' step.
My colors keep getting muddy when I blend—what should I do?
If blending creates muddy edges, let the painted layer dry (as the instructions remind you to 'Let your artwork dry completely before touching it') and then gently feather the transition with a clean damp brush or light pencil strokes between the specific light and midtone areas.
How can I adapt this activity for different age groups?
For preschoolers, pre-mix three tints, skip the detailed pencil sketch, and use washable tempera to fill large light and shadow areas, while older kids can lightly sketch a complex composition, mix six to ten shades on the palette, and paint small details and accents as described.
How can we extend or personalize the finished drawing?
To personalize the project, add texture with sponging or sprinkling salt on wet paint, use a metallic or white gel pen for the 'small details and accents' to make highlights pop, or create a series of value strips on separate papers to compare color families before sharing on DIY.org.