Use different pencil lines in a drawing
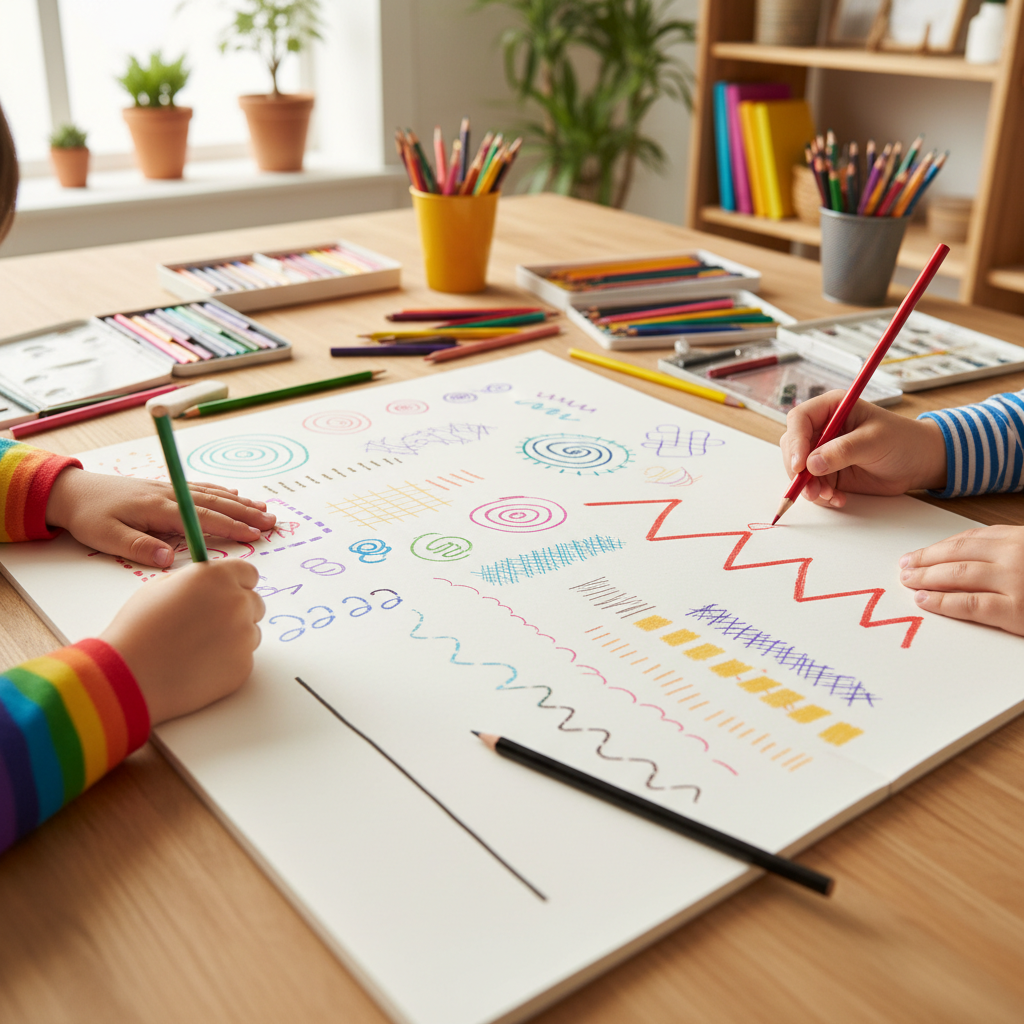
Create a drawing using different pencil lines: thin, thick, light, dark, hatching, and crosshatching to show texture, depth, and shape.
About this activity
Create a drawing using different pencil lines: thin, thick, light, dark, hatching, and crosshatching to show texture, depth, and shape.
What you need
Step by step
- 1
Step 1
Gather your materials and clear a flat workspace to draw on.
- 2
Step 2
Choose one simple subject to draw like an apple a leaf or a shoe.
- 3
Step 3
Lightly sketch the basic shapes of your subject with the HB pencil.
- 4
Step 4
Use light pressure with the HB pencil to draw thin clean outline lines.
- 5
Step 5
Make thicker bolder outlines on areas that should look strong or closer by pressing a bit harder or using a softer pencil like 2B.
- 6
Step 6
Add light shading to flat areas with gentle even strokes to show smooth surfaces.
- 7
Step 7
Add darker shading in shadowed areas using heavier pressure or the 4B pencil to create depth.
- 8
Step 8
Create texture by drawing hatching: many parallel lines spaced close or far apart depending on how dark you want the area.
- 9
Step 9
Make areas even darker and more textured by adding crosshatching: draw another set of parallel lines that cross the first set.
- 10
Step 10
Use the eraser to lift tiny highlights where light hits your subject to increase contrast.
- 11
Step 11
Look over your drawing and add small thin or thick line adjustments to balance shape texture and depth.
- 12
Step 12
Share your finished drawing on DIY.org
Fun facts
How do I teach my child to create a drawing using different pencil lines?
Start by showing examples of thin, thick, light, dark, hatching, and crosshatching. Warm up with line drills: straight, curved, thickening and lightening with pressure. Pick a simple subject (leaf, toy, fruit). Plan where texture and shadow will go, then use lighter lines for highlights and heavier pressure or softer pencils for dark areas. Build tone with parallel hatching and add crosshatching for deeper shadows. Encourage slow observation and practice rather than perfection.
What materials do I need to practice different pencil lines with my child?
Gather a few pencil grades (HB plus softer 2B and 4B if possible), a good eraser, metal sharpener, and sketch paper or a sketchbook. Optional but helpful: blending stump or cotton bud for smoothing, scrap paper for warm-ups, a ruler for straight line practice, and a clipboard or tape to keep paper steady. Use simple reference objects or photos to study texture and shadows before drawing.
What ages is a pencil line and hatching drawing activity suitable for?
This activity suits preschoolers through teens with age-based adjustments. Ages 4–6 enjoy simple line drills and exploring thick versus thin. Ages 7–10 can practice hatching and basic shading on simple objects. Ages 11+ refine pressure control, pencil grades, and crosshatching for depth. Always supervise younger children with sharpeners and model techniques; keep sessions short and playful for little attention spans.
What are the benefits of practicing different pencil lines and hatching?
Practicing varied pencil lines builds fine motor control, tone awareness, and observational skills—kids learn how light creates depth. Hatching and crosshatching teach value, texture, and spatial relationships useful across art forms. Regular practice boosts confidence, patience, and visual problem-solving. These skills transfer to painting and digital art, and they make children more attentive to detail in everyday objects and nature.
Watch & Learn
Need help?
What can we use if we don’t have HB, 2B, or 4B pencils or a kneaded eraser?
If you don't have HB, 2B, or 4B pencils, use a regular pencil pressed lightly for HB effects and pressed harder for darker marks, substitute a soft charcoal pencil for 2B/4B tones, and use any clean white or kneaded eraser to lift the tiny highlights described in the eraser step.
My shading looks blotchy and my outlines aren't clean — how can I fix that?
Keep your HB pencil pressure light for thin clean outline lines as instructed, practice even gentle strokes for light shading, rest your hand on a scrap piece of paper to avoid smudging, and tidy problem areas with the eraser to lift highlights or soften edges.
How can I adapt this activity for different ages or skill levels?
For younger kids simplify by choosing an easy subject, using thicker pencils or crayons for bold outlines and only light shading, while older children can follow all steps including 2B/4B shading, hatching, crosshatching, and fine line adjustments to build texture and depth.
What are some ways to extend or personalize the drawing once it's finished?
Extend the activity by creating a series of the same subject with different line weights and light directions, adding colored pencil over the shaded areas, or photographing and sharing the finished drawing on DIY.org as suggested.