Try needle-felting
Make a small felt animal or charm using wool roving, a felting needle, and foam pad, practicing safe technique with adult supervision.


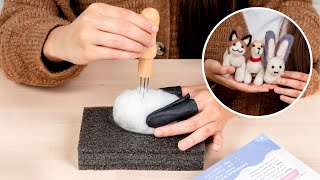
Step-by-step guide to needle-felting a small felt animal or charm
Needle Felting For Beginners Tutorial - Let Me Guide You Into The Wonderful World Of Felting!!
Step 1
Ask an adult to help you set up and to stay close while you needle-felt.
Step 2
Lay the foam pad flat on the table as your safe felting surface.
Step 3
Pull a small fluffy piece of wool roving about the size of a large grape for the head.
Step 4
Place that small piece of wool on the foam pad where you will work.
Step 5
Tuck your fingertips away and plan to poke the needle straight up and down to keep your fingers safe.
Step 6
Hold the felting needle vertically and poke the wool straight down repeatedly until it becomes a firm little ball for the head.
Step 7
Pull a larger piece of roving and roll it gently between your hands into a sausage shape for the body.
Step 8
Put the body shape on the foam pad and poke it with the needle until the body is firm and even.
Step 9
Press the head gently onto the body and poke the join with the needle until the head and body are felted together.
Step 10
Take tiny bits of roving for ears and a tail and felt each into the shape you want, then poke them onto the body to attach them.
Step 11
Add eyes and a nose by sewing with embroidery thread or gluing small beads and then trim any stray fibers with scissors.
Step 12
Ask your adult to help you put the needle away safely and tidy up your workspace.
Step 13
Share a photo of your finished felt animal or charm on DIY.org
Help!?
If I can't find wool roving or a foam pad, what can I use instead?
If wool roving is hard to find, use pulled-apart wool from an old wool sweater or unraveled wool yarn as the fiber and substitute a dense kitchen sponge or folded yoga mat for the foam pad as your safe felting surface.
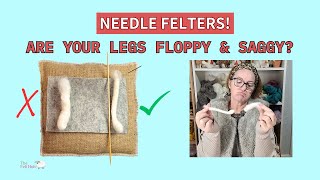
My head or body won't firm up or the head won't stay attached — what should I do?
If the head or body stays floppy or the join isn't holding, keep poking the wool straight up and down into the foam pad, add tiny bits of roving to thin spots, and press the head onto the body while repeatedly poking the join until it feels firm.
How can I adapt this needle-felting activity for different age groups?
For younger kids, have an adult do the poking while the child rolls the roving and glues beads for eyes, and for older kids let them follow all steps themselves and try finer needles to add small ears, tails, and embroidered eyes.
How can we personalize or extend the finished felt animal or charm?
To personalize your felt animal, blend different colored roving into stripes or spots before poking, sew on embroidery-thread details or glue beads for eyes as in the instructions, and attach a keyring after trimming stray fibers to make a charm.
Watch videos on how to needle-felt a small felt animal or charm
Needle Felting Beginner Tutorial
4 Videos
Needle Felting Beginner Tutorial
Needle Felting SMALL Dolls with Armature | Beginner Tutorial
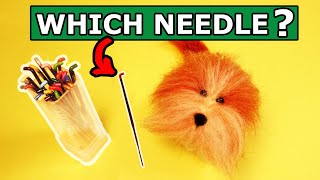
Needle Felting Needles Explained A Guide for Beginners
Needle Felting Tutorial For Beginners - Learn basic techniques
Facts about fiber arts for kids
🧶 Needle felting uses a barbed needle to tangle wool fibers together — no glue or sewing needed!
🐑 Sheep fleece is the most common source of wool used for felting after it's cleaned and carded into roving.
⚠️ Felting needles are very sharp and can pierce skin easily — always use a foam pad and adult supervision.
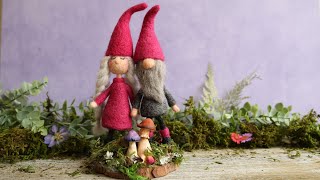
🎁 Tiny felted animals make great charms or ornaments and can be finished with beads or a loop to hang them.
🌿 Wool is a natural, biodegradable fiber, so leftover scraps can often be composted or reused.
How do you make a small felt animal or charm using needle-felting?
What materials do I need for a simple needle-felting project?
What ages are suitable for needle-felting with kids?
What safety tips should I follow when needle-felting with children?
