Transform an Old Can
Turn an old clean tin can into a colorful pencil holder or small planter using paint, recycled paper, glue, and safe cutting with adult help.
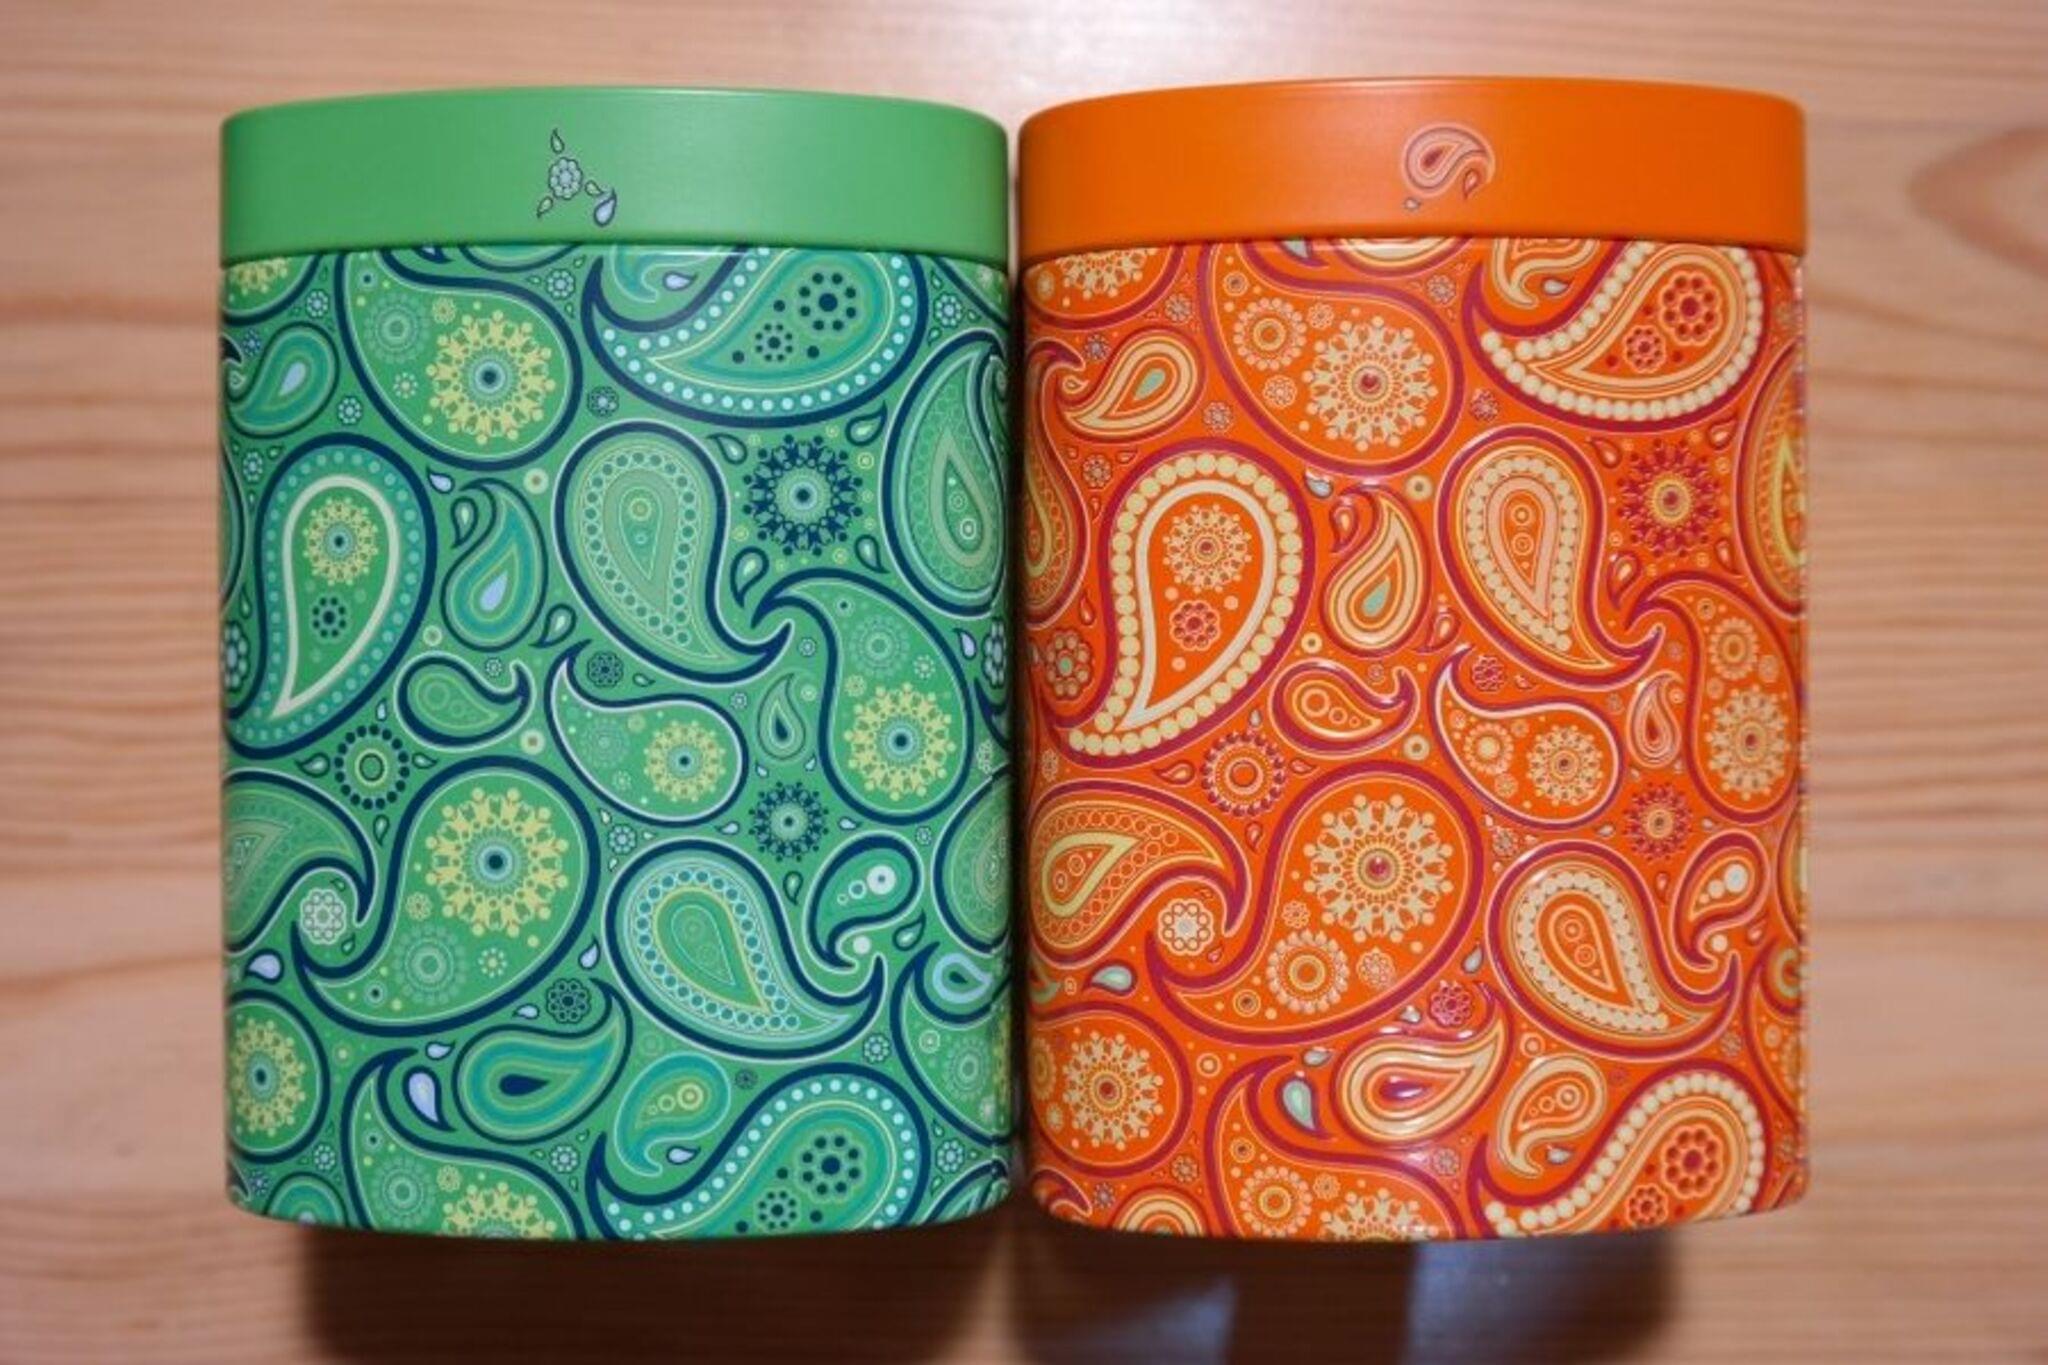
About this activity
Turn an old clean tin can into a colorful pencil holder or small planter using paint, recycled paper, glue, and safe cutting with adult help.
What you need
Step by step
- 1
Step 1
Lay newspaper or an old cloth on your table to protect it from paint and glue.
- 2
Step 2
Peel off any paper labels from the can so the metal is exposed.
- 3
Step 3
Wash the can with soap and water then dry it completely.
- 4
Step 4
Ask an adult to check the rim and smooth any sharp edges with sandpaper.
- 5
Step 5
Decide whether you want to make a pencil holder or a small planter.
- 6
Step 6
If you chose planter ask an adult to make one or two small drainage holes in the bottom of the can.
- 7
Step 7
Paint the outside of the can with a base color using your paintbrush.
- 8
Step 8
Let the painted base coat dry completely before touching it.
- 9
Step 9
Cut recycled paper into strips shapes or fun pieces for decoration.
- 10
Step 10
Glue the paper pieces onto the dry painted can to create a pattern.
- 11
Step 11
Use a small brush to add painted dots lines or other tiny details.
- 12
Step 12
Let all glue and paint dry completely until nothing is sticky.
- 13
Step 13
If you made a planter fill the can with potting soil and add a small plant or seeds.
- 14
Step 14
If you made a pencil holder place pencils pens or markers inside.
- 15
Step 15
Share your finished colorful pencil holder or planter on DIY.org
Fun facts
How do I turn an old tin can into a colorful pencil holder or small planter?
Start by thoroughly cleaning and drying the tin can. Have an adult smooth or fold any sharp edges. Prime the can with a non-toxic primer, then paint base colors and let dry. Use recycled paper, fabric, or stickers glued on for decoration. Seal with a clear, child-safe sealant. For a planter, an adult can punch a drainage hole in the bottom and add gravel, potting soil, and a small plant.
What materials do I need to transform an old can into a craft pencil holder or planter?
You’ll need a clean, dry tin can, non-toxic acrylic paints and brushes, recycled paper or fabric scraps, craft glue or decoupage medium, clear sealant, and felt pads for the bottom. For a planter add potting soil, small gravel, and a plant. Optional: sandpaper to smooth edges, an awl or hammer and nail for a drainage hole (adult only), and masking tape for painted patterns.
What ages is this upcycled can craft suitable for?
This activity suits children in stages: ages 3–5 can help paint and stick paper with adult supervision. Ages 6–9 can paint details, glue decorations, and help with sealing. Ages 10+ can assist with measuring and planning designs and may perform simple tool tasks only with an adult. Always have an adult handle cutting, punching holes, and any sharp or heavy-duty steps.
What safety tips should I follow when making a pencil holder or planter from an old can?
Always check that the can is clean and rust-free. Smooth or fold sharp edges and have an adult file or tape them. An adult should make drainage holes or cut metal. Use non-toxic paints and work in a well-ventilated area. Keep small decorative items away from toddlers. For planters, line the can or avoid edible plants unless using a food-safe liner to prevent contamination.
Watch & Learn
Need help?
Can I substitute any hard-to-find materials like sandpaper or potting soil?
If you don't have sandpaper, ask an adult to smooth the rim with a metal file or an emery board as described in 'check the rim and smooth any sharp edges with sandpaper,' and if you lack potting soil for the planter, use a small amount of garden soil mixed with compost or coarse sand to improve drainage.
What if the paint or glue won't dry or the paper decorations peel off?
To fix tacky paint or glue, apply thinner coats, follow the instruction to 'let the painted base coat dry completely' before decorating, press glued recycled paper pieces firmly and let everything dry in a warm, well-ventilated spot until nothing is sticky.
How can I adapt this activity for different age groups?
For younger children, have an adult prepare the can by removing labels and sanding the rim and pre-painting the base so they can safely glue paper pieces, while older kids can drill drainage holes, paint detailed designs with the small brush, and plant seeds or a small plant themselves.
How can we extend or personalize the finished pencil holder or planter?
After all glue and paint are dry, seal your design with a clear craft sealer or Mod Podge, add painted initials or washi tape with the small brush for personalization, and for planters consider adding a drainage tray or decorative stones on top of the potting soil before sharing on DIY.org.