Tell Us Where You Are From!
Design a colorful hometown postcard showing your city, favorite local landmarks, and three facts about your culture, then share it with classmates.
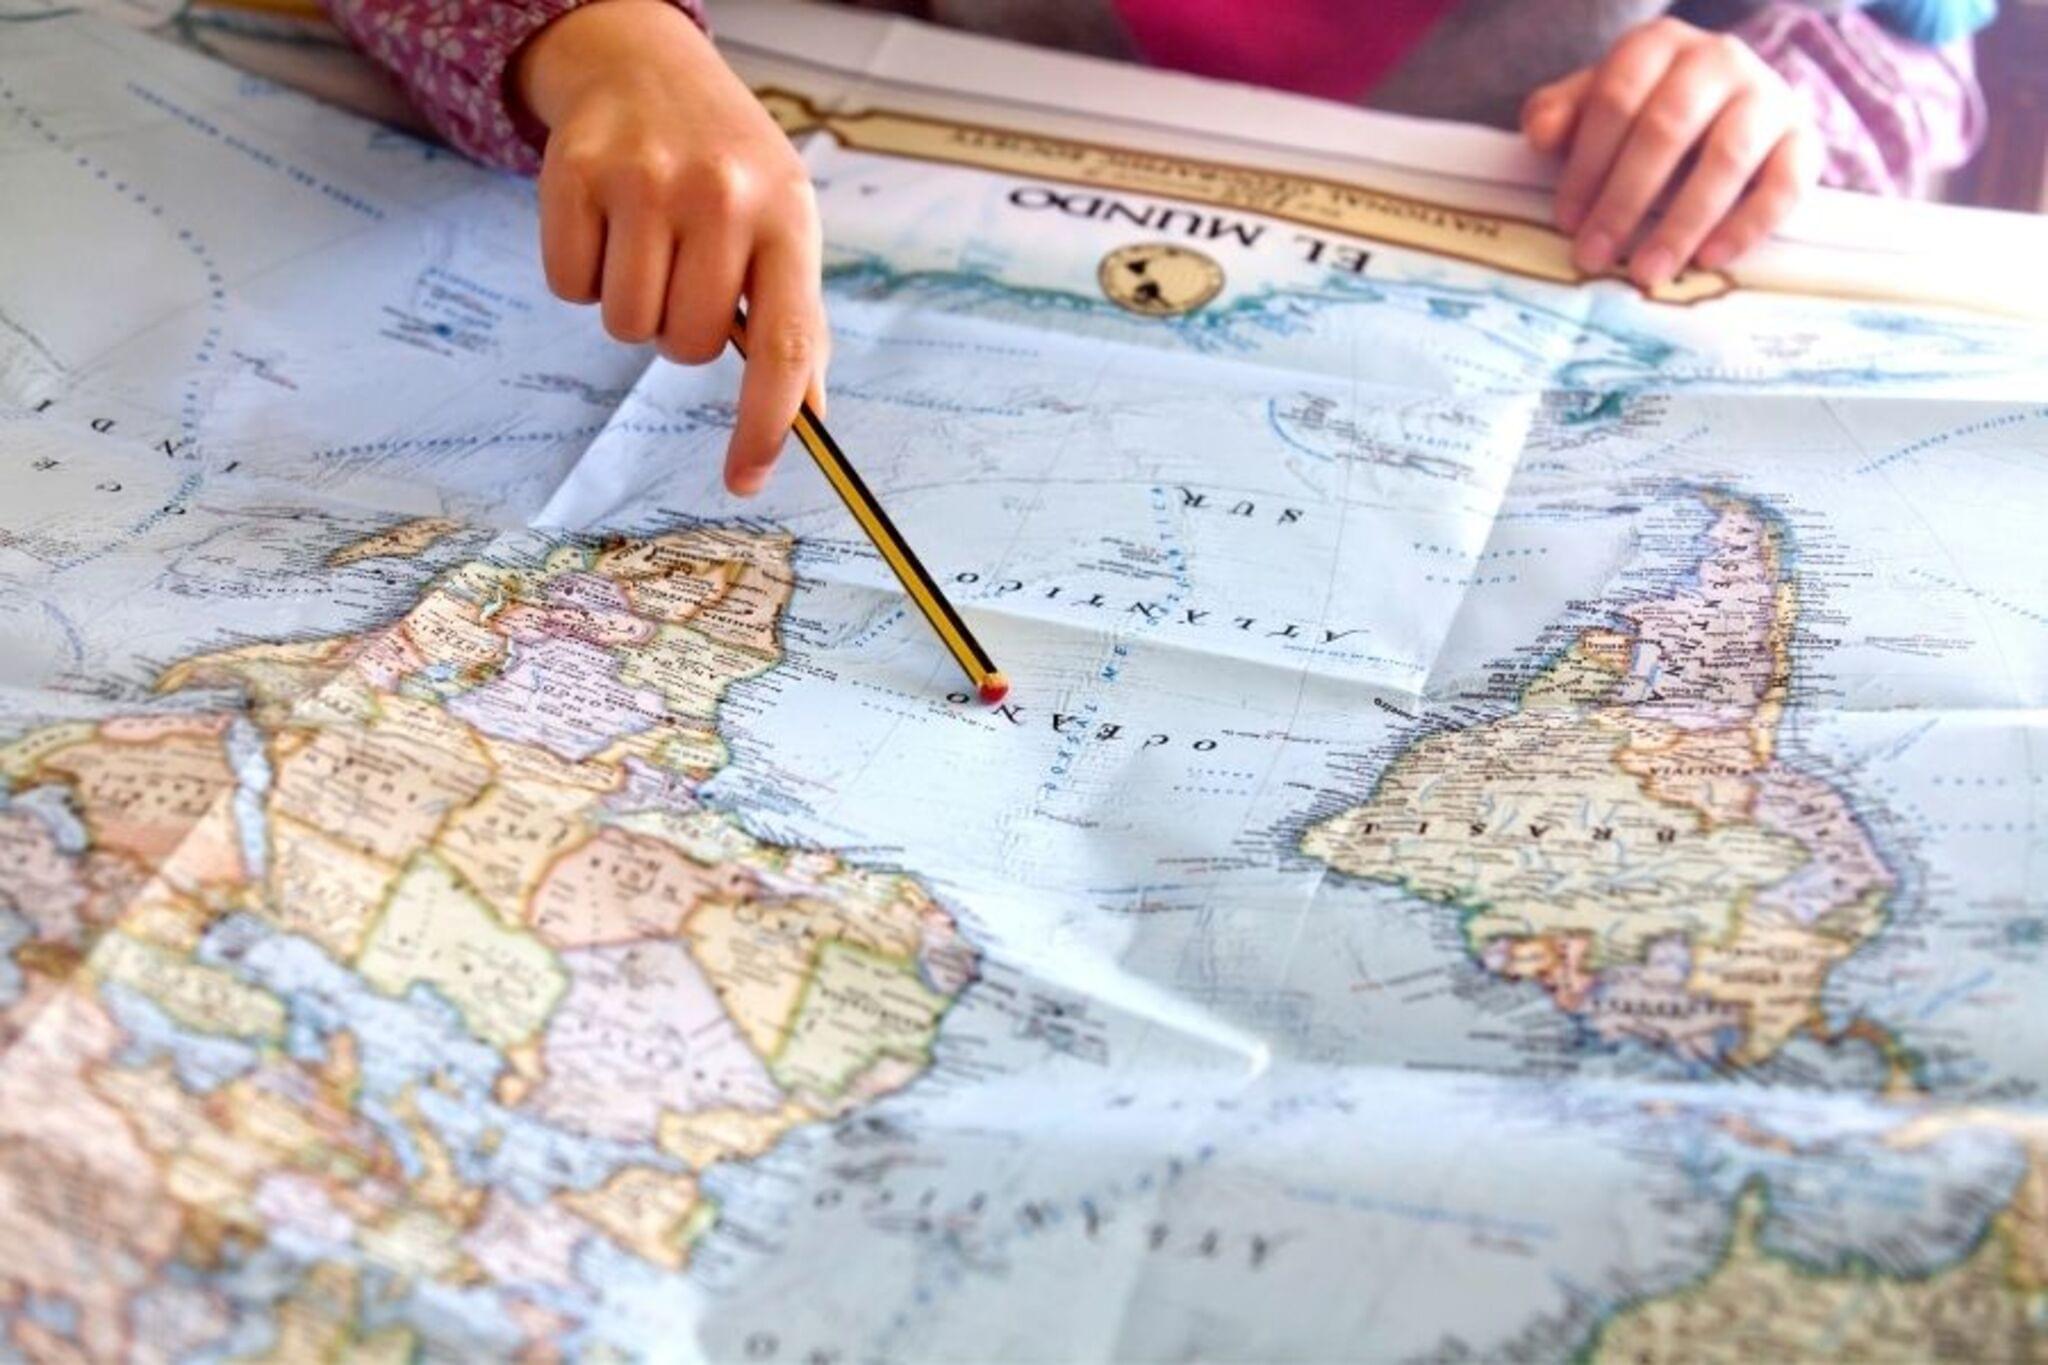
About this activity
Design a colorful hometown postcard showing your city, favorite local landmarks, and three facts about your culture, then share it with classmates.
What you need
Step by step
- 1
Step 1
Gather all your materials and clear a flat workspace to make your postcard.
- 2
Step 2
Think about your city and pick three favorite local landmarks you want to show.
- 3
Step 3
Sketch a simple thumbnail layout of the postcard to decide where drawings and text will go.
- 4
Step 4
Use a ruler and pencil to draw a light rectangle the size of a postcard on your paper or cardstock.
- 5
Step 5
Draw each chosen landmark inside the rectangle using your pencil sketch as a guide.
- 6
Step 6
Color your drawings and add bright patterns or details to make the postcard pop.
- 7
Step 7
Write a big friendly greeting at the top such as "Hello from [Your City]!"
- 8
Step 8
On the back or a corner write three short facts about your culture in clear sentences.
- 9
Step 9
Decorate the postcard with stickers photos or glued cutouts to make it unique.
- 10
Step 10
Sign your name and share your finished creation on DIY.org so your classmates can see where you are from.
Fun facts
How do I make a 'Tell Us Where You Are From!' hometown postcard with my child?
Start by talking about your city and picking one or two favorite landmarks. Sketch a postcard layout with space for an image, title, and three short cultural facts. Create the image using drawing, painting, or photos and add colorful borders or stickers. Write three clear facts on the back or alongside the image. Finish with your name and city, then scan or photograph the card and share it with classmates or present it in class.
What materials do I need to create a hometown postcard for the classroom activity?
You'll need postcard-sized cardstock or thick paper, pencils and erasers, colored markers or crayons, and watercolors or colored pencils. Keep scissors, glue, and magazines or printed photos for collages. Optional: stickers, stamps, washi tape, ruler, laminator, and envelopes. For digital sharing, use a phone or scanner and simple photo-editing apps. Use recycled materials like cereal boxes or scrap paper to keep the craft eco-friendly.
What ages is the hometown postcard activity suitable for?
This activity works well for ages 5–12. Preschoolers (3–5) can join with adult help for cutting, tracing shapes, and choosing colors. Ages 5–8 benefit from guided drawing and short sentences for the three facts. Ages 9–12 can research landmarks, write fuller facts, and try digital postcards. Adapt for special needs by simplifying steps or using stamps and stickers. Always supervise scissors and glue for younger children.
What are the benefits of making and sharing hometown postcards with classmates?
Making hometown postcards builds cultural awareness, geography knowledge, and pride in roots. Children practice writing concise facts, sequencing ideas, and visual storytelling through drawing or collage. It boosts fine motor skills, creativity, public speaking when presenting, and social connection as classmates compare cultures. Encourage respectful questions and celebrate differences. Tip: protect privacy by sharing only city and landmarks—avoid full addresses or home photos when posting or e
Watch & Learn
Need help?
What can we use instead of cardstock, stickers, or a ruler if we don't have them?
Use flattened cereal-box cardboard as cardstock, the straight edge of a hardcover book as a ruler for the 'draw a light rectangle' step, and magazine photos or fabric scraps instead of store-bought stickers for the 'decorate' and 'glued cutouts' steps.
My rectangle and drawings keep coming out crooked—how do we fix that?
If your rectangle from the 'Use a ruler and pencil' step is wobbly, fold the paper to make a straight edge or lay a book along the line to guide your pencil, then rely on the thumbnail layout to re-center each landmark before erasing light pencil marks after coloring.
How should we adapt this activity for younger or older kids?
For younger kids, pre-draw the postcard rectangle and supply printed landmark pictures to glue during the 'Draw each chosen landmark' and 'Decorate' steps, while older kids can add detailed ink outlines, research and expand the 'three short facts about your culture' into full sentences, or make a series of postcards.
What are some ways to make the postcard more special or turn it into a bigger project?
Enhance the 'Decorate with stickers, photos or glued cutouts' step by adding a tiny hand-drawn map on the back, using textured materials like sand or fabric for landmark details, laminating or binding multiple cards into a booklet, and photographing the finished card to upload to DIY.org as a class collection.