Take a soil sample
Collect and examine a soil sample using a small trowel, jar, magnifying glass, and notebook to observe texture, color, and tiny organisms.
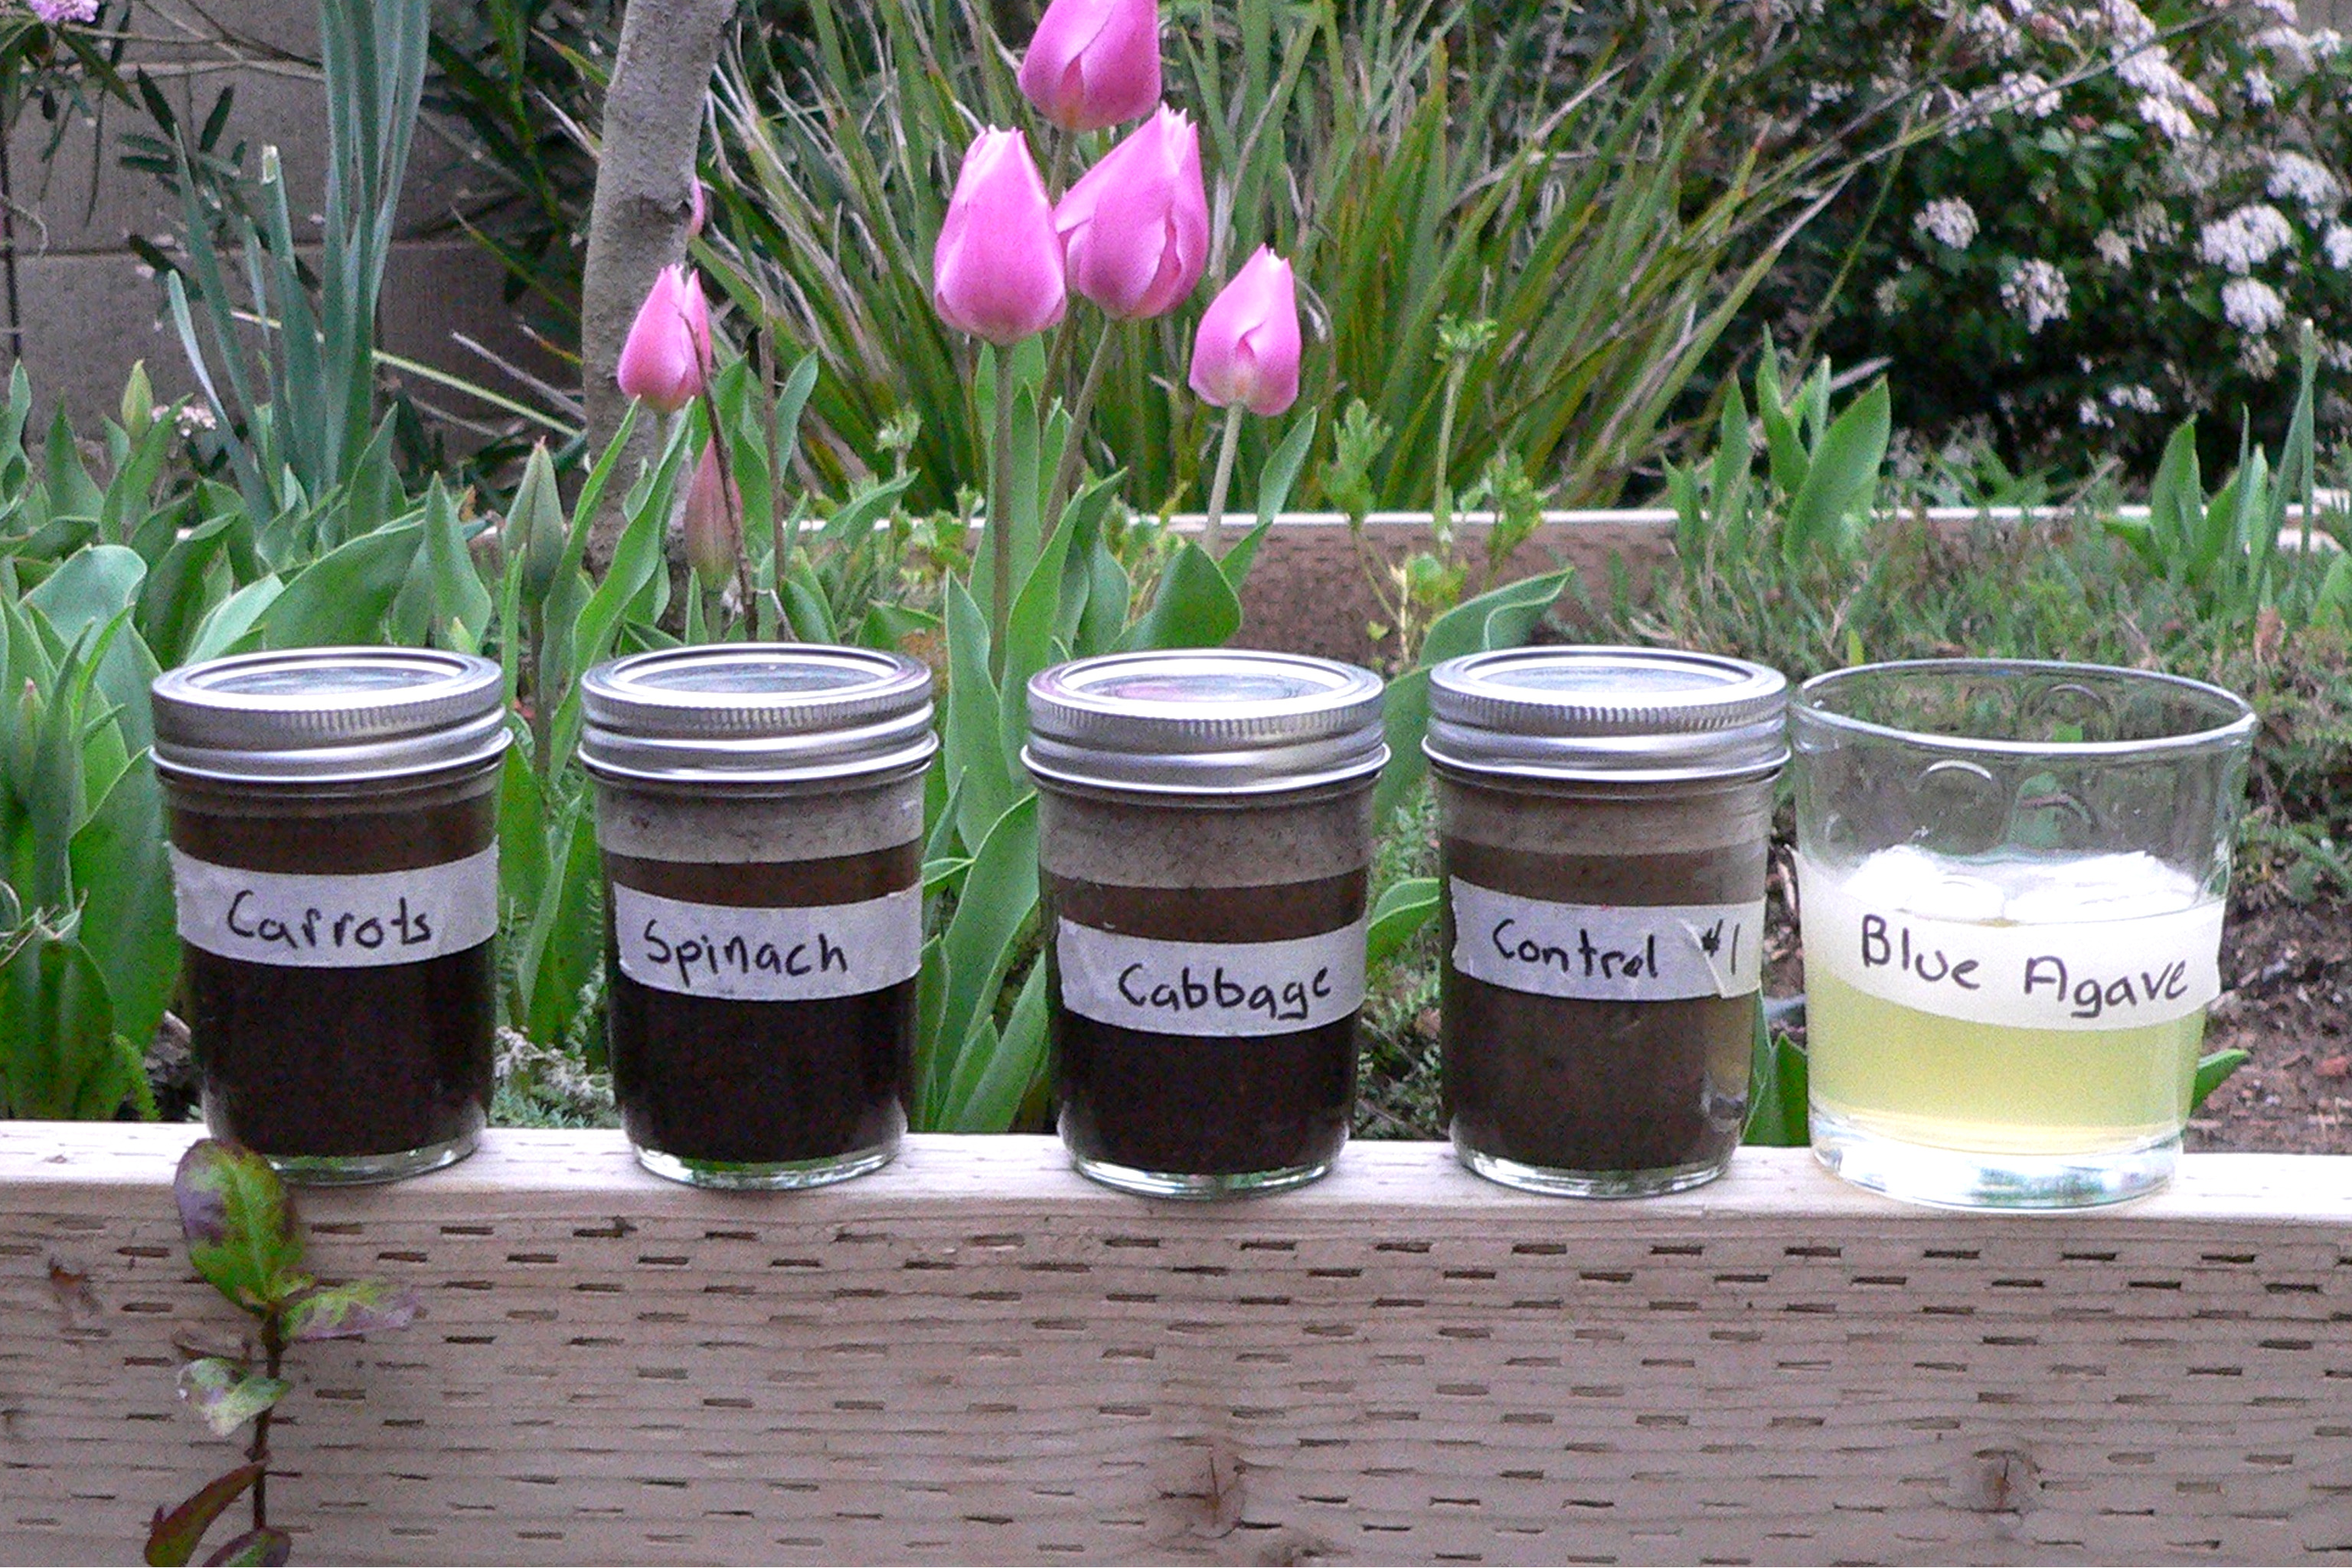
About this activity
Collect and examine a soil sample using a small trowel, jar, magnifying glass, and notebook to observe texture, color, and tiny organisms.
What you need
Step by step
- 1
Step 1
Pick a safe outdoor spot where you want to study the soil.
- 2
Step 2
Use the small trowel to dig about 5 centimeters down into the soil.
- 3
Step 3
Scoop a small amount of soil from the hole into the clear jar with the trowel.
- 4
Step 4
Close the jar tightly so the soil stays inside.
- 5
Step 5
Open your notebook and write the date and the place where you dug the soil.
- 6
Step 6
Open the jar carefully so you can look at a bit of the soil.
- 7
Step 7
Put a tiny pinch of soil onto a clean page of your notebook.
- 8
Step 8
Look at the soil on the page and decide what color it is.
- 9
Step 9
Write the soil color you saw in your notebook.
- 10
Step 10
Rub a small pinch of soil between your fingers to feel if it is sandy silty or sticky.
- 11
Step 11
Write one sentence in your notebook describing the soil texture.
- 12
Step 12
Hold the magnifying glass over the soil on the page and look closely for tiny organisms or bits like roots or pebbles.
- 13
Step 13
Write down any tiny creatures or interesting things you saw under the magnifying glass.
- 14
Step 14
Wash your hands with soap and water to get rid of the soil.
- 15
Step 15
Share your soil notes and discoveries on DIY.org
Fun facts
How do I collect and examine a soil sample with my child?
Start by choosing a clean, safe spot outside. Use a small trowel to scoop a few tablespoons of topsoil into a jar, and collect a second deeper sample if desired. Close and label the jar with location and date. Spread a bit on a tray and use a magnifying glass to look for texture, color, roots, pebbles and tiny organisms. Have the child sketch observations and write notes in a notebook. Wash hands after handling soil.
What materials do we need to take a soil sample and study it?
Materials you'll need: a small hand trowel, clean jars with lids, a magnifying glass, a notebook and pencil, a tray or paper to spread samples, and gloves or hand wipes. Optional: a sieve for separating particles, clear plastic baggies for extra samples, a smartphone for photos, simple field guide or ID cards, and a small magnifier or microscope. Bring water and a first-aid kit for outdoor safety.
What ages is taking and examining soil samples suitable for?
Suitable for ages 4 and up with adult help. Preschoolers (4–6) can scoop soil and look with a magnifying glass while an adult handles digging and labeling. Elementary kids (7–11) can collect samples, record detailed notes, and try basic identifications. Teens can design experiments like comparing soil layers or pH. Always supervise younger children, and adapt tasks—simpler observation for little ones, more complex recording and comparison for older kids.
What are the benefits, safety tips, or fun variations for a child soil sampling activity?
Benefits include hands-on science, observational skills, sensory play, and curiosity about nature. Safety tips: avoid unknown or industrial sites, wear gloves, keep soil away from faces, and wash hands thoroughly after the activity. Variations: try a clear jar to observe layers, compare samples from different spots, use a sieve to separate particles, or examine slides under a microscope. Turn it into a mini research project by tracking changes over time.
Watch & Learn
Need help?
What can we use instead of a small trowel, clear jar, or magnifying glass if we don't have them?
If you don't have the small trowel use a sturdy spoon or stick to dig about 5 centimeters, substitute the clear jar with a resealable clear plastic bag or clear plastic cup to hold the soil, and use a phone camera zoom or reading glasses instead of the magnifying glass to look closely at the sample.
What should we do if it's hard to dig 5 centimeters or the soil keeps spilling from the jar?
If the ground is too hard to reach 5 centimeters choose a softer spot or loosen the soil with the trowel or stick before scooping, and if the clear jar won't close tightly transfer the soil into a resealable plastic bag or press the lid down and wrap it with tape so the soil stays inside.
How can we change the steps for different ages of children?
For preschoolers have an adult dig the hole and let them do simple tasks like naming the soil color and feeling a tiny pinch, for elementary kids follow all steps including writing the date/place and one-sentence texture notes, and for older kids add detailed notebook sketches with the magnifying glass and compare multiple samples before sharing on DIY.org.
How can we extend or personalize the soil sampling activity after finishing the basic steps?
Turn it into a mini-project by taking samples from several spots, labeling each clear jar or bag with the date and place in your notebook, comparing colors and textures side-by-side, trying simple moisture or pH tests, planting seeds in different samples, and posting photos and notes on DIY.org.