Show us your hoop gear
Decorate and customize a hula hoop using tape, ribbons, and markers. Practice spinning techniques, measure hoop size, and try simple tricks safely.
About this activity
Decorate and customize a hula hoop using tape, ribbons, and markers. Practice spinning techniques, measure hoop size, and try simple tricks safely.
What you need
Step by step
- 1
Step 1
Clear a safe open space free of breakables and furniture so you have room to hoop.
- 2
Step 2
Put on comfy clothes and closed-toe shoes so you can move safely.
- 3
Step 3
Gather your hula hoop and all your decorating supplies in one spot.
- 4
Step 4
Stand the hoop upright on the floor next to you to see where it reaches on your body.
- 5
Step 5
Ask an adult for help if the hoop is much taller or shorter than your waist or chest.
- 6
Step 6
Plan a decoration design in your head or on paper so you know which colors and ribbons to use.
- 7
Step 7
Wrap colourful tape around the hoop starting at one spot and overlapping slightly until the hoop is covered the way you like.
- 8
Step 8
Cut several ribbons into 12 to 24 inch lengths using scissors.
- 9
Step 9
Attach the ribbons to the hoop with tape or by tying them so they hang down and flow when you spin.
- 10
Step 10
Use colouring markers or paint pens to draw patterns or write your name on any uncovered parts of the hoop.
- 11
Step 11
Press and smooth all tape edges and ribbon attachments so nothing peels off while you hoop.
- 12
Step 12
Start a waist spin by placing the hoop against your lower back then give it a steady forward push and sway your hips to keep it spinning.
- 13
Step 13
Share your finished creation on DIY.org
Fun facts
How do I decorate and customize a hula hoop and practice spinning techniques?
Start by measuring hoop size: with feet together, hoop should reach between waist and chest. Clean the hoop, then wrap colorful tape and add ribbons or streamers, securing ends with clear tape or zip ties. Use permanent markers for designs. Practice spinning with feet shoulder-width, soft knees and steady hip motion, begin with waist hooping, then try step-throughs and shoulder spins on a soft, open surface. Progress slowly and keep sessions short.
What materials do I need for 'Show us your hoop gear'?
You’ll need a hula hoop sized to the child, measuring tape, colorful duct or washi tape, ribbons or streamers, permanent markers, scissors, and clear tape or zip ties to secure decorations. Optional extras include stickers, foam tubing, beads for ribbon ends, a soft mat, and knee or elbow pads for beginners. Avoid sharp decorations and supervise small parts with young children to prevent choking hazards.
What ages is the 'Show us your hoop gear' activity suitable for?
This activity suits ages 4 and up with adult help; preschoolers (4–5) can decorate and enjoy ribbon play on the floor. Ages 6–10 can practice basic waist-hooping and simple tricks with supervision. Tweens and teens can customize more intricately and learn advanced spins and transitions. Always match hoop size to height, supervise younger children, and avoid small detachable parts for under-5s.
What are the benefits and safety tips for hoop decorating and practice?
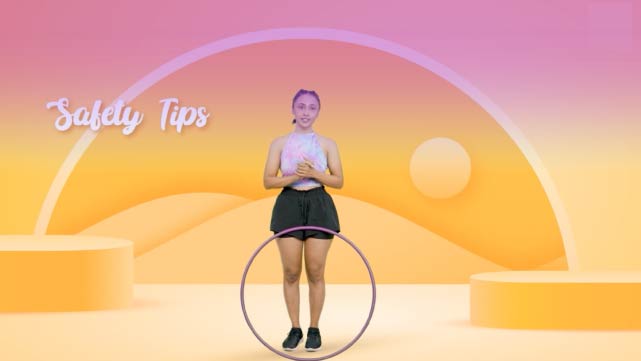
Hoop decorating and play builds coordination, core strength, balance, and creativity; decorating also boosts fine motor skills and confidence. For safety, choose the right hoop size, remove sharp decorations, practice on a flat open surface away from furniture, wear comfortable clothing, and supervise children—especially beginners. Start slowly, take breaks to prevent bruising, and teach controlled movements before trying tricks to keep play fun and injury-free.
Watch & Learn
Need help?
I can't find colourful tape—what can I use instead?
If you don't have colourful tape, substitute duct tape, washi tape, or long strips of fabric wrapped and overlapped around the hoop, and use yarn, gift ribbon, or cut-up plastic bags in place of ribbons.
My tape keeps peeling or the ribbons fall off—how do I fix that?
Follow the instruction to press and smooth all tape edges firmly, add extra overlapping tape where ribbons attach, or knot ribbons through small holes and tape over the knots so decorations don't peel off while you hoop.
How can I adapt the activity for different ages?
For younger kids have an adult stand the hoop upright, pre-cut 12–24 inch ribbons and let them use wide tape and stickers, while older kids can plan on paper, use scissors and paint pens themselves, and practice steadier waist spins.
How can we make the hoop more special or challenging?
Personalize or increase challenge by adding beads or bells to ribbons, sticking a small LED tape under the colourful tape, or adding a bit of extra tape or a light strip opposite the ribbons to change weight and how the hoop spins during a waist spin.