Share your improvement
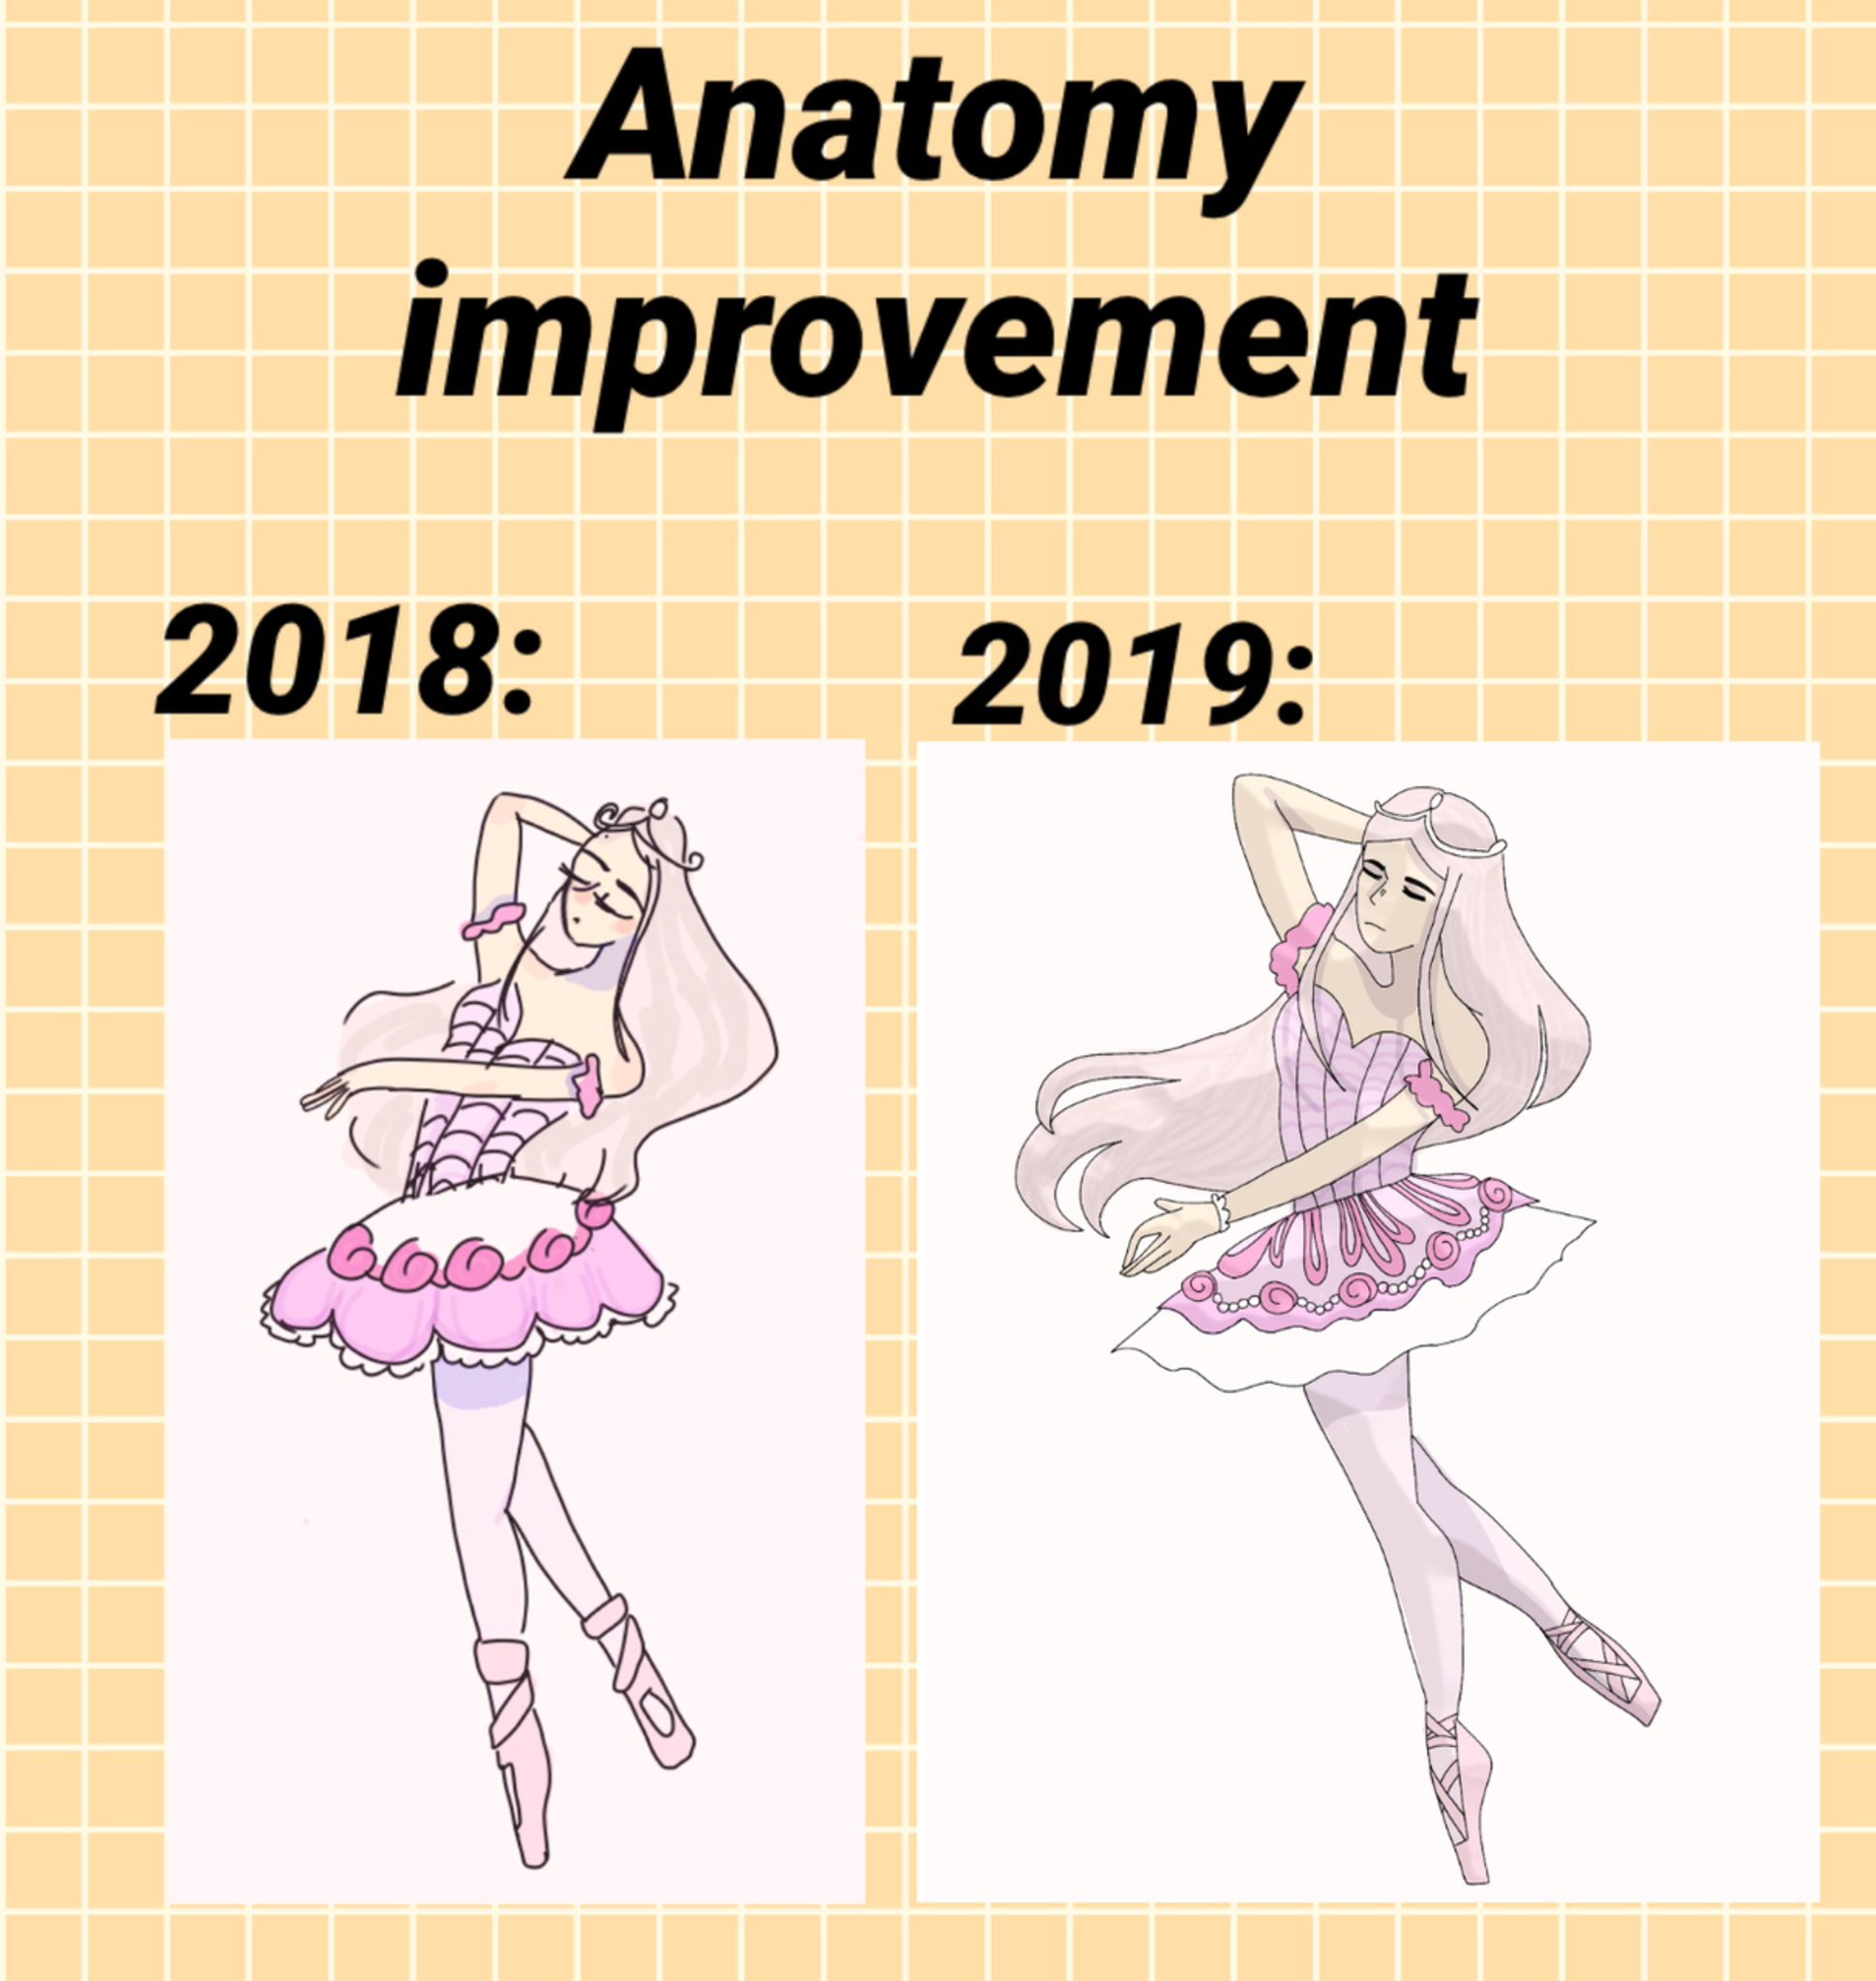
Make a simple before-and-after poster showing a skill you improved, then present or record your explanation to share progress and next goals.
About this activity
Make a simple before-and-after poster showing a skill you improved, then present or record your explanation to share progress and next goals.
What you need
Step by step
- 1
Step 1
Collect the materials listed.
- 2
Step 2
Choose one skill you improved.
- 3
Step 3
Write the skill name at the top of your paper.
- 4
Step 4
Find or draw a 'Before' example that shows how you did the skill at the start.
- 5
Step 5
Find or draw an 'After' example that shows how you do the skill now.
- 6
Step 6
Draw a vertical line down the middle of the paper to make a 'Before' side and an 'After' side.
- 7
Step 7
Label the left side "Before" and the right side "After."
- 8
Step 8
Attach the 'Before' example to the left side using glue or tape.
- 9
Step 9
Attach the 'After' example to the right side using glue or tape.
- 10
Step 10
Write one short sentence under the 'Before' picture that explains how you did the skill then.
- 11
Step 11
Write one short sentence under the 'After' picture that explains how you do the skill now.
- 12
Step 12
Decorate your poster with stars arrows or stickers to show your progress.
- 13
Step 13
Write one small goal under the 'After' side about what you will practice next.
- 14
Step 14
Practice saying a short explanation about your poster out loud two or three times.
- 15
Step 15
Share your finished poster and your explanation on DIY.org.
Fun facts
How do you make a before-and-after poster to share a child's improvement?
Start by choosing one skill to track (e.g., handwriting, jumping rope). Take a “before” photo or sample, set one or two clear goals, and practice over several sessions while keeping notes. After improvement, collect an “after” sample and arrange both on a poster with a title, short captions describing what changed, strategies used, and next steps. Rehearse a short presentation or record the child explaining progress and future goals.
What materials do I need to make a before-and-after improvement poster?
You’ll need a poster board or large paper, photos or work samples for before and after, glue or tape, markers and labels, and scissors. A notebook or simple chart to track practice sessions helps. For sharing, use a phone or camera and optional tripod to record the child presenting. Stickers or colored paper can make the poster fun and clear for kids.
What ages is this before-and-after poster activity suitable for?
This activity suits preschoolers through teens with age adjustments: preschoolers (4–5) can use drawings and adult help; early elementary (5–8) can take simple photos and dictate captions; 9–12-year-olds can track practice and write explanations; teens can plan, edit, and record independently. Always supervise younger children during recording and online sharing, and tailor complexity to the child’s attention and fine-motor skills.
What are the benefits and safety tips for sharing a child’s improvement poster?
Creating a before-and-after poster builds self-reflection, confidence, communication skills, and goal-setting habits. It makes progress visible and motivates continued practice. For safety, avoid sharing personal info (full name, school, address), get parental consent before posting online, and consider private sharing with family or teachers. Variations include group posters, digital slideshows, or short video explanations to make the activity collaborative and accessible.
Watch & Learn
Need help?
What can we use if we don't have glue, tape, or stickers listed in the materials?
If you don't have glue or tape, use a stapler or paper clips to attach the 'Before' and 'After' examples, or cut small slits in the poster and tuck the pictures in, and if you lack stickers use drawn stars or colored paper shapes for decorations.
What should we do if our 'Before' or 'After' pictures keep slipping or the vertical line isn't straight?
Use a ruler and pencil to lightly draw the vertical line down the middle before labeling, trim or fold the pictures so they sit flat, and secure corners with small pieces of tape or a stapler when you attach the 'Before' and 'After' examples.
How can the activity be adapted for younger or older kids?
For younger children, use photos and let an adult glue or tape the pieces and write the short sentences under each picture, while older kids can draw detailed 'Before' and 'After' examples, type captions, add a specific practice goal under the 'After' side, and record their explanation to upload to DIY.org.
How can we make the poster more interesting or show progress better beyond the basic instructions?
Add arrows or a timeline between the 'Before' and 'After' sides, include measurable details in the short sentences and the small goal under the 'After' side, decorate with different colored stars to show milestones, and practice a brief recorded explanation to share on DIY.org.