Share a Picture of Paper Flags
Make colorful paper flags, arrange them on a stick or string, photograph your finished flags, and share the picture with friends or family.


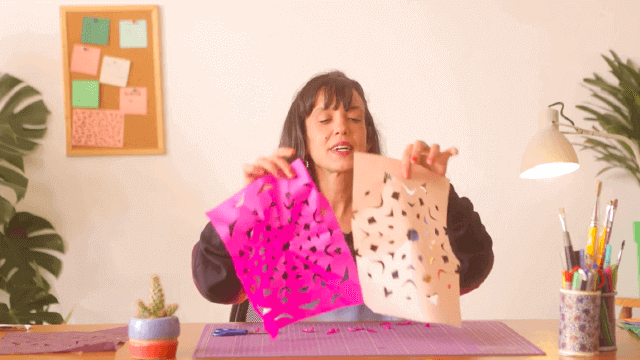

Step-by-step guide to share a picture of paper flags
Step 1
Lay all your materials out on a clear workspace so you can see everything.
Step 2
Choose how big you want each flag to be.
Step 3
Use the ruler and pencil to draw rectangles of that size on the colored paper.
Step 4
Cut out the rectangles with scissors using adult supervision.
Step 5
Decorate each flag with colouring materials to make bright designs.
Step 6
Arrange the decorated flags on the table in the order you like.
Step 7
Attach each flag to the stick or string using tape or glue.
Step 8
Press each taped or glued area firmly so the flags hold on well.
Step 9
Trim any extra paper so the flags have neat edges.
Step 10
Take a clear photo of your finished flags.
Step 11
Share the picture of your paper flags on DIY.org
Help!?
What can we use if we don't have colored paper, sticks, or string?
If colored paper or wooden sticks aren't available, color plain printer paper with markers or crayons for step 'Cut out the rectangles' and use popsicle sticks, chopsticks, or yarn instead of sticks or string when you 'Attach each flag to the stick or string'.
My flags keep falling off or edges look messy—what should we do?
If flags peel off after you 'Attach each flag to the stick or string', press taped or glued areas firmly per the instructions, add extra tape or a dab of PVA glue, and clamp with a clothespin until dry before trimming edges.
How can we change the activity for different ages?
For preschoolers, skip the ruler and provide pre-cut large rectangles and glue sticks plus stickers for 'Decorate each flag', while older kids can measure precise rectangles with the ruler, cut carefully, and try sewing or hole-punching the flags for a refined bunting.
How can we make the flags more special or challenging after finishing the basic steps?
To extend the activity, personalize each decorated flag with names or country designs, seal fragile decorations with clear tape or glue before 'Attach each flag', arrange them in patterns or gradients, and take a staged photo to share on DIY.org.
Watch videos on how to share a picture of paper flags
Origami flag, origami flag easy, origami flag making, origami flag step by step, origami flag paper
4 Videos
Origami flag, origami flag easy, origami flag making, origami flag step by step, origami flag paper
DIY 🎌 How to make a small FLAG from A4 paper
How to make a flag origami, origami angel flag, flag easy, origami flag, battle flag step by step
COOL! Making A Paper Flag | Make A Flag Craft Kids - CRAFTIVI
Facts about paper crafts for kids
🎌 Flags have been used for thousands of years to represent groups, armies, and nations — they fluttered into history long before modern countries existed.
🎏 Bunting started as sailors' and festivity decorations, and today strings of small flags are still called bunting for parties and parades.
✂️ Papermaking was popularized in China around 105 CE, which helped paper become a cheap, colorful material for crafts like flags.
🎨 Colors carry feelings — red can feel exciting, blue calming, and yellow cheerful, so pick hues that match your flag's mood!
📸 The first permanent photograph was made in the 1820s by Nicéphore Niépce — now you can snap and share your flags instantly with a phone.
How do I make and share a picture of paper flags?
What materials do I need to make paper flags and photograph them?
What ages is the paper flags activity suitable for?
What safety tips should I follow when making and sharing paper flag photos?
