Sew a yeti plushie
Sew a small yeti plushie using felt, stuffing, and simple hand stitches; follow a paper pattern, practice sewing skills, and add friendly details.
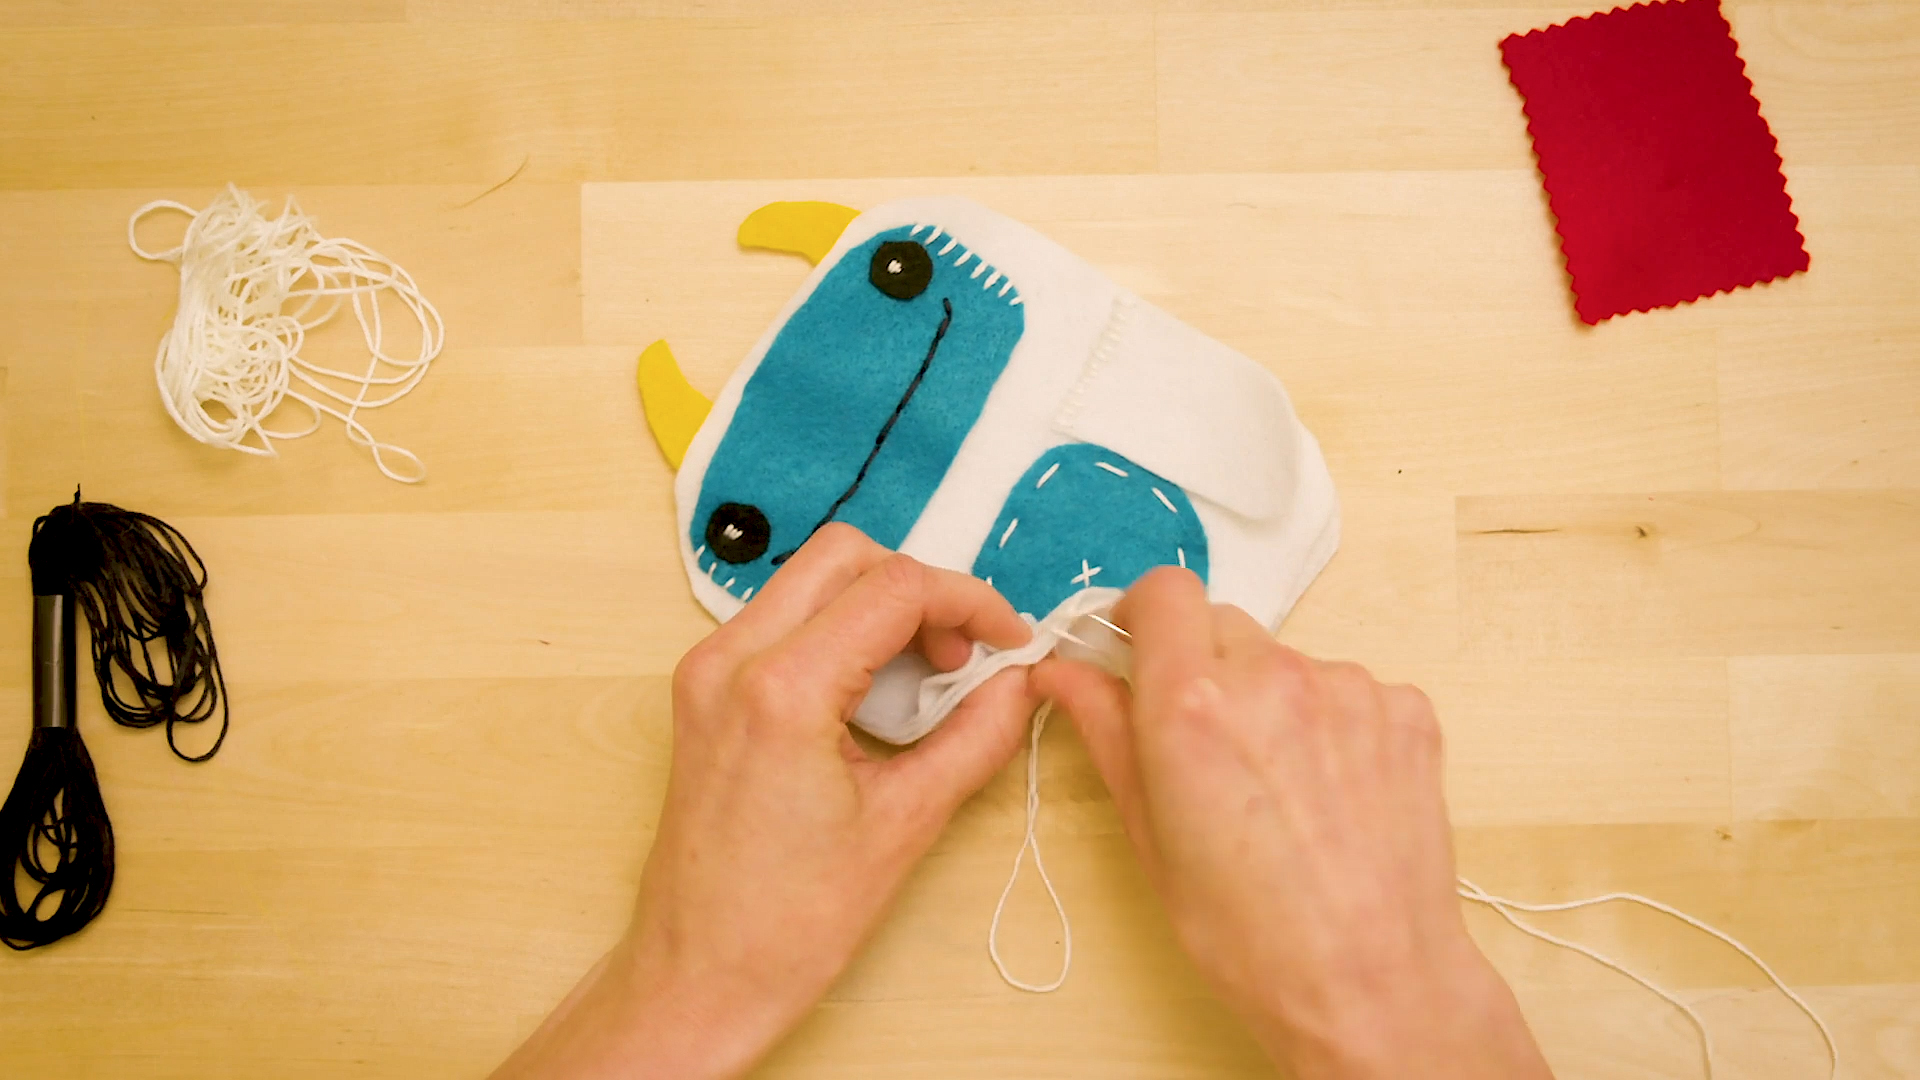
About this activity
Sew a small yeti plushie using felt, stuffing, and simple hand stitches; follow a paper pattern, practice sewing skills, and add friendly details.
What you need
Step by step
- 1
Step 1
Gather all the materials from the list and put them on a clear table.
- 2
Step 2
Make or print a simple paper pattern of a small yeti body and any extra parts like arms and belly.
- 3
Step 3
Cut out your paper pattern pieces with scissors.
- 4
Step 4
Lay a paper pattern piece on the felt and trace around it with your marker.
- 5
Step 5
Cut the felt shapes out along the lines you traced.
- 6
Step 6
Thread the sewing needle and tie a small knot in the end of the thread.
- 7
Step 7
Practice a whip stitch three times on the scrap felt to feel how the stitch works.
- 8
Step 8
Put two matching body felt pieces together with the nice sides facing each other.
- 9
Step 9
Sew the body pieces around the edge with a whip stitch leaving a small gap for turning and stuffing.
- 10
Step 10
Turn the sewn body right side out through the gap so the nice side shows.
- 11
Step 11
Stuff the yeti gently through the gap until it looks plump and even.
- 12
Step 12
Sew the gap closed with small stitches and tie a secure knot when finished.
- 13
Step 13
Attach friendly details like eyes mouth and a belly patch by sewing them on with embroidery floss.
- 14
Step 14
Trim any loose threads and fluff the felt fur with your fingers to make your yeti extra cuddly.
- 15
Step 15
Share your finished yeti plushie on DIY.org
Fun facts
How do I sew a small yeti plushie?
To sew a small yeti plushie, start by printing and cutting a paper pattern. Pin pattern pieces to felt and cut out two body shapes plus arms, legs, and details. Use a running or backstitch to sew pieces right sides together, leaving an opening. Turn pieces right-side out, stuff with polyester filling, then hand-sew the opening closed. Finish with embroidered eyes, nose, and stitched claws for a friendly look.
What materials do I need to sew a yeti plushie?
You'll need felt (several colors), polyester stuffing, a printed paper pattern, sewing needles, and strong thread or embroidery floss. Also gather scissors, pins or clips, a fabric marker, and a seam ripper for mistakes. Optional: safety eyes or buttons (avoid for toddlers), hot-fix adhesive, small beads, and a thimble. Choose felt because it doesn't fray and is easy for hand stitching.
What ages is this activity suitable for?
This craft suits kids in stages: ages 6–7 can help with cutting and stuffing under close adult supervision; ages 8–11 can sew simple stitches and assemble the plushie with guidance; ages 12+ are usually ready to work independently on pattern cutting, sewing, and finishing. Always supervise needle use and small parts, and adapt tools (blunt-tipped needles, pre-cut shapes) for younger children to make it safe and enjoyable.
How can I keep sewing a yeti plushie safe for kids?
Keep needles and small parts out of reach, supervise all sewing, and choose embroidered features instead of buttons or safety eyes for children under three. Use blunt craft needles or plastic sewing needles for beginners, and pre-cut felt shapes if needed. Check seams twice and use secure stitches so stuffing can't escape. Teach needle-handling (never running with needles) and store supplies in a closed container after the session.
Watch & Learn
Need help?
What can I use if I can't find felt or embroidery floss for this yeti project?
Substitute fleece or an old soft cotton T‑shirt for the felt when tracing and cutting pattern pieces, and use thin yarn or stranded craft thread in place of embroidery floss for sewing on the eyes, mouth, and belly patch.
My whip stitches keep coming loose or the body is hard to turn inside out—how can I fix that?
Use the practice whip stitch step on scrap felt (step 6) to get consistent stitches, leave a slightly larger turning gap when sewing the body in step 7, and use a blunt tool like a chopstick to push stuffing evenly before closing the gap and tying a secure knot in step 11.
How should I change the steps for different ages working on this yeti plushie?
For preschoolers have an adult pre-cut felt pieces and let them stuff and glue or use a large plastic needle for simple sewing, for elementary kids supervise cutting and teach the whip stitch in step 6, and for older kids encourage designing extra pattern parts and detailed embroidery in step 12.
What are some ways to extend or personalize the yeti after finishing the basic plushie?
Before closing the gap in step 11 sew in a small bell or weighted beads for a tactile surprise, add yarn tufting or extra embroidery on the belly patch in step 12, and personalize it with stitched initials or a tiny felt accessory to share on DIY.org.