Sew a popsicle plushie
Sew a soft popsicle plushie using felt, simple stitches, stuffing, and glue; design colors and practice basic hand-sewing skills safely.
About this activity
Sew a soft popsicle plushie using felt, simple stitches, stuffing, and glue; design colors and practice basic hand-sewing skills safely.
What you need
Step by step
- 1
Step 1
Choose two felt colors and draw a palm-sized popsicle shape on the paper to make a template.
- 2
Step 2
Cut out the paper template using the scissors.
- 3
Step 3
Place the paper template on a felt sheet and trace around it once for the front and once for the back.
- 4
Step 4
Cut out the two felt popsicle shapes carefully along your traced lines.
- 5
Step 5
Decorate the front felt piece with a face sprinkles or a pattern using markers glue or simple embroidery stitches.
- 6
Step 6
Position the wooden craft stick between the two felt pieces at the bottom center so the stick peeks out like a real popsicle.
- 7
Step 7
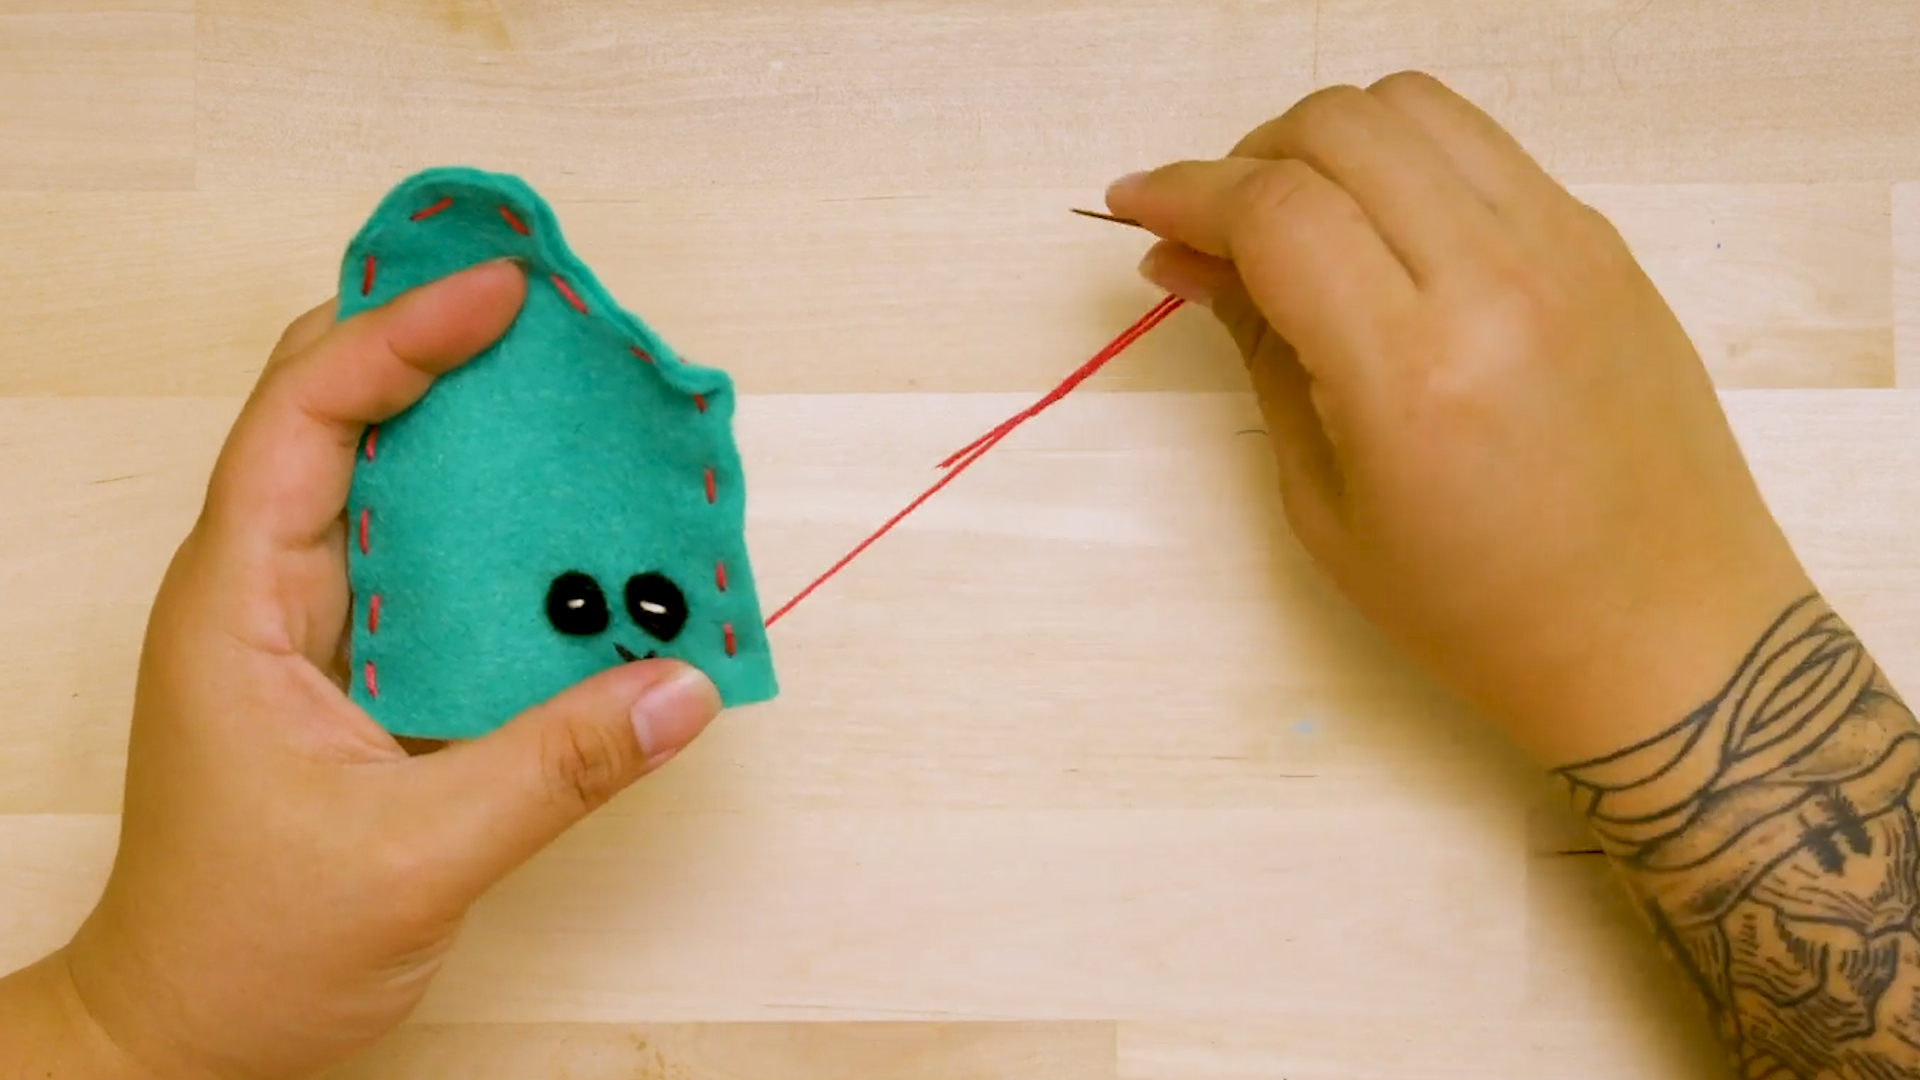
Thread the needle with embroidery floss and tie a small knot at the end of the thread.
- 8
Step 8
Sew the two felt pieces together around the edge using a whipstitch leaving a 2-inch gap at the top for stuffing.
- 9
Step 9
Stuff the plush gently through the gap with polyfill until it feels soft and even.
- 10
Step 10
Sew the remaining gap closed with the same stitch and tie a secure knot to finish.
- 11
Step 11
Share your finished popsicle plushie on DIY.org.
Fun facts
How do I sew a popsicle plushie step by step?
To sew a popsicle plushie, start by drawing a popsicle shape on paper and cut two felt pieces. Pin them together, leaving a gap for stuffing. Use a blanket stitch or running stitch to sew around, close to the edge. Stuff lightly with polyester filling, reshape, then finish sewing the gap. Attach a felt stick and add details with embroidery, fabric glue, or small felt pieces. Supervise children and use blunt needles for safety.
What materials do I need to sew a popsicle plushie?
You’ll need felt sheets (various colors), embroidery or tapestry needles (child-safe if possible), embroidery floss or strong thread, polyester stuffing, fabric scissors, paper and pencil for a pattern, pins or clips, fabric glue or a low-temperature glue gun (adult use only), optional embellishments like buttons or felt scraps, and a ruler. Choose blunt plastic needles for younger kids and keep sharp tools supervised.
What ages is sewing a popsicle plushie suitable for?
Sewing a popsicle plushie suits children aged 4 to 12 with adjustments: ages 4–6 can decorate pre-cut felt and use fabric glue or plastic needles with close adult help; ages 7–9 can learn simple running or whip stitches with supervision; ages 10 and up can complete the whole project independently, including pattern tracing and hand-sewing. Always supervise sharp needles, scissors, and hot glue, and adapt steps to your child's motor skills.
What are the benefits and safety tips for making a popsicle plushie?
Making a popsicle plushie builds fine motor skills, hand-eye coordination, creativity, and patience. It teaches basic sewing terms and following steps. Safety tips: use blunt or plastic needles for young kids, keep scissors and hot glue away from unsupervised children, work on a clear surface, and demonstrate safe needle handling. For variations, try different shapes, felt textures, embroidered faces, or add a loop to hang as a keychain.
Watch & Learn
Need help?
What can I use if I can't find felt, polyfill, or a wooden craft stick?
Substitute felt with sturdy cotton or fleece from an old shirt when you 'trace' and 'cut out', use pillow stuffing or scrap batting instead of polyfill for the 'stuff the plush' step, and replace the wooden craft stick by inserting a short strip of folded cardboard at 'position the wooden craft stick'.
My stitches keep leaving gaps and the stuffing pokes out — how do I fix that?
Make smaller, evenly spaced whipstitches around the edge while 'sew the two felt pieces together', pull each stitch snug before the next, and use clothespins or binder clips to hold the felt and stick steady during sewing so the '2-inch gap' closes cleanly before 'sew the remaining gap closed'.
How can I adapt this popsicle plushie project for younger children or make it more challenging for older kids?
For younger children skip the needlework and use fabric glue to join the two traced-and-cut felt pieces and attach the wooden craft stick, while older kids can add detailed embroidery when they 'decorate the front' and try invisible ladder stitching instead of a whipstitch when they 'sew the two felt pieces together'.
How can we extend or personalize the finished popsicle beyond what's listed in the steps?
Before you 'sew the remaining gap closed' tuck a loop of ribbon to hang it, sew on beads or sequins during the 'decorate the front' step, or make a matching set by reducing the paper template size and repeating the 'trace' and 'cut out' steps to create mini versions.