Sculpt a clay bird - Straight from DIYHQ
Make and decorate a small clay bird using air dry clay, simple tools, and paints; learn shaping, texture techniques, and safe drying methods.


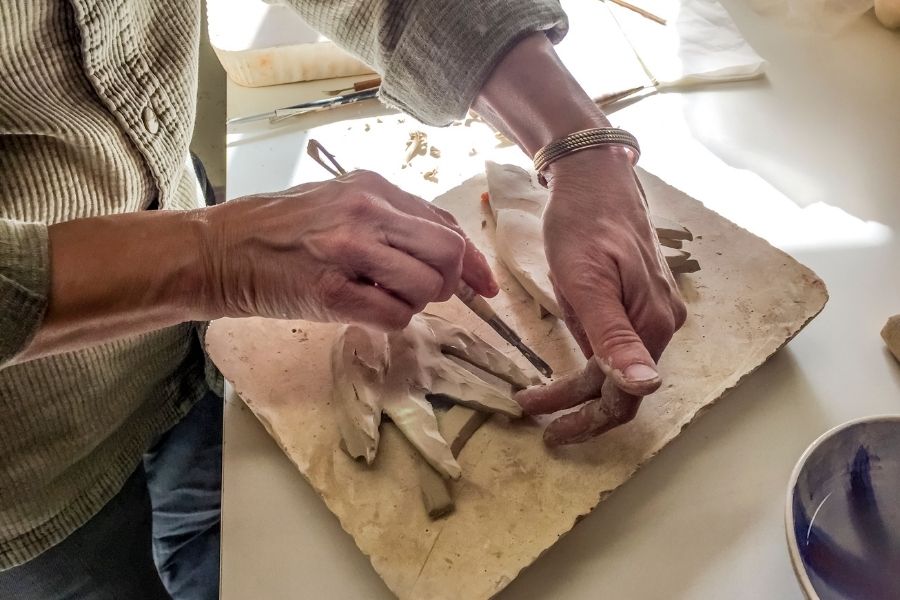

Step-by-step guide to sculpt a clay bird
Step 1
Wash your hands with soap and dry them so the clay stays clean.
Step 2
Put on your old shirt or apron to keep your clothes safe.
Step 3
Lay the waxed paper or plastic placemat on the table to make a clean workspace.
Step 4
Tear off a ping pong ball sized piece of air dry clay and knead it until it feels soft and squishy.
Step 5
Roll the clay into an oval shape with your hands or rolling pin to make the bird body.
Step 6
Roll a smaller ball of clay to make the bird head.
Step 7
Score the places where the head and body will meet using a toothpick to make rough lines for sticking.
Step 8
Dab a tiny bit of water on the scored spots and press the head onto the body until it stays put.
Step 9
Pinch a small piece of clay into a beak shape and press it onto the front of the head.
Step 10
Flatten two small pieces into wing shapes and press them onto each side of the body smoothing the edges with a damp finger.
Step 11
Make a small tail piece and press it onto the back of the bird smoothing the seam with a damp finger.
Step 12
Use a toothpick to add feather lines and poke two small dimples for eyes to give your bird texture and personality.
Step 13
Place your bird on the waxed paper in a ventilated spot and let it dry flat for 24 to 48 hours turning it once halfway through drying.
Step 14
Paint your bird after it is completely dry and let the paint dry fully.
Step 15
Share your finished clay bird on DIY.org
Help!?
What can I use if I can't find air-dry clay or waxed paper?
If you can't find air-dry clay, use oven-bake polymer clay and bake it according to package instructions instead of air-drying, and substitute waxed paper with a silicone craft mat or several layers of newspaper to protect the table while kneading and drying.
My bird's head keeps falling off or seams crack while drying—what should I do?
Score the head and body with a toothpick where they meet, dab a tiny bit of water on the scored spots and press firmly, then smooth seams with a damp finger and dry the bird flat in a ventilated spot turning it once halfway through drying to prevent separation or cracks.
How can I adapt this clay bird activity for different ages?
For toddlers, use bigger pieces (larger than the ping-pong-ball-sized piece), have an adult pre-roll the body and head and skip fine toothpick details, while older kids can work with smaller parts, add detailed feather lines with a toothpick and paint intricate patterns after drying.
How can we personalize or make the clay bird more advanced?
Personalize by mixing a little acrylic paint into the clay before shaping, adding wire or toothpick legs and glued-on googly eyes after the piece dries, carving names or patterns with the toothpick, and sealing painted birds with clear varnish for durability.
Watch videos on how to sculpt a clay bird
How to Make a Clay Bird
4 Videos
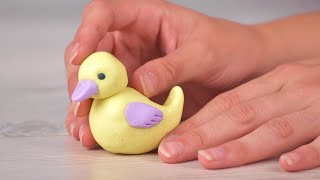
How to Make a Clay Bird
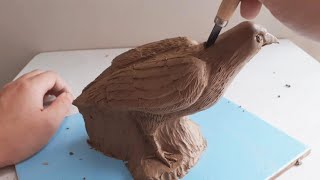
SUPER EASY Animal Making With Clay, Sculpting A PERFECT Bird
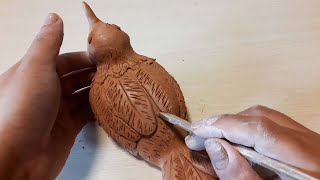
Super Easy Clay Sculpting Tutorial: How to Make A Bird in Very Easy Techniques
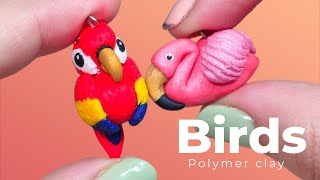
Polymer clay birds/ Easy tutorial
Facts about clay crafts for kids
🐦 Small clay bird figures have been found in archaeological sites, showing people made bird toys and talismans for thousands of years.
🎨 Air-dry clay hardens by evaporating water — no kiln required — making it great for home and classroom projects.
🕒 Thin parts like wings and tails dry faster than thick bodies; a small bird can dry in about 24–48 hours depending on humidity.
👐 Scoring (scratching) surfaces and using a little slip (clay + water) helps bond pieces like beaks and wings securely.
🛡️ Once dry, acrylic paints work well on air-dry clay and a clear sealer helps protect your painted bird from scratches and moisture.
How do you sculpt a clay bird step by step?
What materials do I need to sculpt a clay bird?
What ages is this clay bird activity suitable for?
What safety tips should I follow when sculpting air‑dry clay?
