Scrapbook Journaling To Organise Your Room
Make a scrapbook journal to sort toys, plan storage, label boxes, and list tasks, using photos, drawings, and stickers to organize your room.

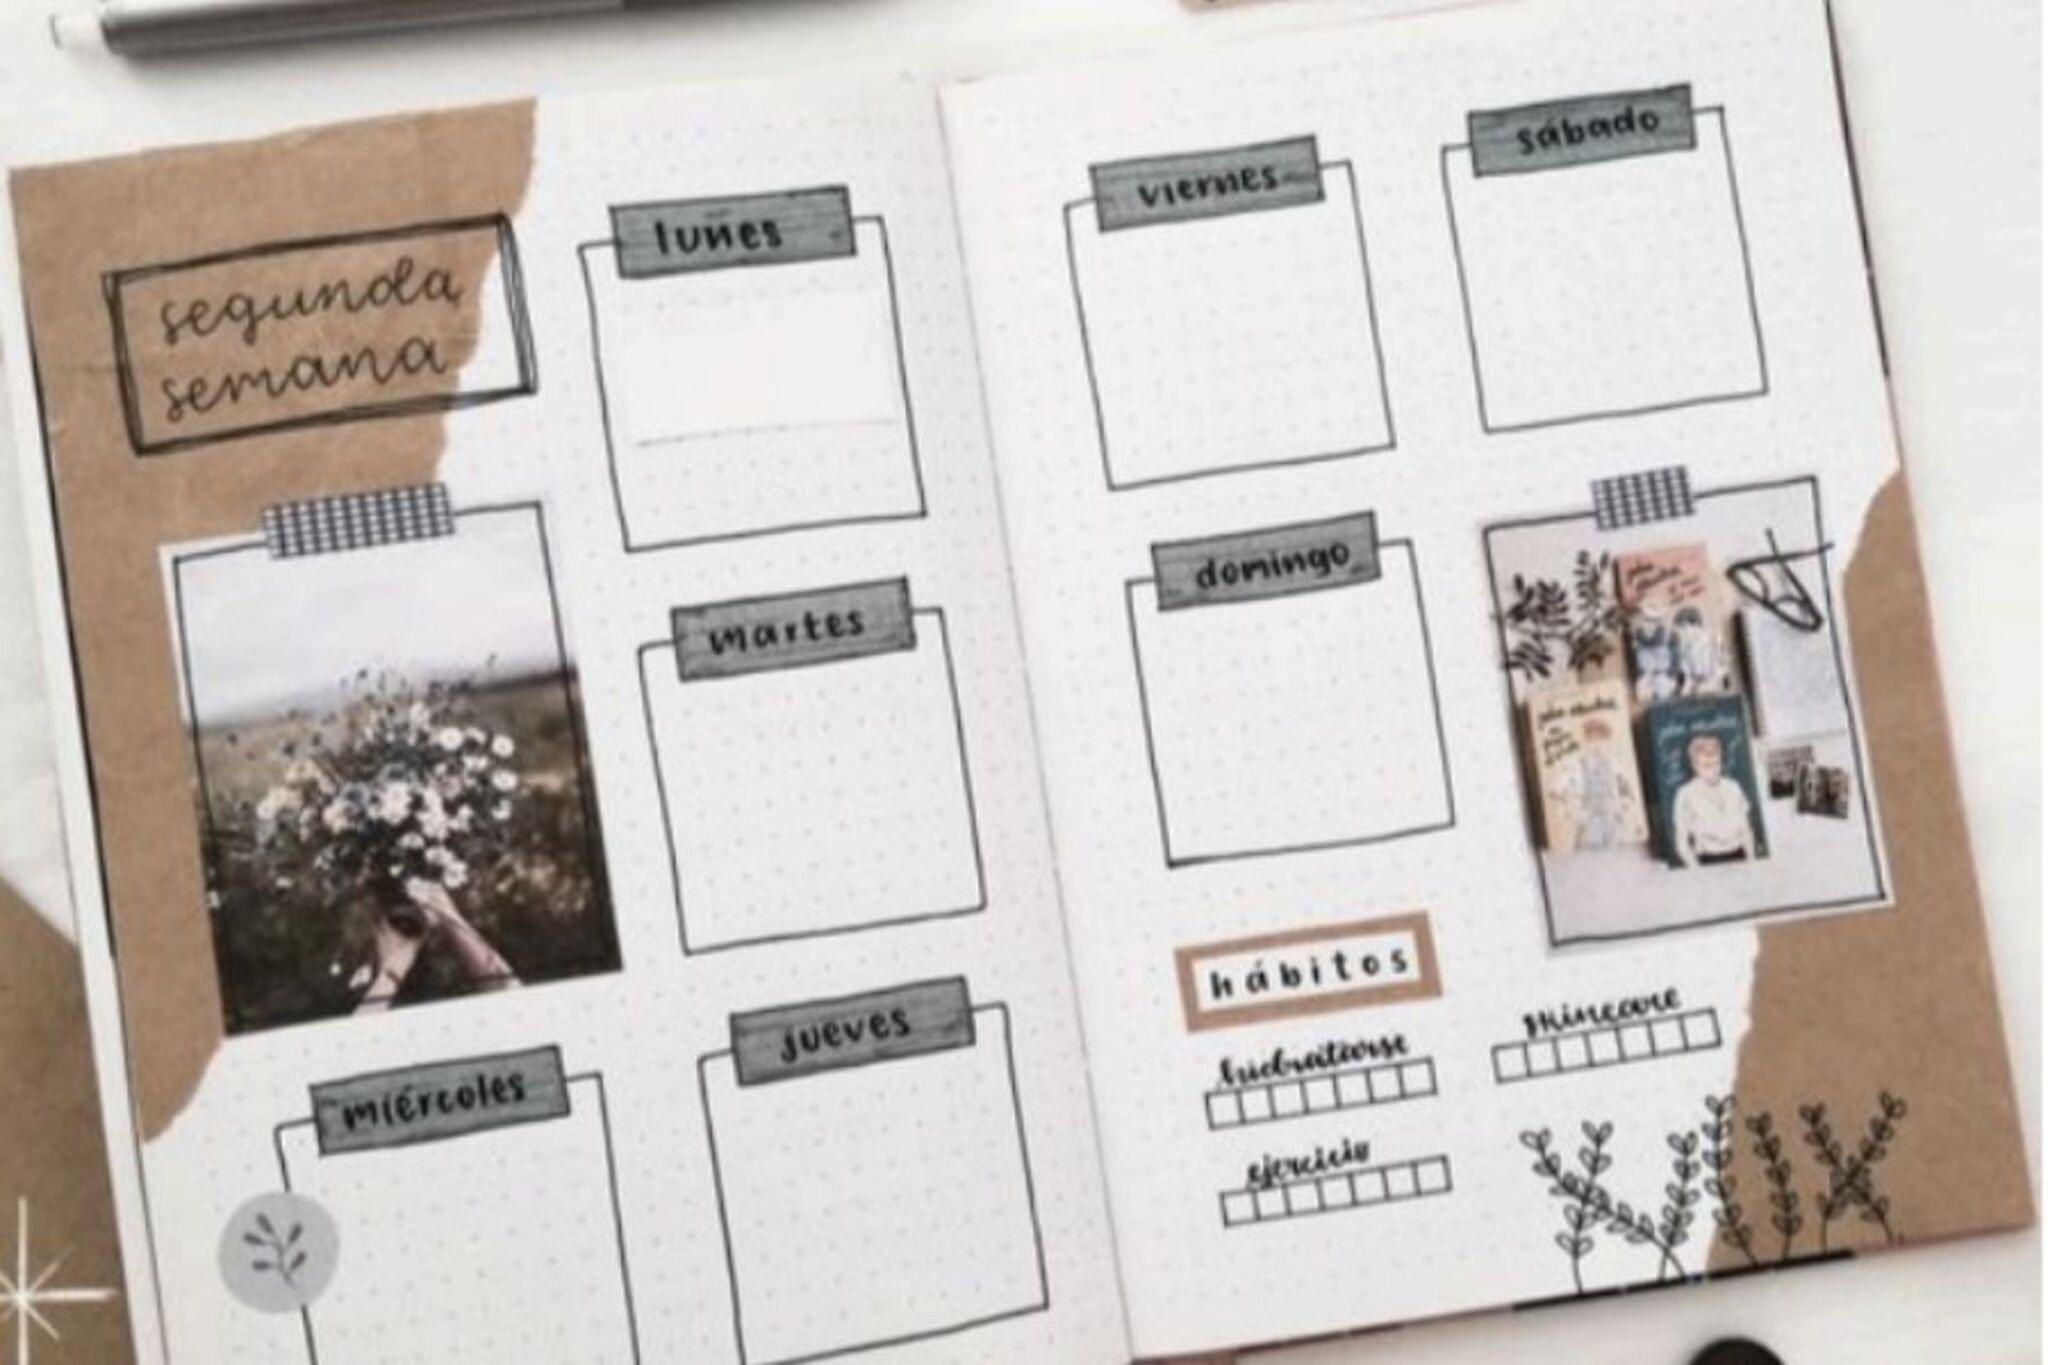

Step-by-step guide to Scrapbook Journaling To Organise Your Room
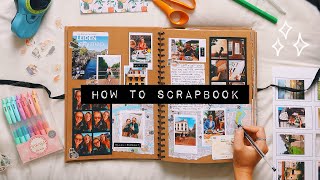
how to *actually* start journaling in 2025! 🖇️📓☆ the ULTIMATE guide to journaling + scrapbooking
Step 1
Gather all your materials and carry them to the room you want to organize.
Step 2
Clear a small workspace on the floor or a table so you can sort toys and work on your scrapbook.
Step 3
Take photos of your whole room and of each toy area so you can paste them into your scrapbook.
Step 4
Sort your toys into piles labeled keep donate store or trash so you can decide what stays.
Step 5
Put each pile into its own small box or bin so you can check how much space each group needs.
Step 6
Glue one photo of the room and one photo of each toy pile onto separate pages in your scrapbook.
Step 7
Write the storage spot you want for each pile next to its photo in the scrapbook.
Step 8
Draw a simple map or sketch of where each box or bin will go in your room.
Step 9
Make sticky labels with the box names and attach them to the matching boxes or bins.
Step 10
Decorate the scrapbook pages and box labels with stickers and decorative paper.
Step 11
Write a checklist of tasks to finish your room with checkboxes (for example put toys away wipe shelf arrange books).
Step 12
Share your finished scrapbook journal on DIY.org
Help!?
What can we use if we don't have a scrapbook, a camera, sticky labels, or storage bins?
Use a plain spiral notebook or large envelope as the scrapbook, take photos with a smartphone or make quick drawings to paste where the instructions say to 'take photos' and 'glue one photo', use masking tape or folded sticky notes as 'sticky labels', and repurpose shoeboxes or cereal boxes for the step that says 'put each pile into its own small box or bin'.
My photos wrinkle or don't stay when I glue them into the scrapbook—what can I try?
If photos wrinkle or won't stick when you 'glue one photo' into the scrapbook, use double-sided tape or photo corners, trim photos to fit the page, and press the scrapbook flat under a heavy book until the adhesive sets.
How can I change the activity to suit different ages?
For preschoolers, make 'sort your toys into piles' a picture-matching game and have an adult do the gluing and labels, for elementary kids let them follow all steps and draw the room map, and for tweens add measurements on the map, a more detailed checklist, and let them design custom box labels before they 'share your finished scrapbook journal'.
What are simple ways to extend or personalize the scrapbook journaling project?
Extend the project by adding before-and-after photos, a one-page inventory next to each 'photo of each toy pile', color-code the map and box labels for quick daily cleanups, and laminate the final checklist to hang in the room before you 'share your finished scrapbook journal'.
Watch videos on how to Scrapbook Journaling To Organise Your Room
An Insane DIY Scrapbook Journal to Make Today!
4 Videos
An Insane DIY Scrapbook Journal to Make Today!
Make An EASY Junk Journal With ONLY Paper Scraps! Beginner Friendly Tutorial | Use UP Your Scraps!
DIY HOW TO SCRAPBOOK ideas & inspiration
How to Make a No-Sew Easy DIY Journal from 12x12 Scrapbook Paper
Facts about room organisation for kids
📚 Scrapbooking grew from centuries-old memory albums and 'commonplace books' people used to collect memories and ideas.
📷 Adding photos to a journal helps your brain remember details — images are powerful memory triggers.
🏷️ Labeling boxes and shelves makes finding stuff faster and helps you put things back in the right place.
⏱️ Spending just 10 minutes a day sorting or planning can stop clutter from becoming overwhelming.
🎨 Using stickers, washi tape, and doodles turns a room-organizing plan into a creative scrapbook you'll love to use.
How do I make a scrapbook journal to organize my room?
What materials do I need for scrapbook journaling to organize my room?
What ages is scrapbook journaling to organize a room suitable for?
What are the benefits of making a scrapbook journal to organize my room?
