Recreate Heart Flame Flag on Paper
Recreate a Heart Flame Flag on paper by drawing, cutting, and coloring shapes; learn symmetry, color mixing, design steps, and practice fine motor skills.


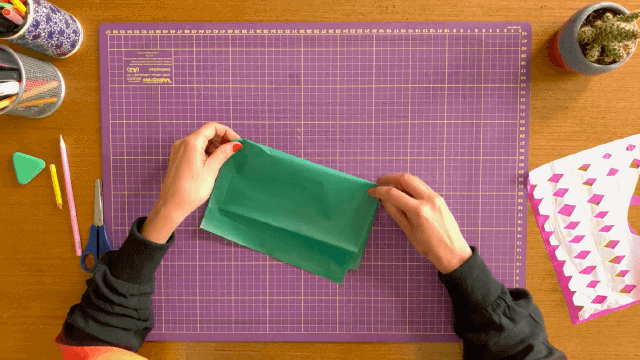

Step-by-step guide to recreate a Heart Flame Flag on paper
Step 1
Gather all your materials and put them on a flat table so you can work neatly.
Step 2
Fold one sheet of paper in half vertically and press the crease firmly so it stays closed.
Step 3
On the folded edge use your pencil to draw half of a large heart so the middle of the heart touches the fold.
Step 4
Cut along your pencil line through both layers of the folded paper to make the heart shape.
Step 5
Open the cut paper to reveal a perfectly symmetrical heart shape.
Step 6
Set the paper heart aside somewhere safe where it won’t get smudged.
Step 7
Lay the second sheet of paper flat on the table to be your flag background.
Step 8
Put the cut heart in the center of the second sheet and hold it in place.
Step 9
Trace the outline of the heart lightly with your pencil on the flag sheet.
Step 10
Fold the flag sheet vertically along the heart’s center line and press a crease.
Step 11
On the folded flag sheet draw one side of a flame shape along the fold inside the traced heart using your pencil.
Step 12
Unfold the flag sheet to reveal a matching symmetrical flame drawing inside the heart.
Step 13
Color the flame starting with yellow in the center then add orange around the yellow and red at the outer edges so the colors blend together.
Step 14
Glue the paper heart cutout over its traced outline on the flag sheet and press gently so it sticks flat.
Step 15
Share your finished Heart Flame Flag on DIY.org
Help!?
What can I use if I don't have scissors or glue for cutting and sticking the heart?
If you don't have scissors, carefully tear along the pencil line or ask an adult to cut the folded edge with a craft knife, and if you lack glue use a small strip of clear tape to stick the paper heart over its traced outline.
My heart looks lopsided after cutting—how do I fix it?
If the heart is lopsided because the paper shifted while cutting, refold along the vertical crease, realign the edges, and trim the longer side to match the other so the opened heart becomes symmetrical.
How can I adapt this Heart Flame Flag activity for different ages?
For younger kids, use a pre-cut heart and have them trace and color the flame inside the traced heart with crayons, while older children can draw more detailed flame shapes on the folded flag sheet and practice blending yellow, orange, and red with colored pencils or markers.
How can we extend or personalize the finished Heart Flame Flag?
To personalize and preserve the flag, use patterned or colored paper for the flag background, seal the colored flame (yellow→orange→red) with a thin layer of clear-drying glue or clear tape, and punch a hole to hang it as a mini banner after gluing the paper heart over its traced outline.
Watch videos on how to recreate a Heart Flame Flag on paper
Heart Shaped American flag Drawing, Painting & Coloring For Kids and Toddlers_ Kids Art
4 Videos
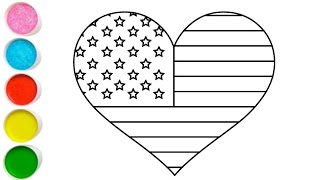
Heart Shaped American flag Drawing, Painting & Coloring For Kids and Toddlers_ Kids Art
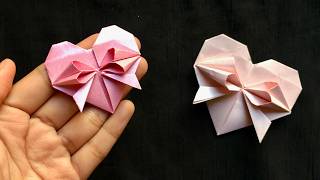
Learn & Create: Cute Paper HEART WITH BOW | Easy Origami Heart Tutorial DIY | Step-by-Step Guide
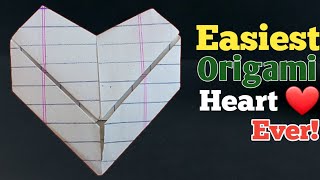
Origami Heart (Folding Instructions) - How To Make a Paper Heart

Origami Paper Heart Easily: DIY Paper Craft Tutorial
Facts about paper crafts for kids
🚩 Many national flags use only two or three colors so their shapes and symbols are easy to spot from far away.
❤️ The stylized heart symbol we use for love appears in European art as early as the Middle Ages and became popular by the 1400s.
🔁 Folding paper to cut a shape is a quick way to make perfect mirror symmetry — artists and kids use it for matching halves.
🎨 Basic color mixing: red + yellow = orange, blue + yellow = green, and blue + red = purple — different paints change the exact shade.
✂️ Papercraft and paper cutting are ancient arts — Chinese paper cutting dates back over a thousand years after papermaking spread.
How do I recreate a Heart Flame Flag on paper step by step?
What materials do I need to recreate a Heart Flame Flag on paper?
What ages is the Heart Flame Flag activity suitable for?
What are the benefits, safety tips, and fun variations for this activity?
