Practice drawing textures
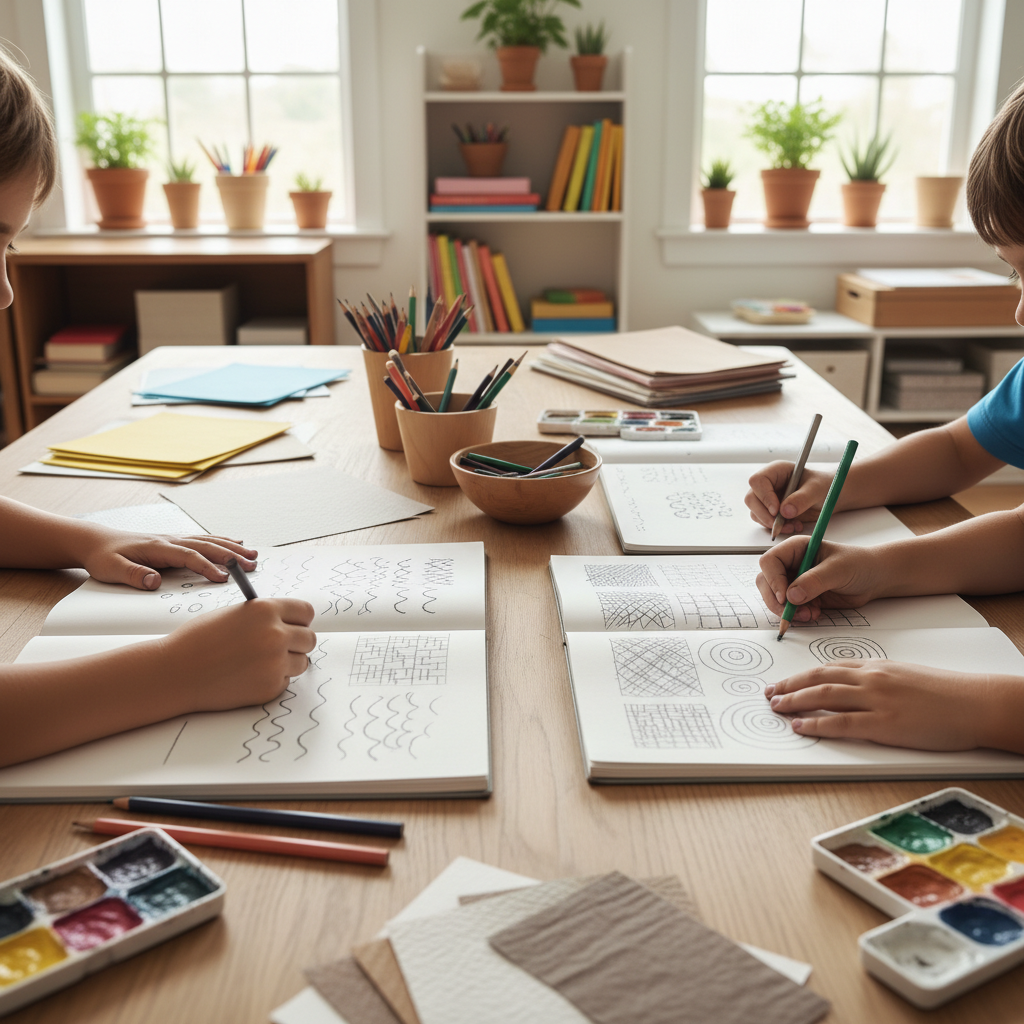
Practice drawing different textures by creating small samples of fur, wood grain, brick, scales, and metal using pencil, pen, and shading techniques.
About this activity
Practice drawing different textures by creating small samples of fur, wood grain, brick, scales, and metal using pencil, pen, and shading techniques.
What you need
Step by step
- 1
Step 1
Clear a flat workspace and place all your materials where you can reach them easily.
- 2
Step 2
Choose five small reference pictures that show fur wood grain bricks scales and metal.
- 3
Step 3
Lightly draw five equal squares on your paper to make five texture sample boxes.
- 4
Step 4
In the first square make lots of short light pencil strokes that follow the direction the fur grows.
- 5
Step 5
Use your pen to go over some pencil hairs to make darker strands in the fur square.
- 6
Step 6
Darken the base of some fur strokes with your pencil to show shadow under the fur.
- 7
Step 7
In the second square draw long flowing pencil lines and a couple round knots to map wood grain.
- 8
Step 8
Trace several wood grain lines with your pen to make the grain stand out.
- 9
Step 9
In the third square use your ruler and pencil to draw a brick grid.
- 10
Step 10
Use your pen to draw the mortar lines between the bricks.
- 11
Step 11
In the fourth square draw overlapping rounded shapes with pencil to make scales.
- 12
Step 12
Use your pen to add crisp edges to each scale so they look layered.
- 13
Step 13
In the fifth square lightly sketch reflected shapes and hard edge lines with pencil to map metal highlights.
- 14
Step 14
Use your blending stump or tissue to smooth the graphite in the metal square and create shiny gradients.
- 15
Step 15
Share a photo of your finished texture practice on DIY.org
Fun facts
How do I practice drawing textures like fur, wood grain, brick, scales, and metal?
Start with small thumbnail squares for each texture. Observe real references and block in light and shadow. Use directional pencil strokes for fur, short hatch marks for wood grain, staggered rectangles for brick, overlapping crescent shapes for scales, and high-contrast edges for metal. Switch between pencils for value and pens for crisp lines. Practice one texture at a time, refine edges, and repeat the samples while keeping a consistent light source.
What materials do I need to practice drawing textures with pencil, pen, and shading techniques?
You’ll need a sketchbook or heavier paper (80–120 gsm), a range of pencils (HB, 2B, 4B), mechanical pencil for details, fine-liner pens (0.2–0.8 mm), a soft eraser and kneaded eraser, blending stump or tissue, sharpener, ruler, and reference photos or real objects. Optional items: charcoal sticks, white gel pen for highlights, and textured rubbings to study surface patterns.
What ages is this texture drawing activity suitable for?
This activity scales well: younger kids (5–7) can try simplified marks and pattern copying with supervision; ages 8–12 can practice more controlled strokes, shading, and small samples; teens and adults can refine realistic rendering and pen techniques. Adjust complexity, provide demonstrations, and supervise use of sharp pencils or pens. It supports progressive skill-building for many age groups.
What are the benefits of practicing texture drawing for children?
Drawing textures improves observation, fine motor control, and understanding of light, shadow, and surface quality. It builds visual vocabulary—kids learn how different marks suggest material types—and boosts patience and concentration. Regular practice strengthens shading and line work skills useful for figure or still-life drawing, while offering a low-stress creative challenge that supports confidence and problem-solving in art.
Watch & Learn
Need help?
I don't have a blending stump or tissue—what can I use instead?
If you don't have a blending stump or tissue for smoothing graphite in the metal square, use a rolled-up piece of clean tissue, a cotton swab, or a fingertip (lightly) to create the same shiny gradients.
My pen smudges the pencil or bleeds on the paper when I trace—how can I prevent this?
To avoid smudging or bleeding when you trace over pencil in the fur, wood grain, brick, and scale squares, erase extra pencil lines first, test your pen on scrap paper, and wait briefly after heavy graphite shading (especially in the metal square) before inking.
How can I adapt this activity for younger or older kids?
For younger children, simplify by drawing three larger squares and using crayons or colored pencils for the fur, wood, and brick steps with help using the ruler, while older kids can add finer cross-hatching, more detailed scale edges with a fine pen, and extra texture boxes.
How can we extend or personalize the texture samples after finishing the five squares?
Extend the activity by arranging the finished texture squares into a collage creature or landscape, adding color with colored pencils or watercolor over the pencil strokes and pen lines, labeling each box with the technique used, and photographing it to share on DIY.org.