Map your neighborhood
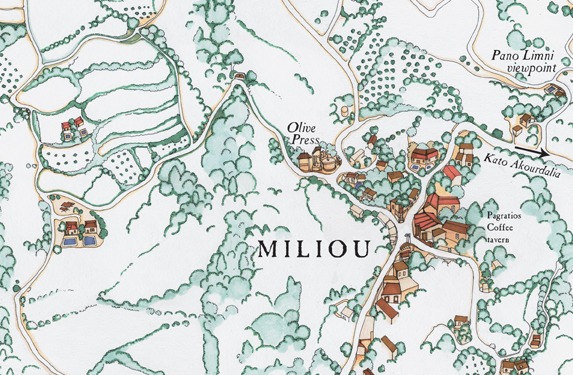
Walk around with an adult, record landmarks, sketch streets, and create a simple neighborhood map using paper, pencil, and symbols.
About this activity
Walk around with an adult, record landmarks, sketch streets, and create a simple neighborhood map using paper, pencil, and symbols.
What you need
Step by step
- 1
Step 1
Gather your paper pencil eraser ruler and colouring materials.
- 2
Step 2
Ask a grown-up to pick a safe short route to walk with you.
- 3
Step 3
Put on comfortable shoes so you are ready to go.
- 4
Step 4
On your paper draw a rectangle border to make your map area.
- 5
Step 5
Draw a small legend box and make simple symbols for home park store school and trees.
- 6
Step 6
Lightly sketch the main streets of your chosen route inside the border using your pencil and ruler.
- 7
Step 7
Walk the chosen route with your grown-up.
- 8
Step 8
When you stop at a place mark the matching symbol on your paper to show where it is.
- 9
Step 9
Count blocks or steps between two places and write that number beside the street.
- 10
Step 10
Write any street names or place names you know beside the lines.
- 11
Step 11
Erase any extra pencil marks you do not want.
- 12
Step 12
Darken the main streets and symbols so your map is clear.
- 13
Step 13
Color the symbols and important places using your colouring materials.
- 14
Step 14
Show your grown-up the finished map.
- 15
Step 15
Share your finished neighborhood map on DIY.org
Fun facts
How do I map my neighborhood with my child?
Start by planning a short, safe walking route with an adult. Walk slowly and stop at notable places—parks, mailboxes, stores—and have your child sketch each landmark. Draw the streets roughly to scale on paper, using simple lines for roads and shapes for buildings. Add a legend with symbols, a north arrow, and labels. Back home, refine the map together, color it, and talk about routes and distances.
What materials do we need to make a simple neighborhood map?
Use plain paper or a small notebook, pencils, eraser, colored pencils or markers, and a clipboard to write on while walking. Bring a ruler for straight lines, stickers for landmarks, and a smartphone or camera to photograph tricky spots. Optional: tape measure or counting steps for rough distances, and high-visibility vests for safety. Always have an adult present for supervision and to carry extra supplies.
What ages is neighborhood mapping suitable for?
Neighborhood mapping suits preschoolers through tweens with adult help. Ages 4–6 enjoy spotting landmarks, drawing simple shapes, and learning symbols. Ages 7–9 can sketch street layouts, use a basic legend, and estimate distances. Ages 10–12 can work on scale, compass directions, and more accurate labeling. Adjust complexity and walking length to the child’s attention span and ensure adult supervision for all ages.
What are the benefits and safety tips for mapping your neighborhood?
Mapping boosts observation, spatial thinking, vocabulary, and confidence while encouraging outdoor activity and family conversation. For safety, always walk with a trusted adult, choose quiet streets, use sidewalks, wear visible clothing, and set clear boundaries and time limits. Teach children to stop and ask before approaching strangers and to carry a phone or whistle. Talk about safe routes for school or play as part of the map.
Watch & Learn
Need help?
What can we use if we don't have a ruler, crayons, or an eraser?
Use the straight edge of a book or a piece of cardboard to lightly sketch the main streets in place of a ruler, swap markers or colored pencils for colouring materials, and use a folded tissue or kneaded eraser if you don't have a regular eraser.
What if we forget to mark a place or miscount steps while walking the route?
When you stop, immediately mark the matching symbol on your paper and make a quick tally or take a photo with your grown-up so you can write the correct number of blocks or steps beside the street later.
How can we change the activity for different age groups?
For toddlers have the grown-up draw the rectangle border and main streets while the child places stickers for home and park, for early elementary let the child lightly sketch streets and count steps, and for older kids add street names, a simple scale, and more detailed symbols in the legend box.
How can we enhance or personalize our finished neighborhood map before sharing?
Add a compass arrow, color-code places in the legend box, include small photos or notes about favorite spots, and darken the main streets and symbols so your map looks polished before showing your grown-up and sharing on DIY.org.