Map How Blood Travels Through Your Veins
Create a life-size paper or yarn map showing how blood travels through your veins, tracing paths from extremities back to the heart.
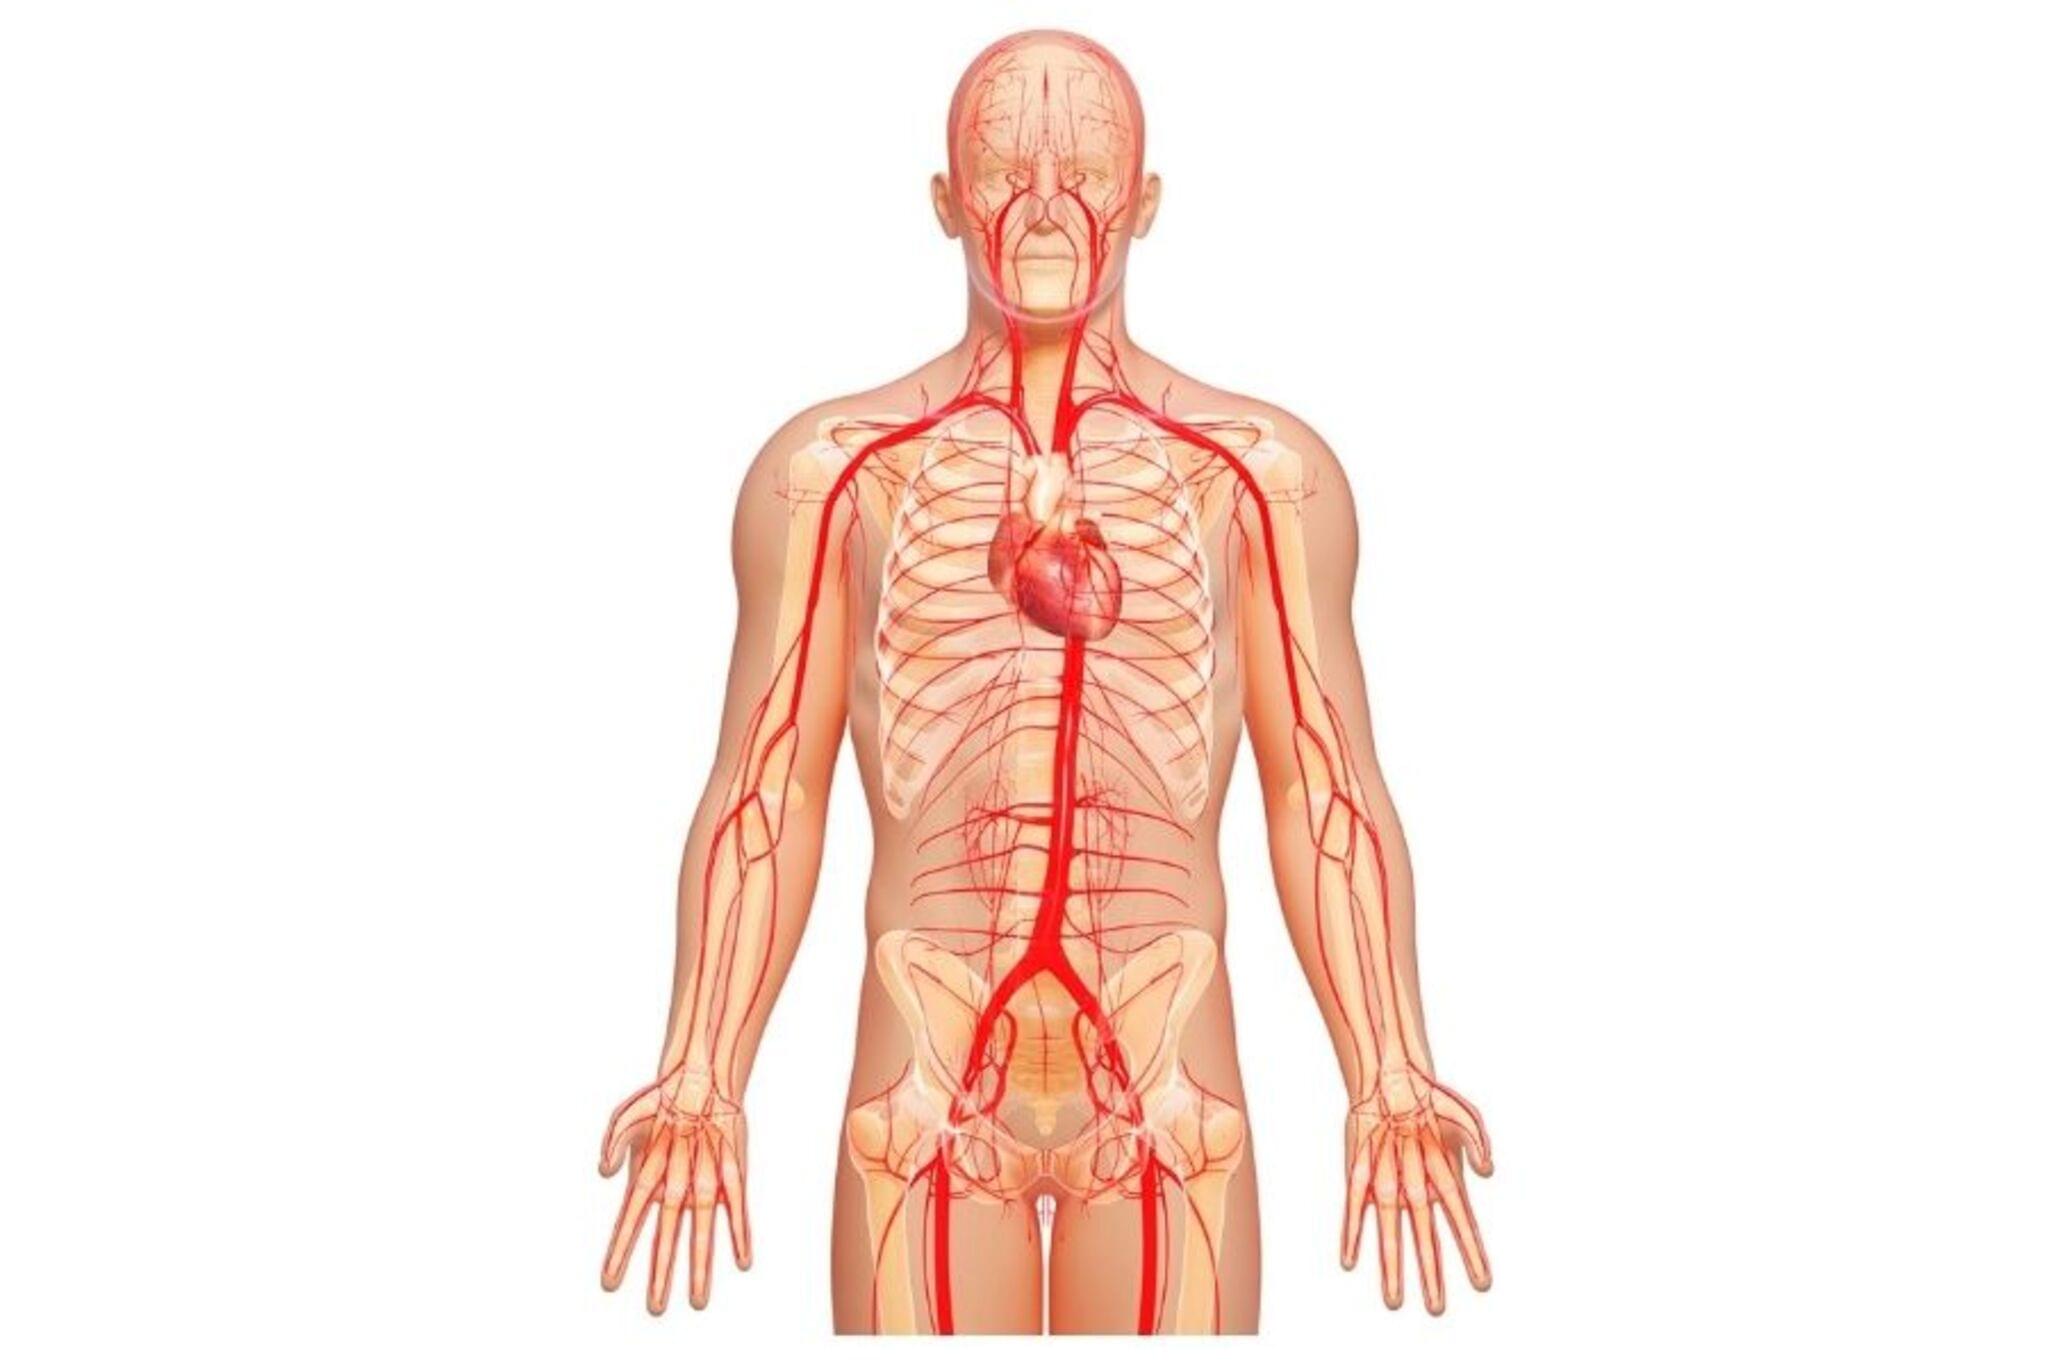
About this activity
Create a life-size paper or yarn map showing how blood travels through your veins, tracing paths from extremities back to the heart.
What you need
Step by step
- 1
Step 1
Lay the large paper flat on the floor.
- 2
Step 2
Tape the edges of the paper to the floor so it cannot move.
- 3
Step 3
Lie still on the paper so an adult can trace your body outline with a marker.
- 4
Step 4
Draw a heart shape on the chest area where your real heart sits.
- 5
Step 5
Colour the heart red so it stands out.
- 6
Step 6
Cut several long pieces of blue yarn for veins using safety scissors.
- 7
Step 7
Attach one end of a blue yarn piece to a fingertip or toe with tape.
- 8
Step 8
Run that yarn along the limb toward the heart and tape it to the paper every few inches to show the vein path.
- 9
Step 9
Repeat attaching and taping yarn pieces from each finger toe arm leg and the head back toward the heart.
- 10
Step 10
Use a marker to draw arrows on or next to each yarn showing blood flow direction toward the heart.
- 11
Step 11
Label each yarn with sticky notes or written labels to name which limb or area it comes from.
- 12
Step 12
Share a photo and description of your finished life-size vein map on DIY.org.
Fun facts
How to make a life-size veins map
To make a life-size paper or yarn map, lay a large sheet of butcher paper and have the child lie down while you trace their outline. Mark the heart area, then use a simple vein diagram to map major veins from fingers and toes back to the heart. Lay blue yarn or paper strips along those paths, tape or glue in place, add arrows and labels for direction, and discuss valves and blood flow as you go.
Materials needed for the veins mapping activity
You’ll need a roll of butcher or craft paper big enough for the child, blue yarn or string (and red yarn if you want arteries), tape and glue, markers and crayons, child-safe scissors, a simple reference diagram of major veins, sticky labels, and optional stickers or washable paint. Have wipes and a clean surface ready. Use non-toxic, age-appropriate supplies and supervise cutting and taping.
What ages is this activity suitable for?
This activity works for ages about 4–14 with adaptations: preschoolers (4–6) can help with tracing and placing yarn with close adult help; elementary kids (7–10) can follow simple vein paths, cut and label; older children (11–14) can research vein names and create more detailed maps. Always supervise scissors, small parts, and the tracing step, and tailor explanations to the child’s level.
Benefits and safety tips for the life-size vein map
Benefits include learning basic anatomy, visualizing circulation, boosting spatial thinking, fine motor skills, and teamwork. Safety tips: use child-safe scissors and non-toxic materials, supervise tracing and tape use, avoid small choking hazards, and set clear boundaries for lying on paper. For variations, try using colored pompoms for blood cells, adding artery paths, or turning it into a timed relay to trace blood flow.
Watch & Learn
Need help?
What can we use if we don't have large paper or blue yarn?
If you don't have large paper, tape together newspaper pages or use a clean bedsheet or butcher paper in place of the step to 'Lay the large paper flat,' and replace blue yarn with blue string, ribbon, or thin strips of crepe paper when you 'Cut several long pieces of blue yarn.'
The yarn keeps slipping and tape won't hold—how can we fix it?
Because the instructions tell you to 'Tape the edges of the paper to the floor' and to 'tape it to the paper every few inches,' use wider masking or duct tape, press each piece firmly, double-layer tape under yarn ends, and have an adult hold the yarn as you secure it so the pieces don't move.
How can I change the activity for younger children or older kids?
For younger children, have an adult 'Lie still on the paper' and 'trace your body outline,' pre-cut the yarn and pre-attach one end for them to press down and 'Colour the heart red,' while older kids can measure and cut exact yarn lengths, draw arrows for 'blood flow direction,' and add anatomical labels with sticky notes.
Any ideas to extend or personalize the vein map?
To enhance the life-size vein map, add red yarn to show arteries, use different colored sticky notes to label organs and limbs, write short circulation facts next to the heart and limbs, and finish by following 'Share a photo and description' on DIY.org.