Make Your Own Spinner Card
Make a spinning greeting card using paper, a brad or paperclip, tape, and markers; cut, assemble, and test the spinner while learning simple motion.
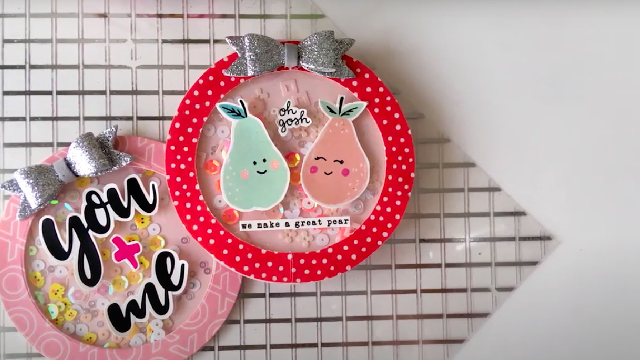
About this activity
Make a spinning greeting card using paper, a brad or paperclip, tape, and markers; cut, assemble, and test the spinner while learning simple motion.
What you need
Step by step
- 1
Step 1
Collect all materials on a clear table or desk.
- 2
Step 2
Fold one sheet of paper in half to make your card base.
- 3
Step 3
Take a second sheet and draw a circle about 4 to 6 centimeters wide.
- 4
Step 4
Cut out the circle carefully with scissors.
- 5
Step 5
Decorate the circle with bright patterns using your colouring materials.
- 6
Step 6
Decorate the front of the folded card leaving a clear spot where the spinner will go.
- 7
Step 7
Use a pencil to mark the exact center of the circle and make a small hole there with the pencil tip.
- 8
Step 8
Mark the spot on the card front where the spinner will sit and make a small hole there with the pencil tip.
- 9
Step 9
Attach the circle to the card by pushing a brad through both holes and spreading the prongs inside the card or by pushing a straightened paperclip through and bending the end inside to hold it.
- 10
Step 10
Give the circle a gentle flick to see how it spins and watch the motion.
- 11
Step 11
If the spinner rubs the card add a small piece of tape inside the card under the center to lift it a little so it spins freely.
- 12
Step 12
Share your finished spinner card on DIY.org.
Fun facts
How do I make a spinner card?
To make a spinner card, fold a piece of cardstock to form the card base. Cut a small spinner shape (circle, arrow, or wheel) from another paper. Mark and punch a hole through the center of the spinner and the card front. Secure the spinner with a brad or an unfolded paperclip so it can rotate. Tape the back to keep the brad secure, decorate with markers or stickers, then test and adjust tightness so it spins freely while you talk about motion.
What materials do I need to make a spinner card?
You’ll need cardstock or heavy paper for the card, a small brad or an unfolded paperclip to act as the spinner pivot, scissors, a hole punch (or sharp pencil), tape, and markers or crayons for decorating. Helpful extras: a coin or compass to trace circles, a ruler and pencil for measurements, and optional stickers or foam shapes. Supervise use of scissors and small parts for safety.
What ages is this spinner card activity suitable for?
This activity works well for ages 5–12. Children aged 5–7 will need adult help with cutting and handling the brad or paperclip; supervision is recommended. Kids 8–12 can assemble, decorate, and experiment more independently, trying different shapes and balance adjustments. Adapt complexity and supervision based on each child’s fine motor skills and attention span.
What are the benefits of making spinner cards?
Making spinner cards strengthens fine motor skills, hand-eye coordination, and planning as children cut, assemble, and decorate. It introduces basic physics ideas—rotation, balance, and cause-and-effect—through hands-on testing. The craft encourages creativity, problem-solving during adjustments, and pride in giving a handmade card. It’s an inexpensive, low-prep STEM activity that sparks curiosity about motion and design.
Watch & Learn
Need help?
What can we use if we don't have a brad or straightened paperclip for attaching the spinner?
If you don't have a brad or straightened paperclip, use a small split pin, a short piece of thin wire pushed through both pencil-made holes and bent inside the folded card, or a plastic craft fastener to hold the circle in place.
Why won't the circle spin smoothly and how can we fix it?
If the circle rubs the card or sticks after you attach it (the attach-the-circle step), add a small piece of tape inside the card under the center as instructed to lift it or gently widen the hole in the card with the pencil tip so the spinner has clearance.
How can we adapt the activity for different ages?
For preschoolers, pre-cut the 4–6 cm circle and pre-poke the center and card hole and supervise scissors and brad use, while older kids can draw more complex patterns, experiment with different circle sizes, and decorate both sides before attaching.
How can we make the spinner card more creative or functional after it's finished?
Turn the decorated circle into a game spinner by dividing it into labeled sections before cutting and attaching, add a small paper tab to the circle edge for easier flicking, or glue stickers and messages inside the folded card before sharing your finished spinner card on DIY.org.