Make Your Own Name Plate
Make a personalized name plate from cardboard, paint, and stickers. Measure, cut, decorate, and practice lettering to display on a door or desk.


Step-by-step guide to make your own name plate
Step 1
Gather all the materials listed and put them on a clear flat workspace.
Step 2
Place the cardboard flat and use the ruler and pencil to draw the shape and size of your name plate.
Step 3
Cut out the drawn shape carefully along the pencil lines using scissors.
Step 4
Paint only the front of the cut-out with a base color you like.
Step 5
Let the paint dry completely before you touch it.
Step 6
Practice writing your name big on scrap paper until you like the style.
Step 7
Lightly write your name on the dried base with a pencil.
Step 8
Trace over your pencil letters with paint or markers to make them bold and colorful.
Step 9
Decorate around your name with stickers and coloring materials to make it fun.
Step 10
Use a hole punch to make two holes near the top of the name plate for hanging.
Step 11
Thread the string through the holes and tie the ends so your plate can hang.
Step 12
Take a photo and share your finished name plate on DIY.org.
Help!?
What can I use instead of cardboard, a hole punch, or string if I don't have them?
Use a cereal box or corrugated shipping box for the cardboard (step 2), poke holes with a thick needle or pushpin instead of a hole punch (step 11), and substitute ribbon, yarn, or a keyring for the string when threading and tying (step 12).
My scissors slipped and I cut the wrong shape or the paint smudged—how do I fix mistakes?
If you cut the wrong shape in step 3, trim to a new outline or glue another cardboard layer on top to reshape it, and if paint smudges after step 4–5 wait for it to dry fully or speed-dry with a hairdryer and repaint the base before rewriting your name (steps 5–7).
How can I adapt this name plate project for younger or older kids?
For preschoolers, use pre-cut cardboard shapes, washable paints, and chunky markers with an adult doing the cutting and hole-punching (steps 2–3 and 11), while older kids can measure precisely with the ruler in step 2, use stencils for lettering in step 6, or upgrade to thin wood and sealant for a sturdier final plate.
How can we enhance or personalize the finished name plate beyond the basic instructions?
Personalize by gluing on buttons, foam shapes, or glitter during decoration (step 8), seal the painted front with clear glue or Mod Podge for durability, swap the string for a magnetic strip or keyring for different hanging options (steps 11–12), and then photograph and share your creation on DIY.org (step 13).
Watch videos on how to make your own name plate
How to make beautiful Nameplate at home | Nameplate making at home | PC Crafts Planet
4 Videos
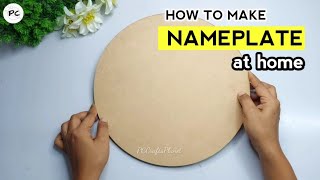
How to make beautiful Nameplate at home | Nameplate making at home | PC Crafts Planet
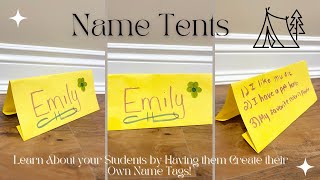
Name Tent Tutorial: How to Make Custom Name Tags for your Classroom!
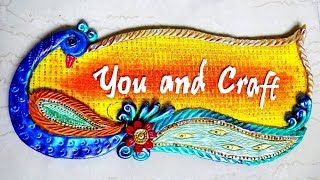
NAME PLATE MAKING AT HOME
How to make beautiful and unique Nameplate at home | Nameplate making at home | PC Crafts Planet
Facts about cardboard crafts for kids
🎨 The oldest known paint pigments were found in a South African cave and are over 100,000 years old.
📦 Corrugated cardboard was first used for packaging in the 19th century and is one of the most recycled materials.
🖋️ Calligraphy literally means "beautiful writing" in Greek and has been a prized skill in many cultures.
🔤 Typography was revolutionized by Johannes Gutenberg’s movable type around 1450, changing how letters and signs were made.
🪧 Nameplates and signs have been used for centuries to identify people and places—clear lettering helps everyone read them faster.
How do I make a personalized name plate from cardboard?
What materials do I need to make a cardboard name plate?
What ages is making a name plate suitable for?
What are the benefits and safety tips for making a name plate?
