Make Super Cute Gacha Pets!
Design and create tiny gacha-style pet charms using air-dry clay, paint, and beads, practicing simple sculpting, color mixing, and personalizing skills.
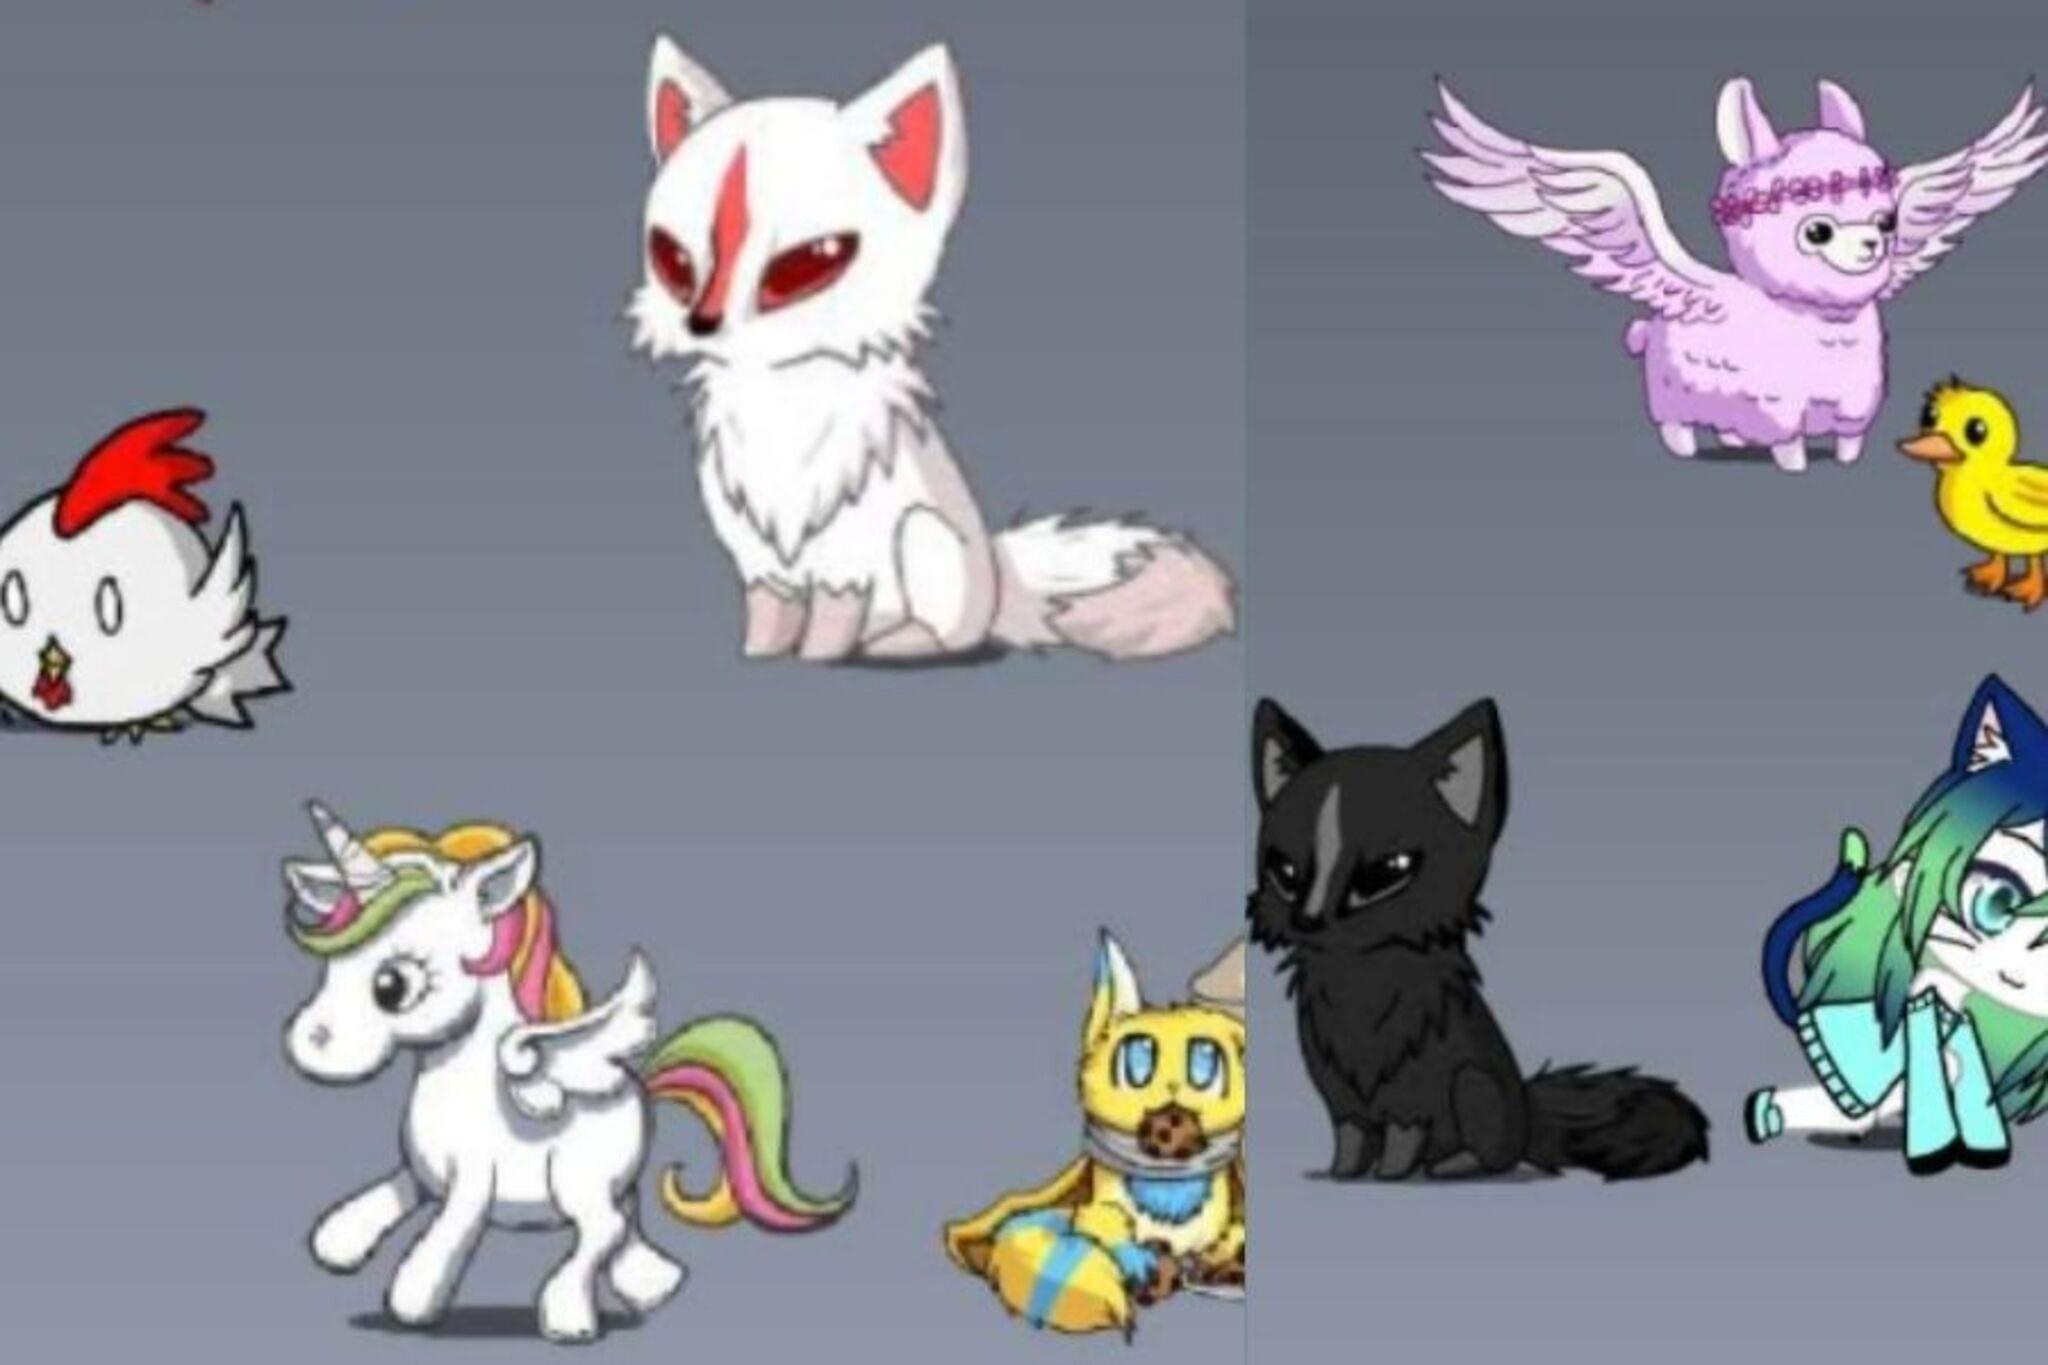
About this activity
Design and create tiny gacha-style pet charms using air-dry clay, paint, and beads, practicing simple sculpting, color mixing, and personalizing skills.
What you need
Step by step
- 1
Step 1
Gather all your materials and clear a small workspace so you have room to create.
- 2
Step 2
Draw a tiny gacha pet sketch on paper showing its shape and colors.
- 3
Step 3
Tear off a pea-sized piece of air-dry clay and roll it into a smooth ball.
- 4
Step 4
Use your thumbs to press and shape the ball into the pet body shape from your sketch.
- 5
Step 5
Roll tiny clay pieces for ears legs or a tail and press each piece onto the body to attach.
- 6
Step 6
Insert a small eye pin into the top of the pet or poke a hole with a toothpick for a jump ring.
- 7
Step 7
Press small beads into the clay as decorations where you want sparkles or eyes.
- 8
Step 8
Gently smooth all joins and fingerprints with a damp fingertip.
- 9
Step 9
Let your pet dry flat for 24 hours or until it is completely hard.
- 10
Step 10
Mix tiny amounts of two or three acrylic paints on your plate to create a custom color.
- 11
Step 11
Paint the pet's base color with a larger brush using steady strokes.
- 12
Step 12
Let the base paint dry completely before adding details.
- 13
Step 13
Paint small details like eyes spots or stripes with a fine brush.
- 14
Step 14
Thread a keyring or jump ring through the eye loop or hole so your pet becomes a charm.
- 15
Step 15
Take a photo and share your finished super cute gacha pet creation on DIY.org
Fun facts
How do I make Super Cute Gacha Pets with air-dry clay?
Start by sketching a tiny pet design. Condition small amounts of air-dry clay until soft, then shape a simple body (round or bean) and add ears, tails, or tiny limbs. Use toothpicks or sculpting tools for details and make a hole for an eye pin or jump ring. Let pieces dry completely (24+ hours), sand any rough spots, paint with acrylics, then seal with a clear varnish. Attach beads or keychain findings once dry.
What materials do I need to make tiny gacha-style pet charms?
Gather non-toxic air-dry clay, acrylic paints, small paintbrushes, sculpting tools or toothpicks, water, fine sandpaper, clear sealant or varnish, eye pins or tiny screw eyes, jump rings, split rings or keychain hardware, small beads for decoration, pliers, and parchment paper. Optional items: silicone molds for shapes, clay rollers, and glow-in-the-dark or metallic paints. Supervise use of small metal findings to avoid choking hazards.
What ages are gacha pet charm crafts suitable for?
This craft suits children about 5 and up with close adult supervision because of small parts and detailed work. Ages 5–7 can shape simple pets and use pre-cut parts; ages 8–12 can mix colors and add finer details; teens can design complex characters and learn jewelry findings. Never give beads or small metal pieces to children under 3 due to choking risks, and always supervise use of tools, glue, and sealants.
What are safety tips, benefits, and fun variations for making gacha pets?
Safety: use non-toxic materials, supervise small parts, avoid ingestion, work in a ventilated area when sealing, and have adults handle eye pins and pliers. Benefits: builds fine motor skills, creativity, patience, and color-mixing knowledge. Variations: turn pets into keychains, magnets, or earrings; try glow-in-the-dark or metallic paints; use polymer clay for oven-baked versions; or host a design swap so kids trade miniature pets.
Watch & Learn
Need help?
What can I use if I don't have air-dry clay or eye pins?
If you don't have air-dry clay, use bakeable polymer clay (bake per package) or non-drying modeling clay, and if you lack an eye pin make a hole with a toothpick for a jump ring or screw in a small screw eye after the piece is hard.
My pet keeps cracking or the ears/legs fall off—how do I fix that?
To prevent cracks and loose pieces, firmly press and blend each tiny clay piece onto the body, smooth all joins with a damp fingertip as the steps say, reattach with a little water (slip) before drying, and let the pet dry flat for the full 24 hours.
How can I change the activity for younger or older kids?
For younger kids use bigger pea-sized blobs and pre-rolled ears, skip tiny beads and have an adult handle the eye pin/jump ring, while older kids can mix custom colors, paint fine details with a small brush, and add keyrings to make charms.
What are easy ways to personalize or improve my finished gacha pet?
Personalize by mixing two or three acrylic paints on your plate for unique colors, press sparkly beads into the clay for decoration before drying, and thread a keyring or add a clear varnish seal after painting for a durable charm.