Make Figure Drawings
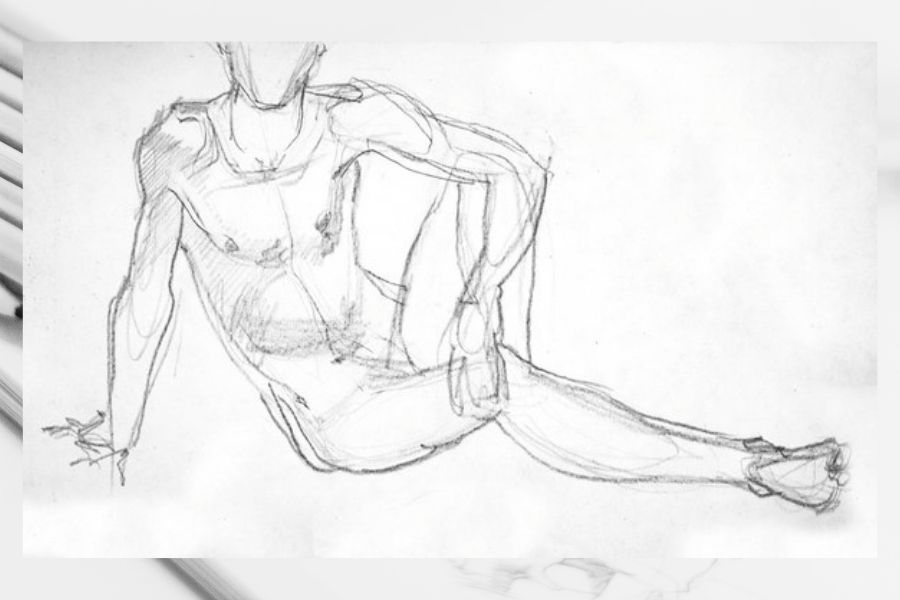
Make basic figure drawings from observation using pencil and paper, practicing proportions, simple poses, and light shading to show movement and volume.
About this tutorial
Make basic figure drawings from observation using pencil and paper, practicing proportions, simple poses, and light shading to show movement and volume.
What you need
Instructions
- 1
Step 1
Gather your pencil eraser paper and sharpener and put them on a flat surface.
- 2
Step 2
Choose a model to draw like a toy a family member or a printed photo.
- 3
Step 3
Place the model where you can see it clearly and sit so your paper faces the model.
- 4
Step 4
Do three quick 30 second gesture lines on scrap paper to warm up your hand.
- 5
Step 5
Look at the whole pose and draw one single flowing line of action from head to feet.
- 6
Step 6
Hold your pencil up to the model and measure the head height to use as a unit.
- 7
Step 7
Mark that head unit on your paper and lighty divide the figure into head based proportions.
- 8
Step 8
Block in the head torso and pelvis with simple shapes like ovals and rectangles.
- 9
Step 9
Add circles for joints and light lines for the arms and legs to show limb directions.
- 10
Step 10
Refine the outer contour of the figure slowly and erase extra construction lines.
- 11
Step 11
Add light shading with soft pencil strokes following the forms to show volume and movement.
- 12
Step 12
Try two more quick poses using steps 4 to 11 to practice proportions and motion.
- 13
Step 13
Share your finished drawing on DIY.org
Fun facts
How do I teach my child to make basic figure drawings from observation?
Start with short gesture sketches (30–60 seconds) to capture movement. Observe the overall posture, then block in simple shapes for the head, torso, and limbs. Check proportions using the head as a unit, refine with contour lines, and add light shading to suggest volume. Encourage quick studies from photos or a live model, focus on practice not perfection, and gradually increase pose length to work on details and accuracy.
What materials do I need for children to practice figure drawing with pencil and paper?
Basic supplies include a sketchbook or heavyweight paper, a range of pencils (HB for lines, 2B–4B for shading), a good eraser and sharpener. Optional items: blending stump or tissue for smooth shading, a kneaded eraser for highlights, a small ruler for proportion checks, and reference photos or a simple wooden mannequin. Good lighting and a comfortable chair complete the setup for productive sessions.
What ages is basic figure drawing from observation suitable for?
Young children (around 5–7) can start with gesture and simplified shapes to build confidence. Ages 7–9 handle proportion basics and simple shading, while 10 and up can study more accurate measurements, poses, and tonal work. Adapt expectations and session length to attention span, keep exercises playful for younger kids, and introduce anatomy gradually for older children to avoid frustration.
What are the benefits of practicing basic figure drawing for children?
Figure drawing improves observation skills, hand-eye coordination, and understanding of proportion and spatial relationships. It builds fine motor control, visual memory, and the ability to depict movement and volume. Regular practice also boosts patience, concentration, and creative problem-solving. These skills transfer to writing, STEM learning, and confidence in artistic expression, making drawing a valuable cross-disciplinary activity.
Watch & Learn
Need help?
What can I use if I can't find a pencil sharpener or scrap paper?
If you don't have a sharpener, use a mechanical pencil or a pre-sharpened pencil and substitute scrap paper with newspaper for the 30-second warmups in step 4.
My figure looks the wrong size — how do I fix proportions?
If the figure looks out of proportion after marking head units in step 6, hold your pencil up to the model again to remeasure and lightly correct the head marks before blocking in shapes in step 7.
How can I adapt this activity for different ages?
For younger children, simplify steps by using a toy model and drawing only big shapes from step 7 without measuring in step 6, while older kids can keep the 30-second gesture warmups (step 4) and add detailed shading in step 11.
How can we make the drawing more advanced or personal after finishing?
To extend the activity, try adding colored pencils or ink after refining the contour in step 11, practice foreshortening and different models during the two extra poses (steps 4–11), and post your progress on DIY.org.